


Elite Minimalist Sandals
Free U.S. shipping
-
Free standard shipping in the USA
Proudly made in the USA with high quality domestic and imported materials
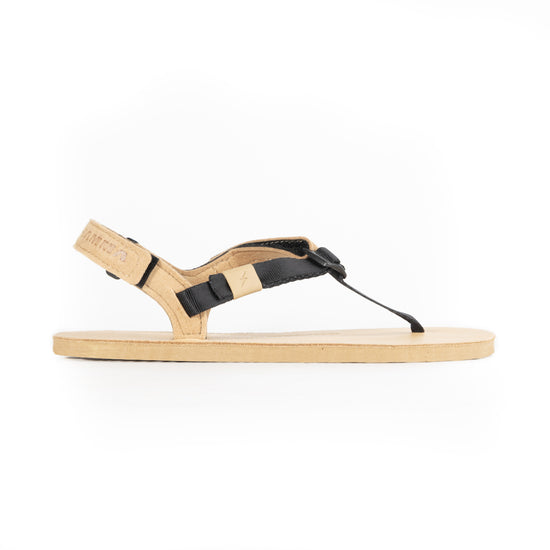
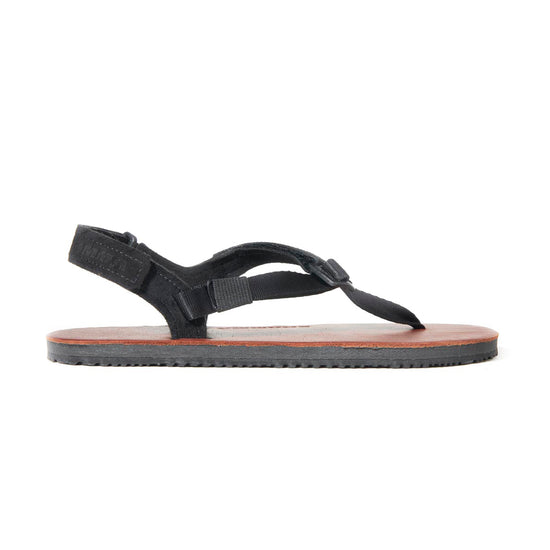
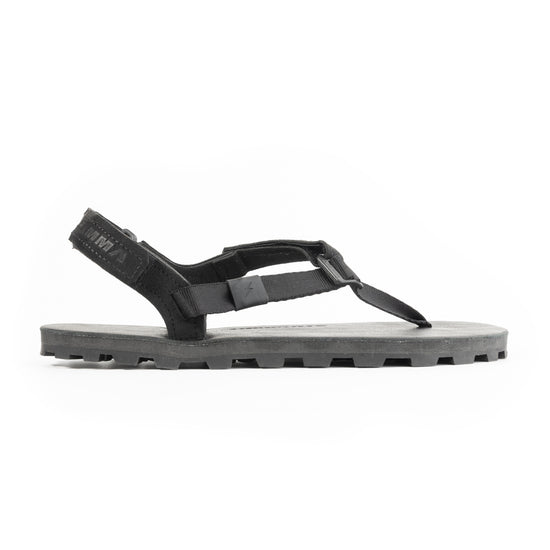
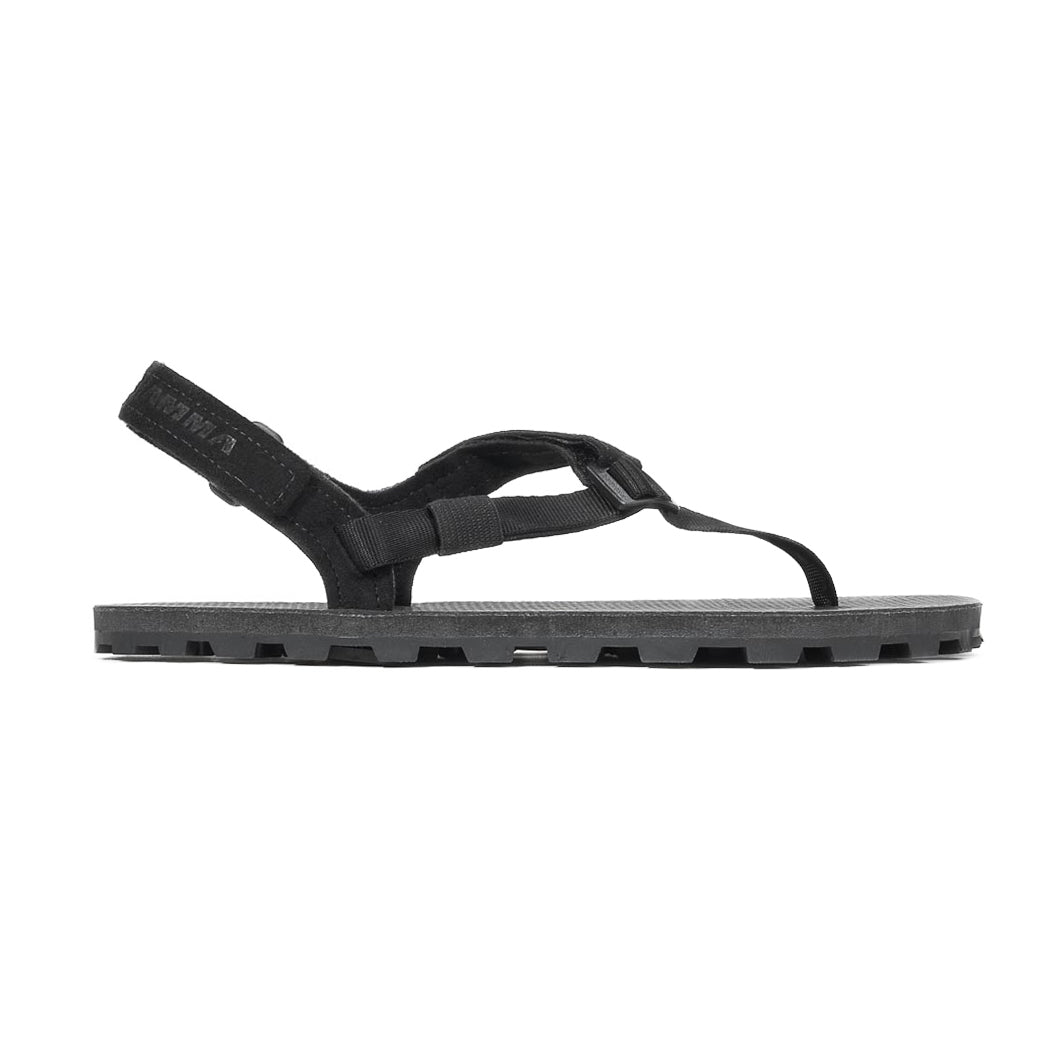
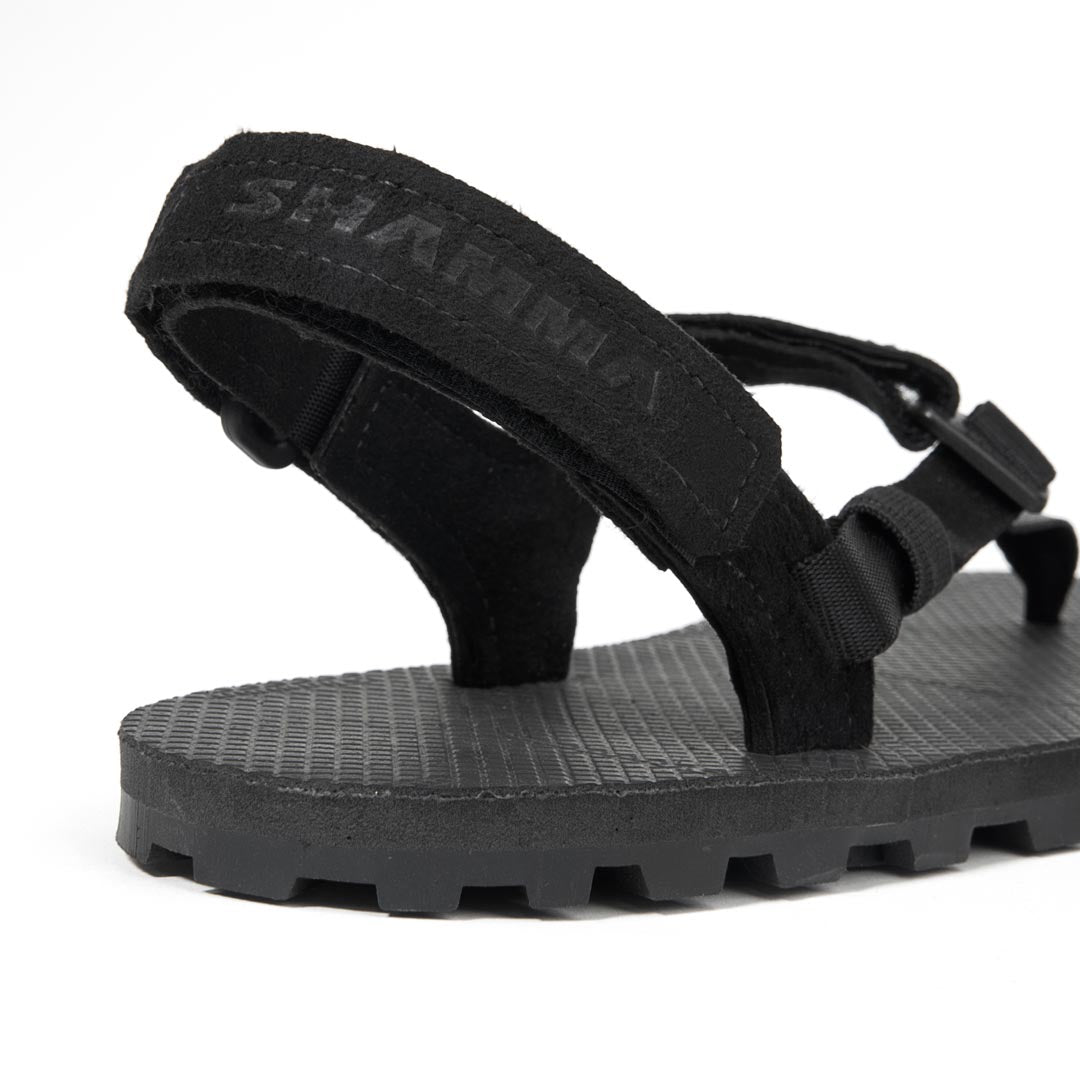
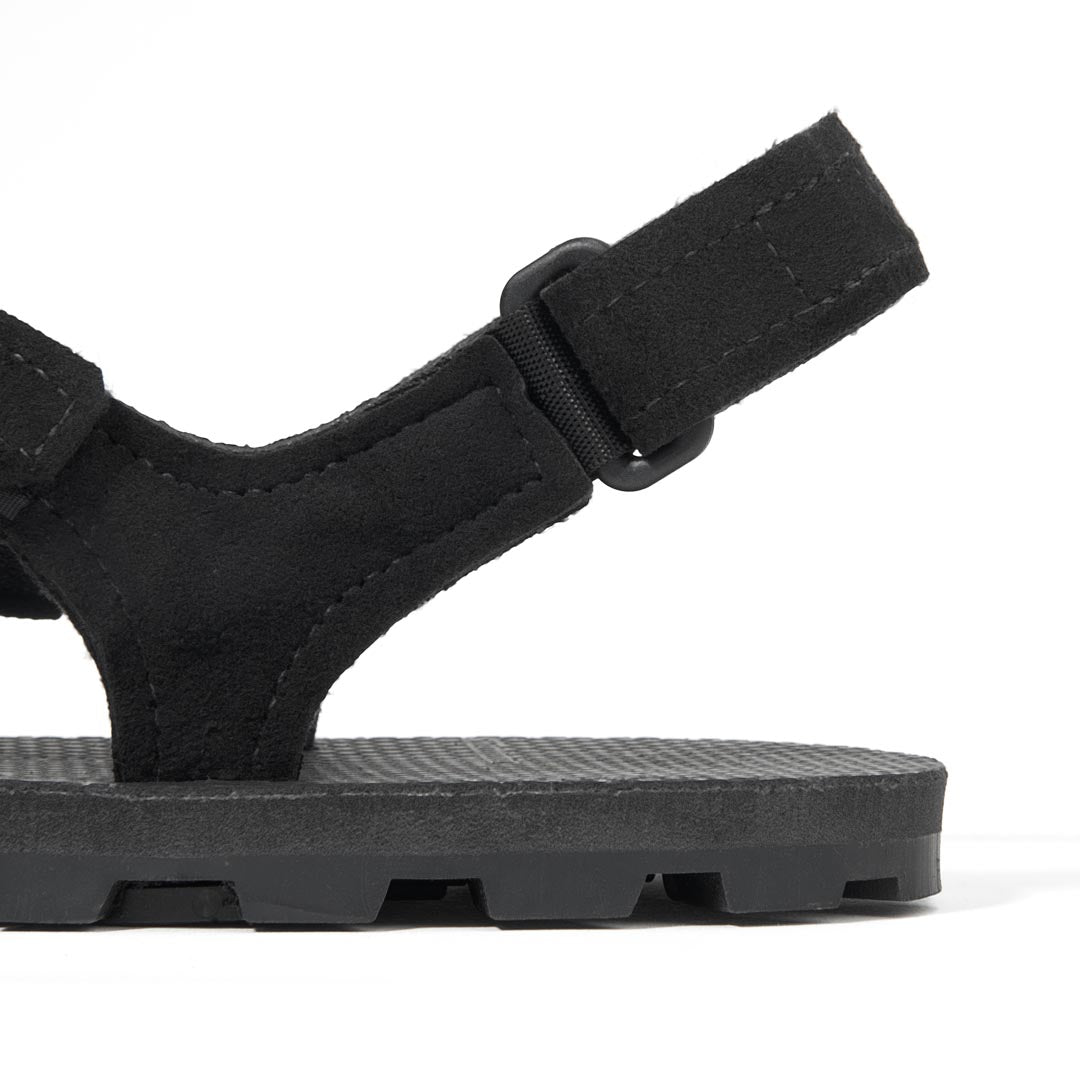
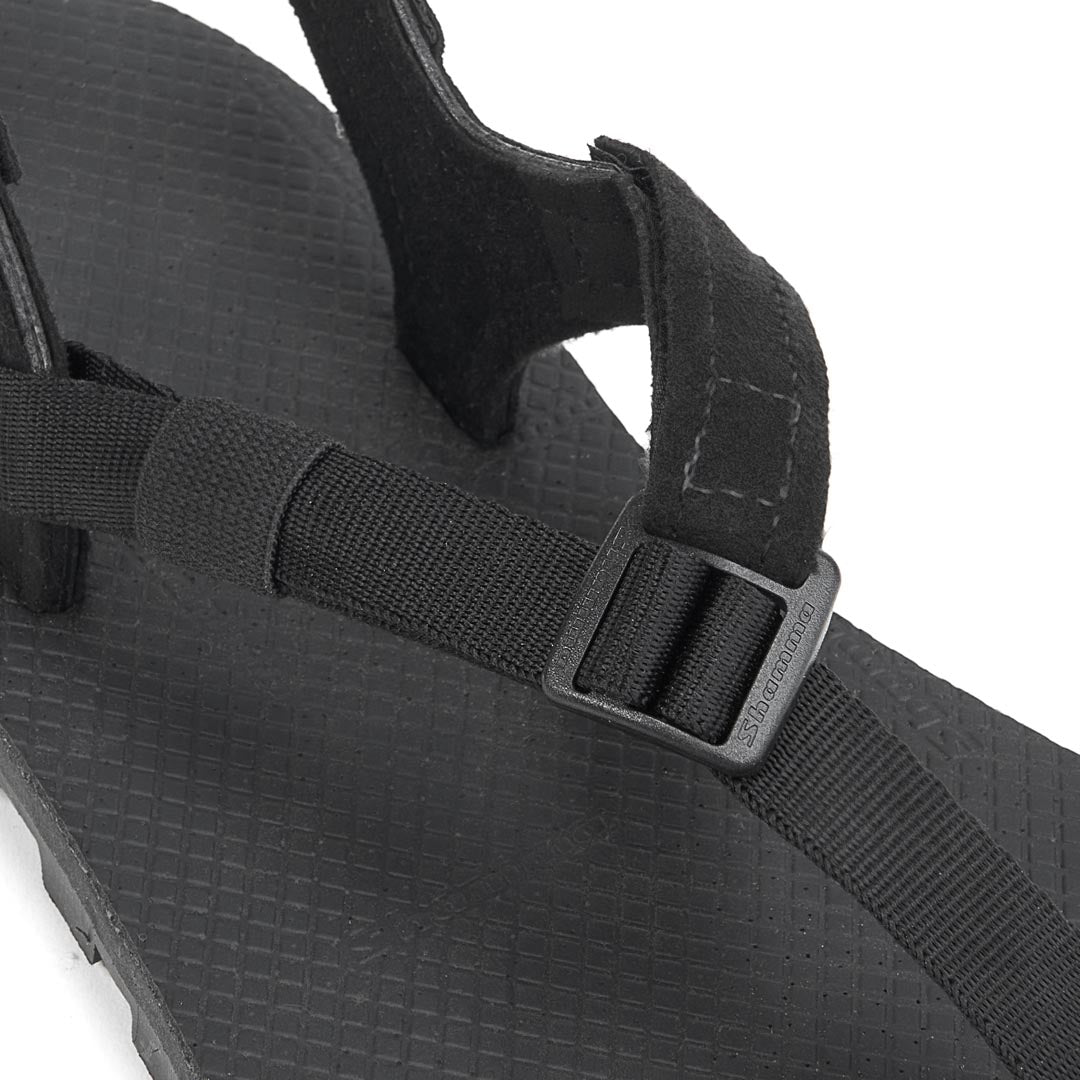
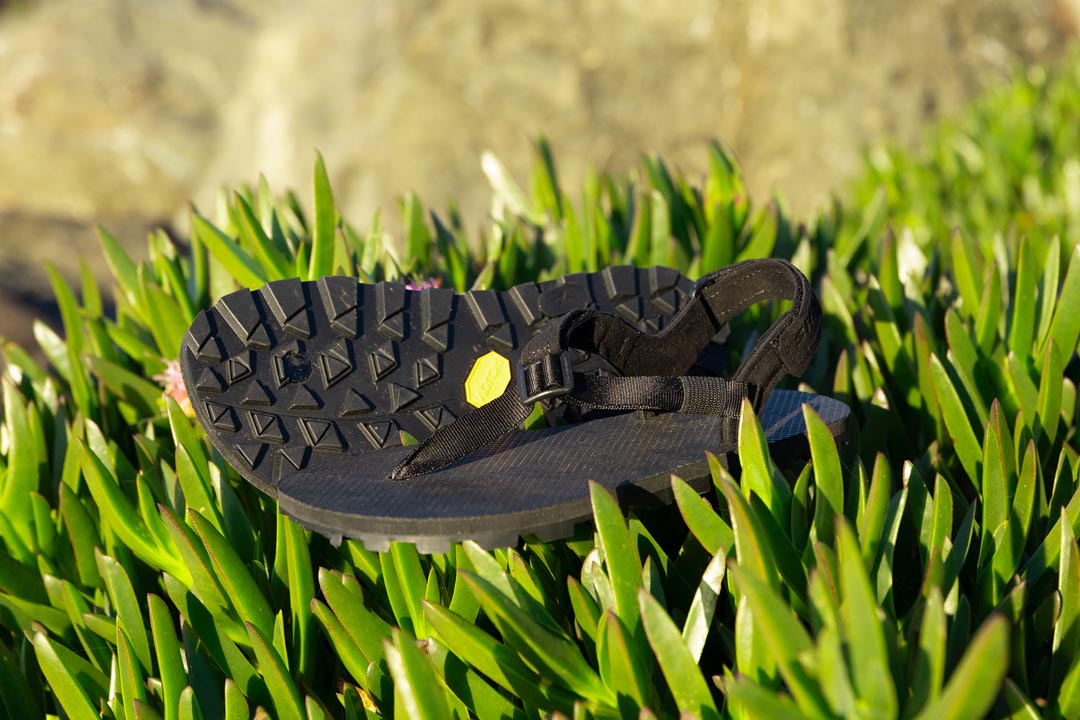
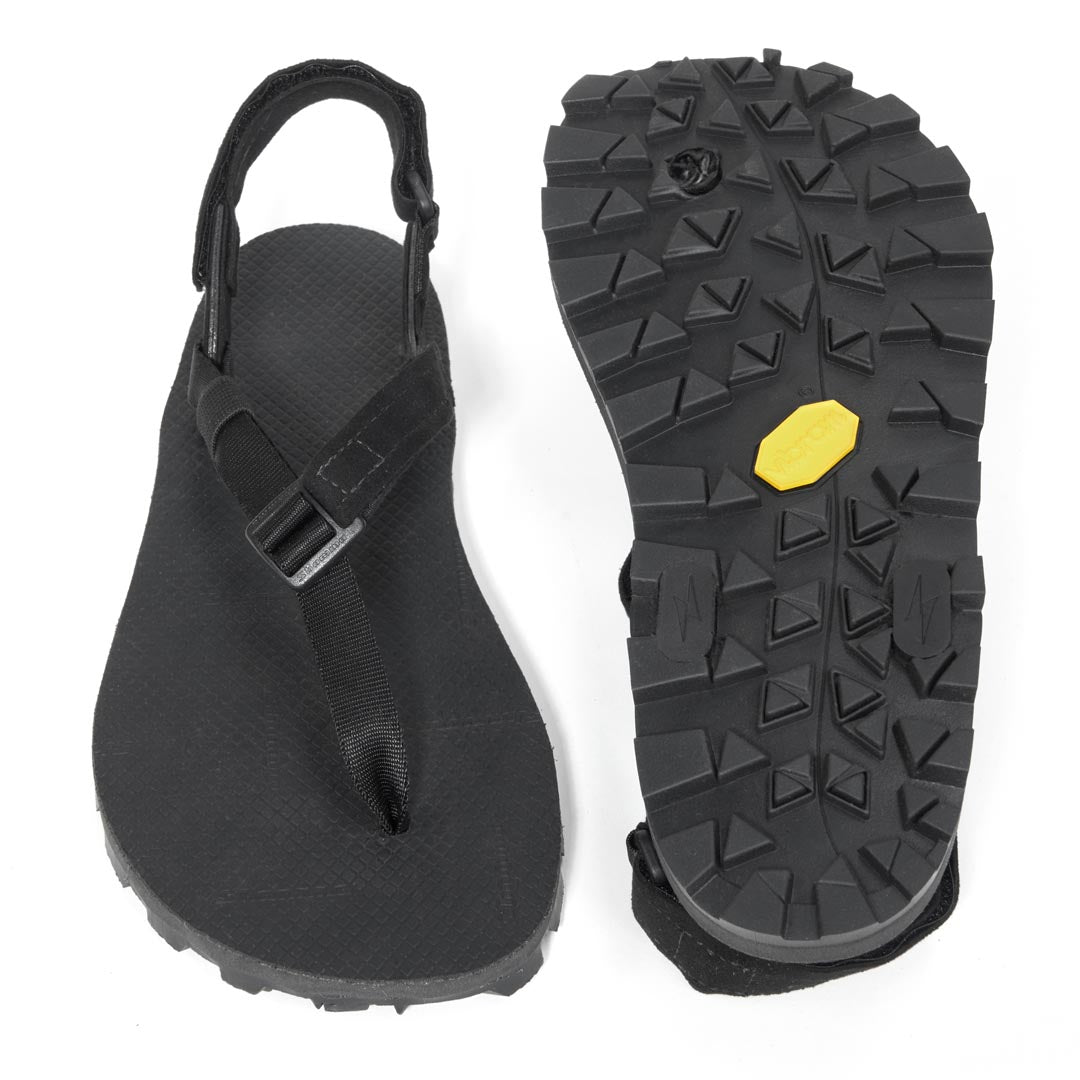
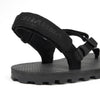
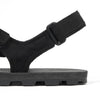
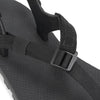
Elite Lacing System
The Elite Lacing System is the product of 10 years of relentless testing and development. This lacing system is designed with control, comfort, and performance in mind. Three independent adjustment zones - the heel strap, insole strap, and toe straps - give you total control over how the straps are adjusted to your feet. Velcro® fasteners make adjustment easy and secure. The Shamma Elite Buckle gives you the ability to fine tune your toe strap, where adjustment matters most. Our innovative and flexible heel posts keep the straps in an optimal position so you can focus on the road ahead. The Elite Lacing uses Toray® UltraSuede to create the highest levels of comfort available. If you want the highest performance laces, you want the Elite Lacing System!
Recraftable
Just because you wore a hole in your sandals, it doesn’t mean you have to throw them away! Our modular approach to sandal-making means that worn out parts can be replaced with a pair of pliers at home. Why throw away what you can repair? Visit our Parts Page to learn more!
Made in the USA!
Proud to be made in the USA and we wouldn’t have it any other way! All of our sandals are made right here in Santa Cruz, CA by our small team, using primarily US sourced materials along with high quality components from Italy, Germany, and other international partners. Follow us on Instagram and YouTube to get a glimpse of how we do it on a regular basis.
A note about the Tan Sahara Maximus and Tan Sport sandals: Due to external materials shortages, tan sandals will be made with a 7.5 mm Morflex. This is a soft and flexible material with more groundfeel. The Tan Sahara Maximus will have an additional 1mm tan leather footbed.
Step-by-Step Instructions: