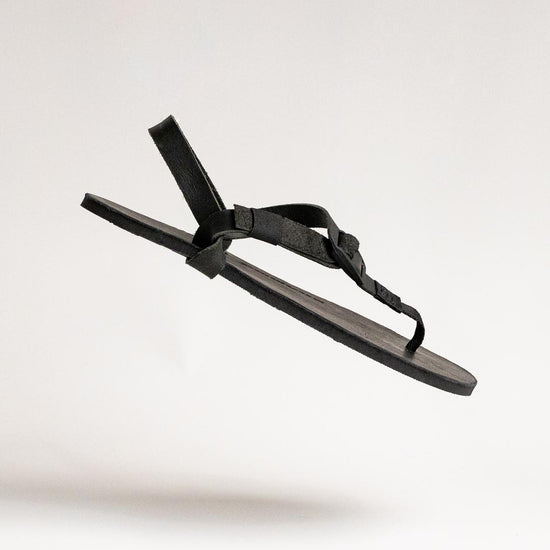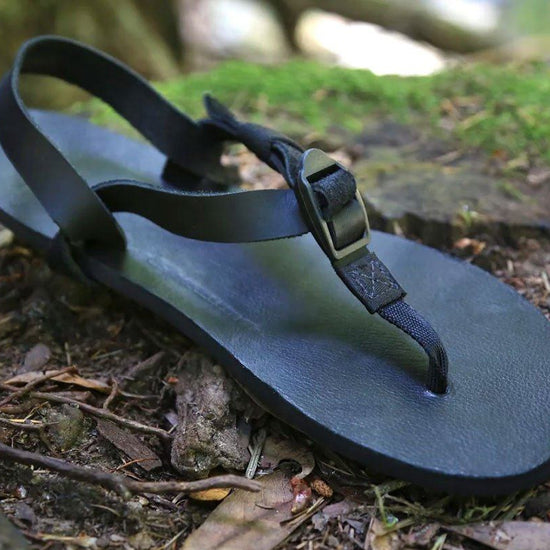


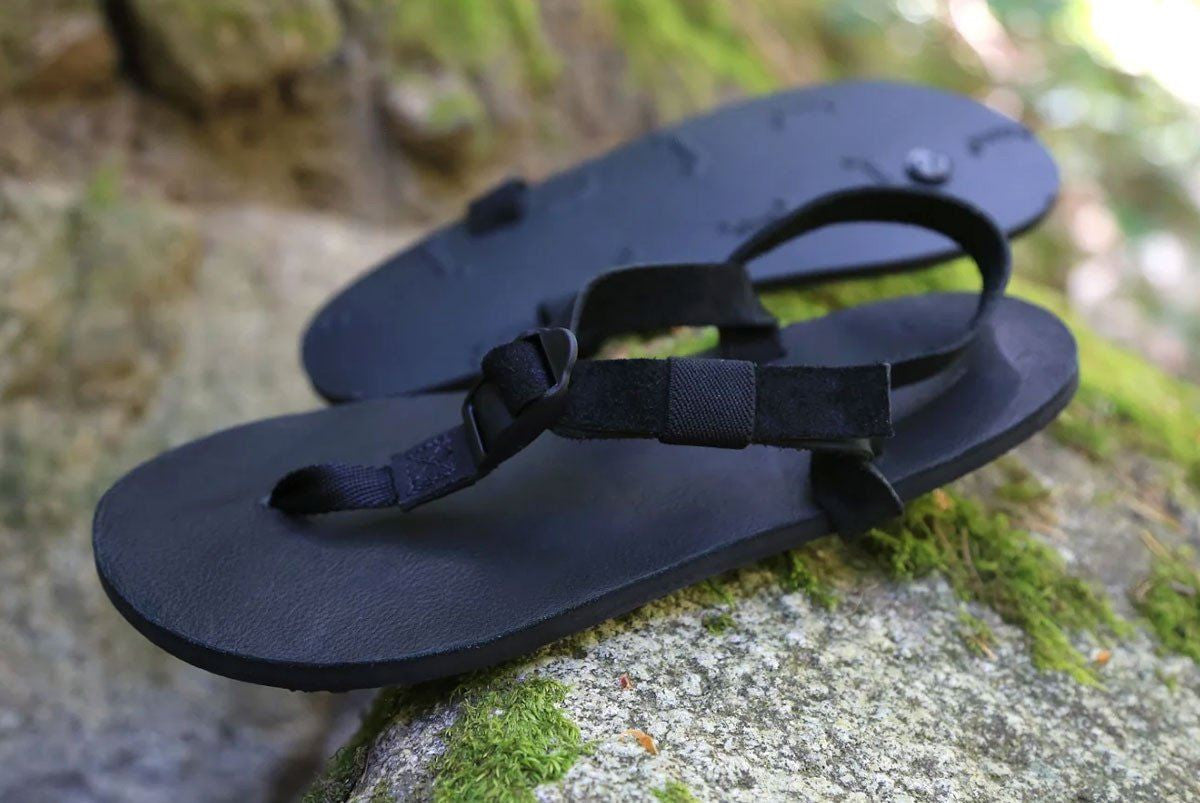
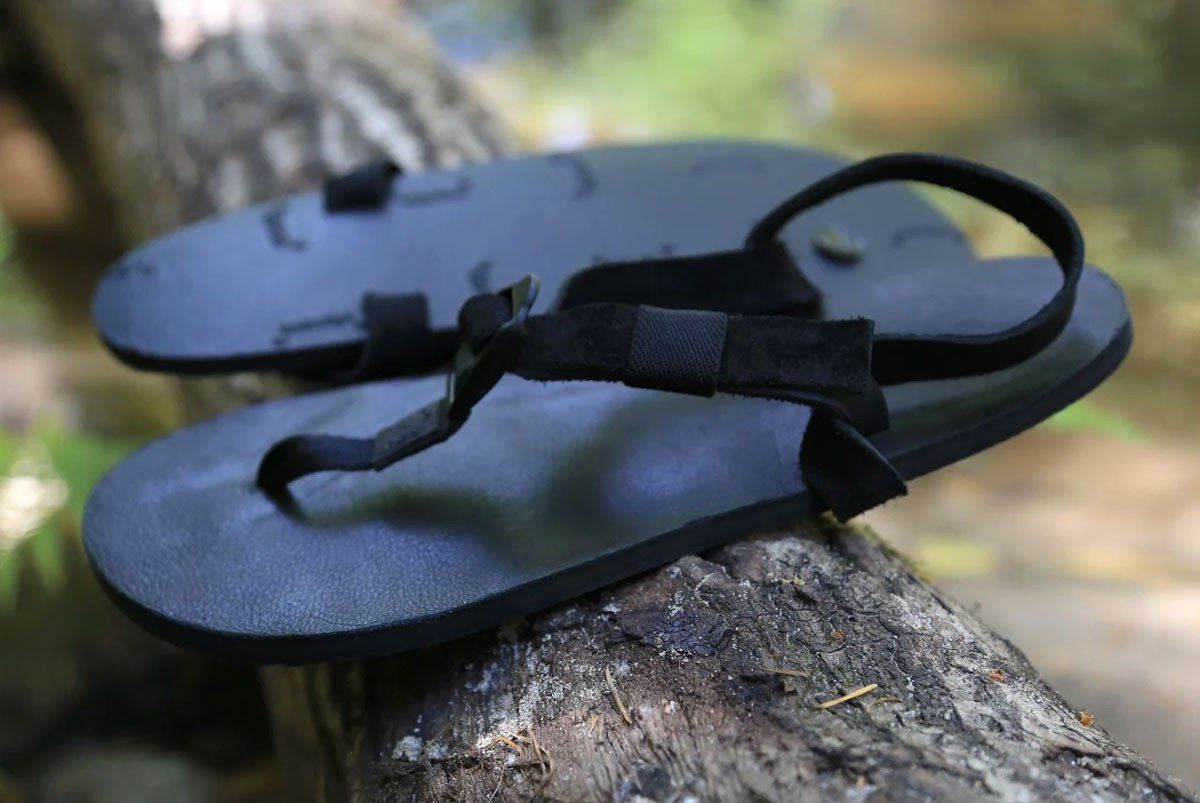
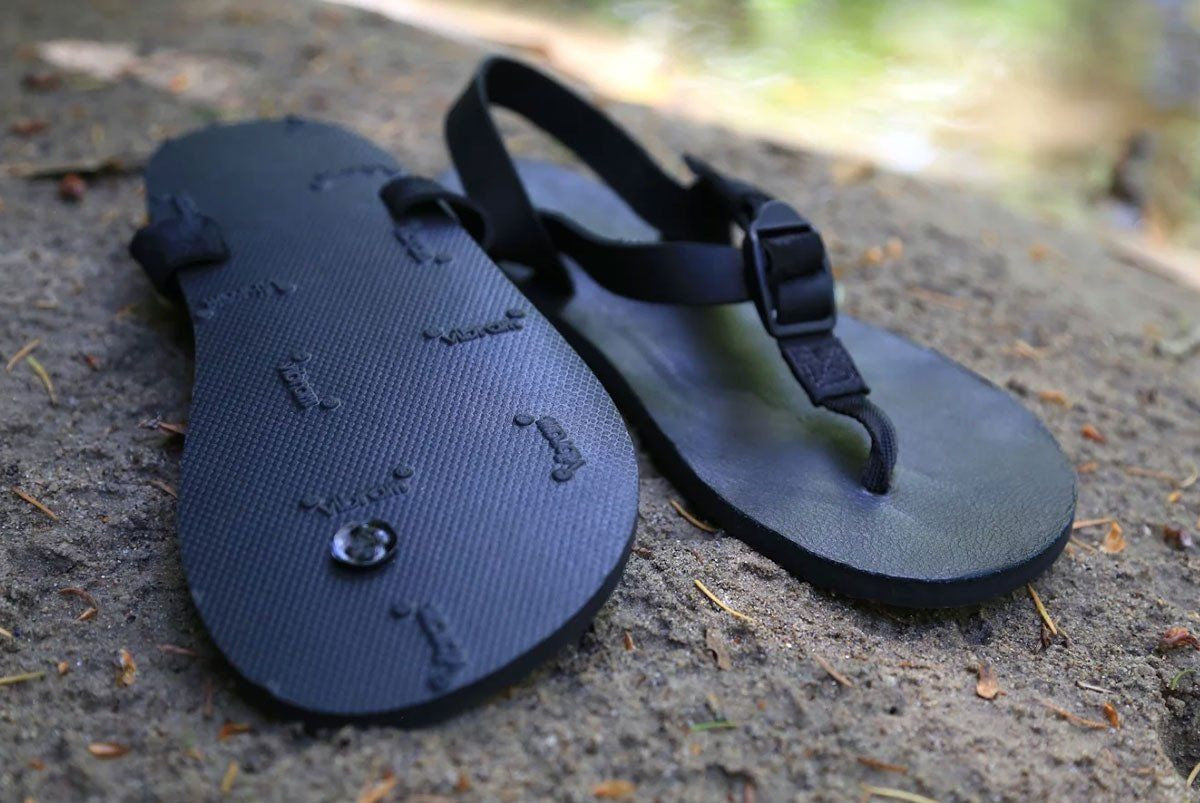

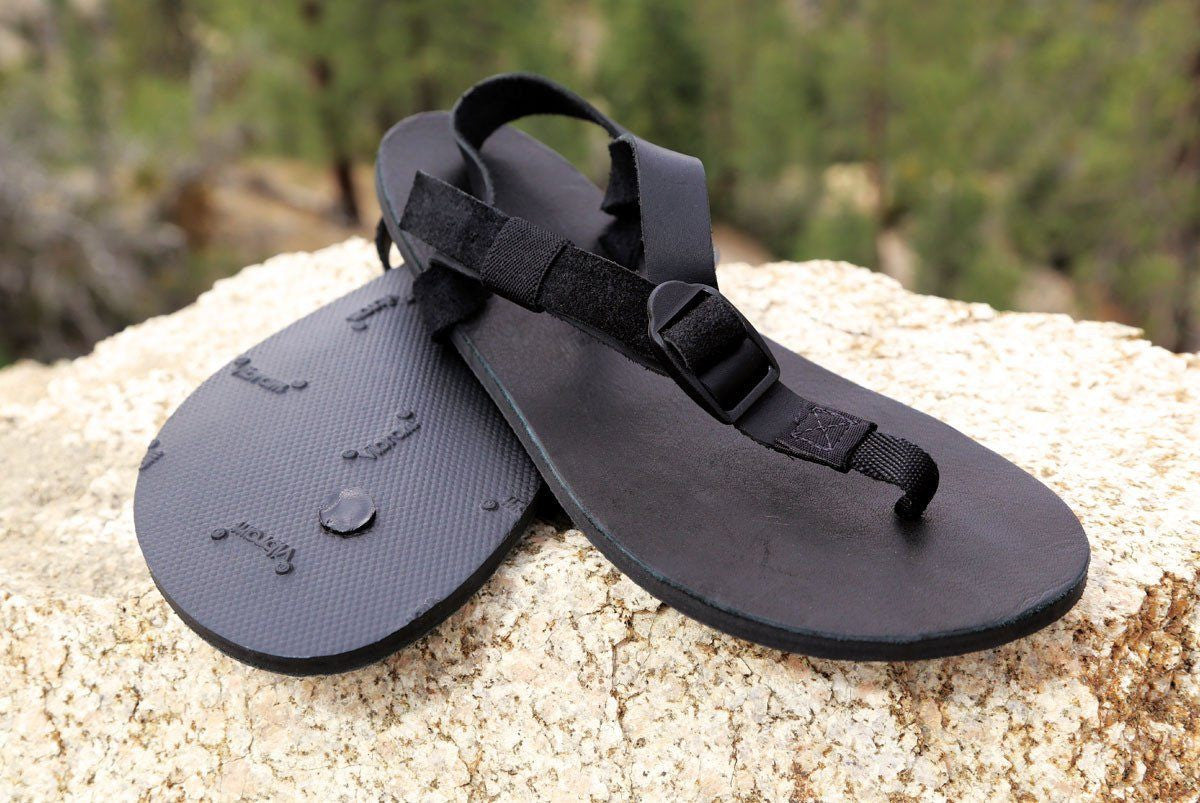
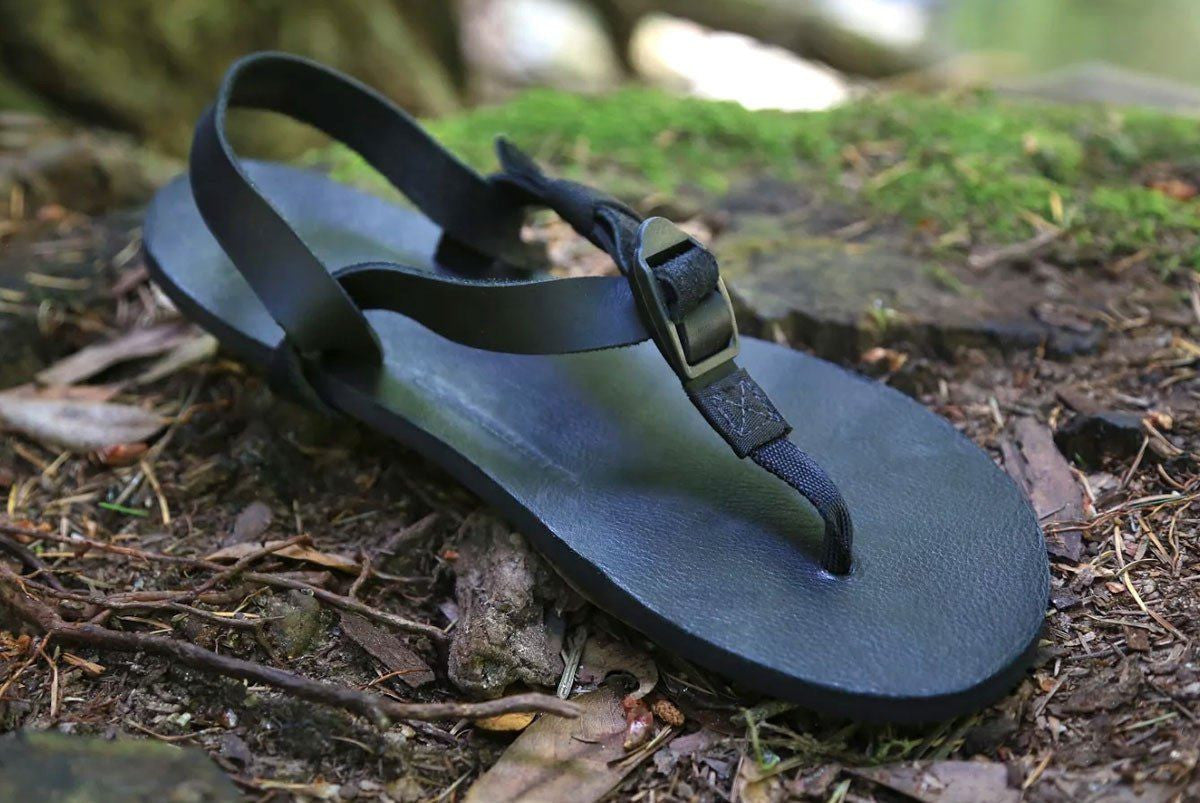
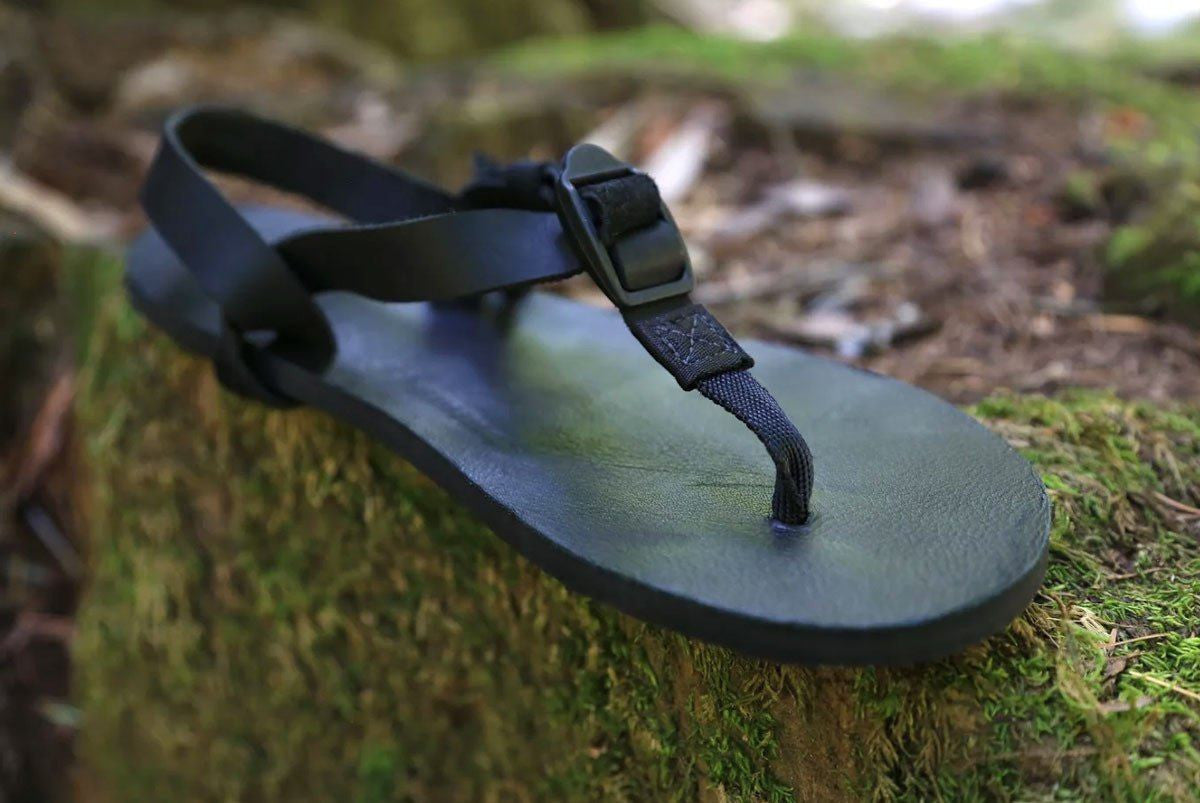


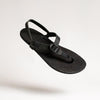


All Blacks
-
Free standard shipping in the USA
Shamma Production Period: 5 business days for most sandals (10 business days for Ibex and Pacific Avenue sandals)
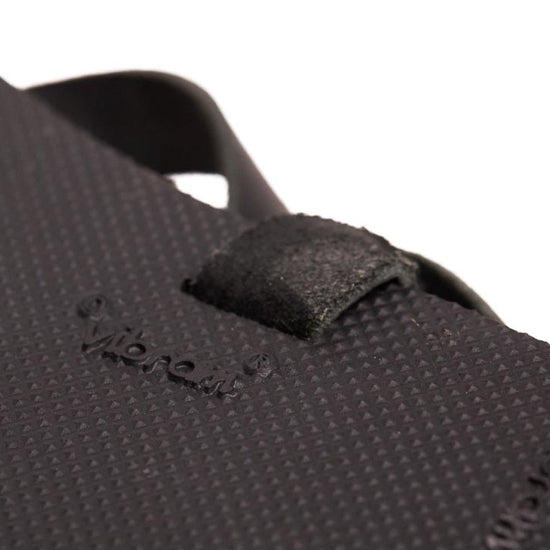
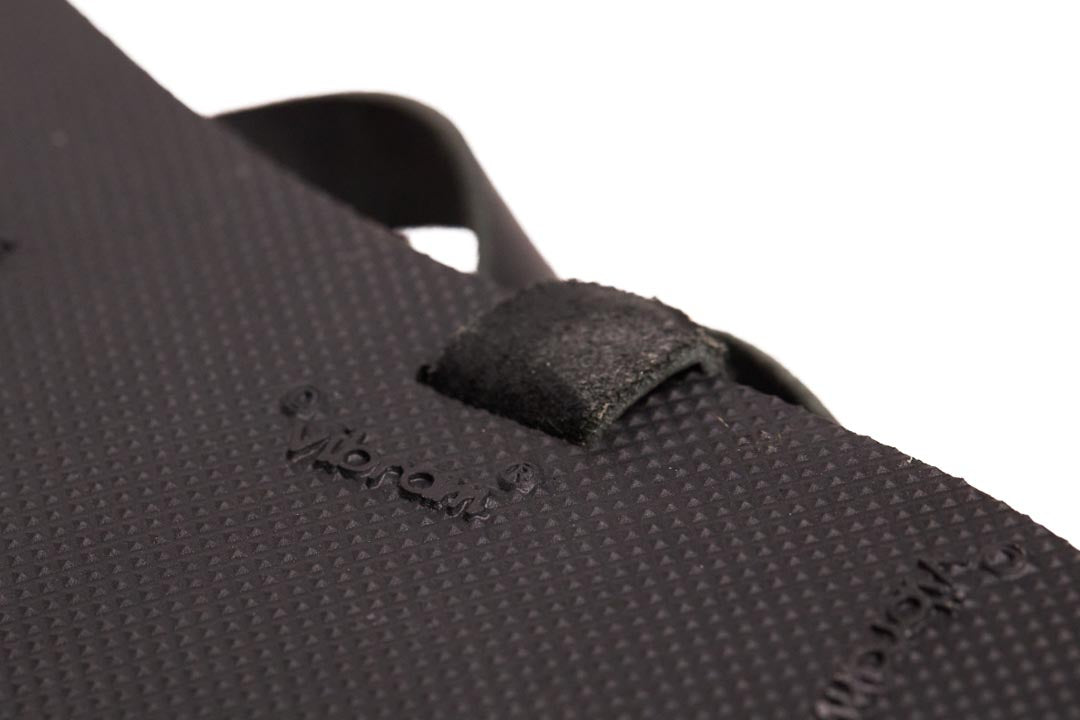
Proudly made in the USA with high quality domestic and imported materials
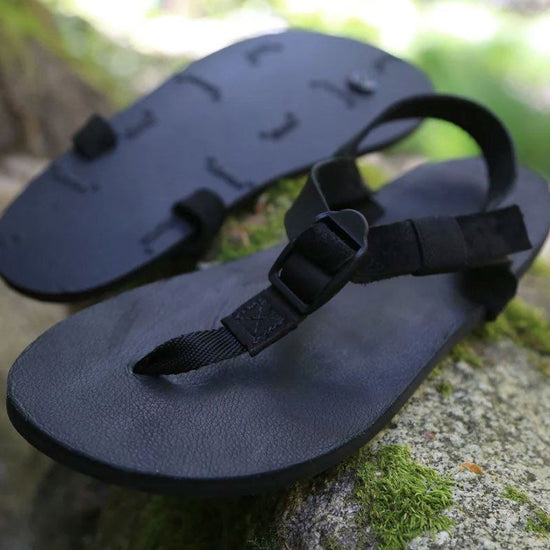
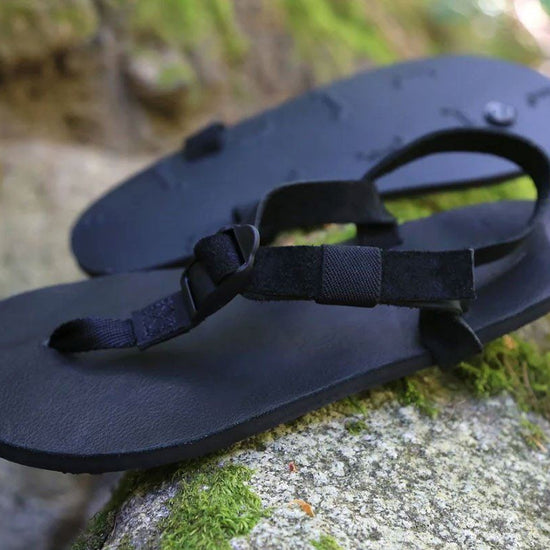
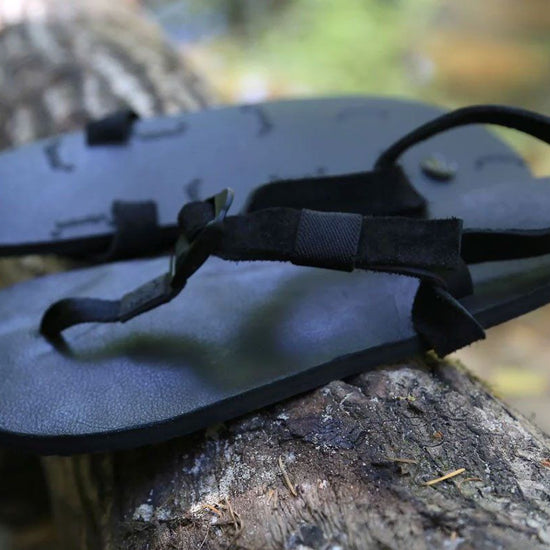
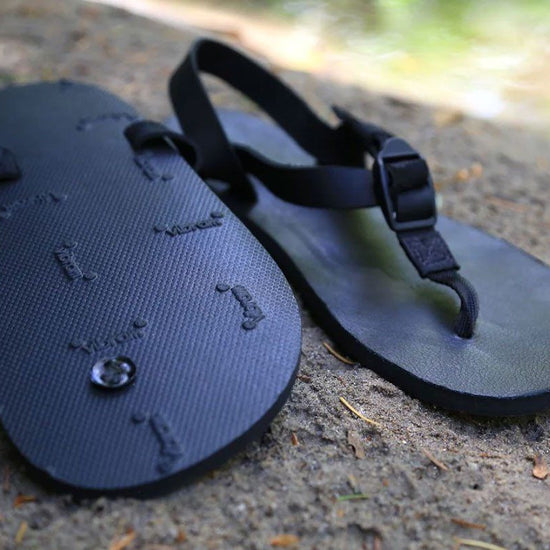
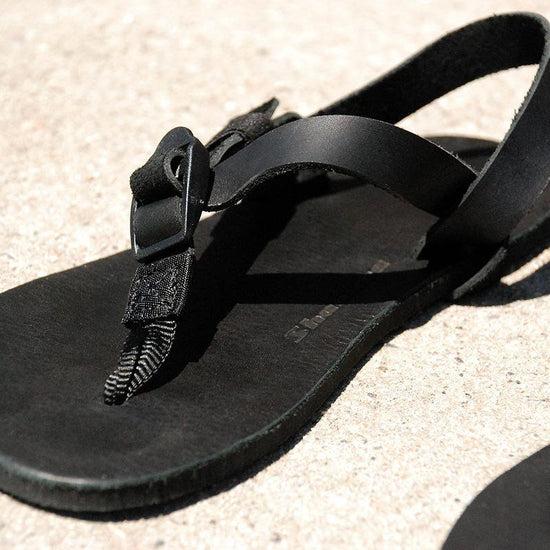
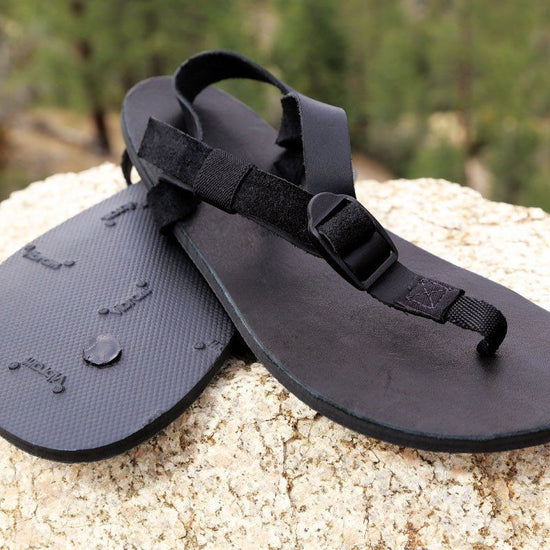
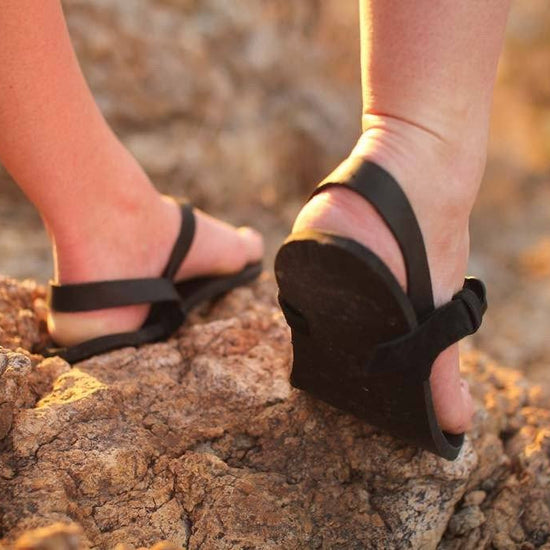
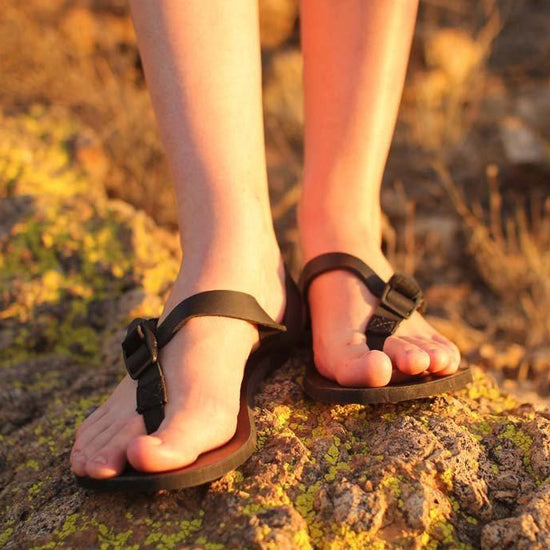
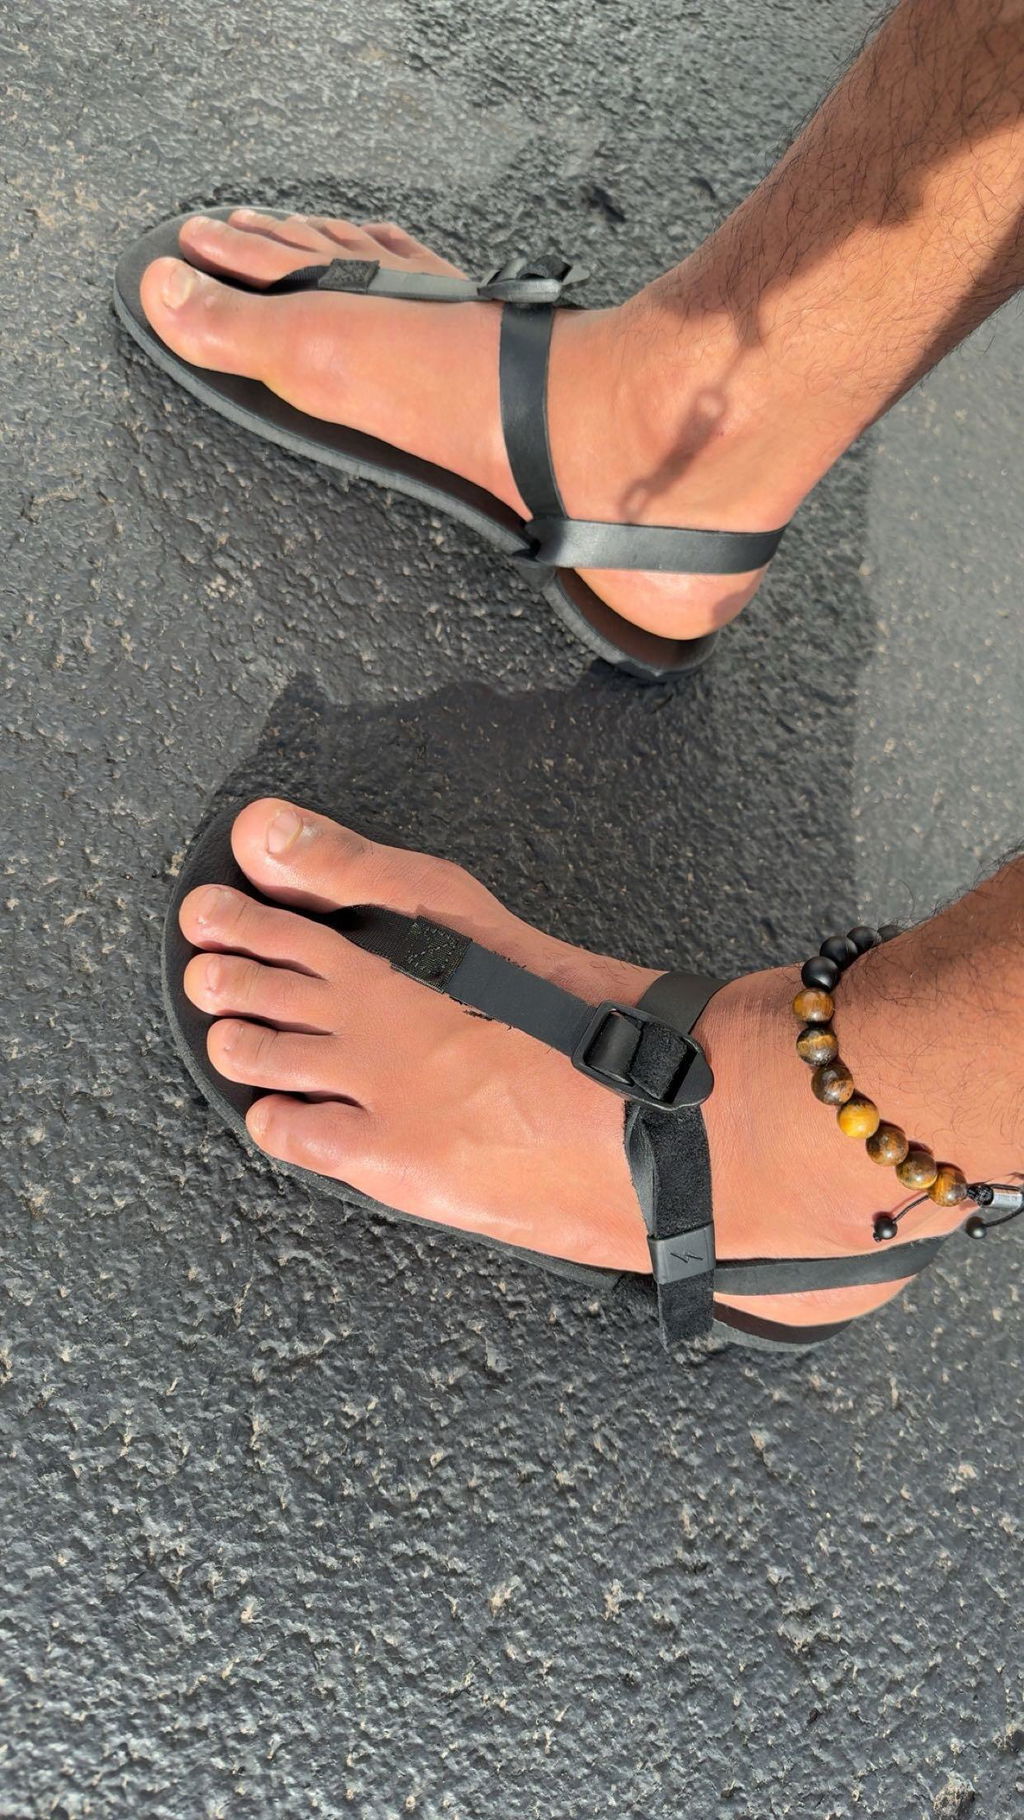
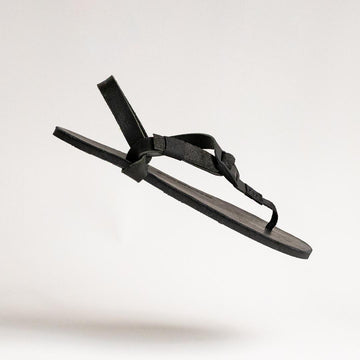
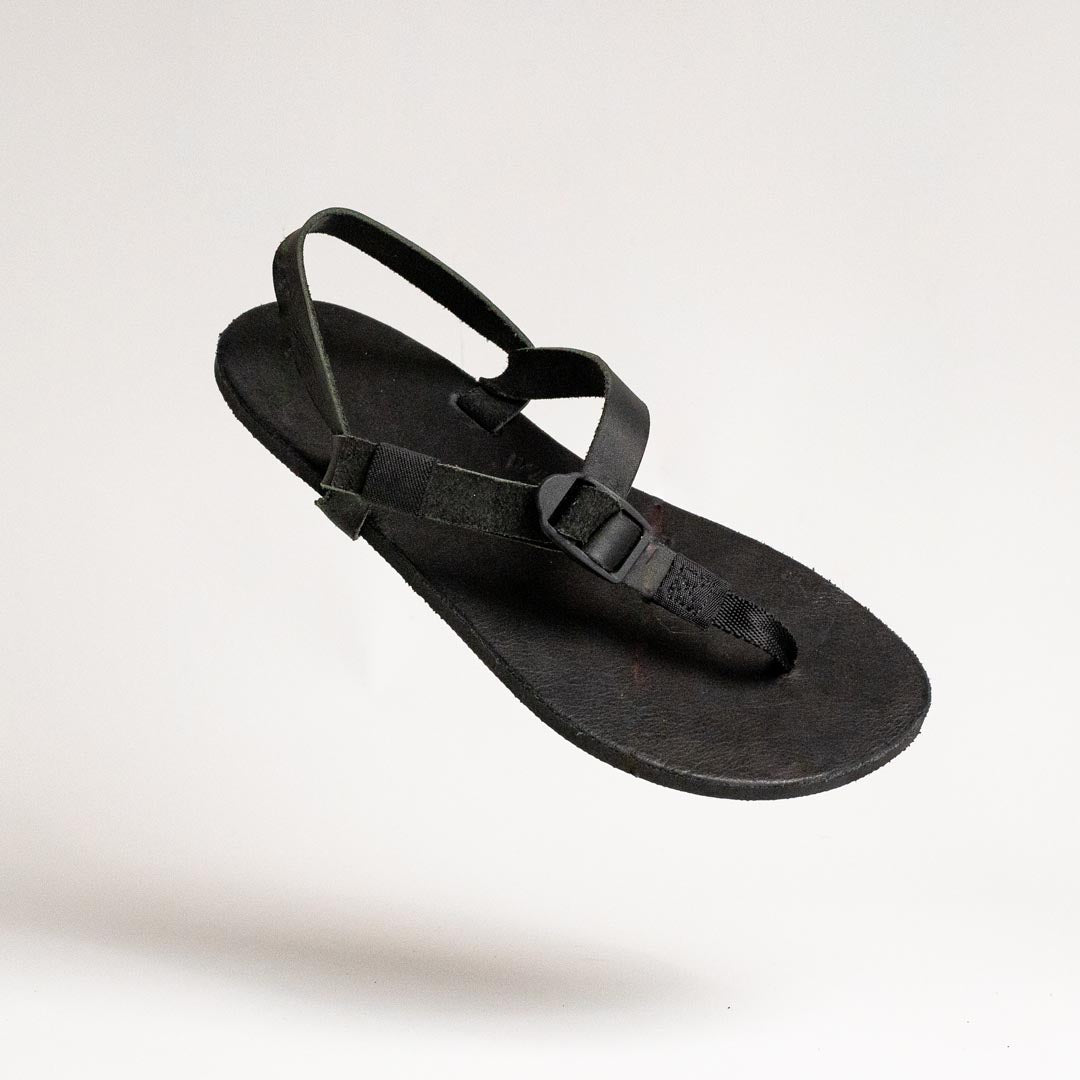
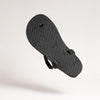
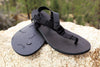
Back in Black! Shamma Classics are minimalist sandals with leather tops and leather lacing. Classics are for people who want a vintage leather look with a unique design. If you think that less is more, these are the sandals for you.
This order is eligible for FREE First-Class domestic shipping!
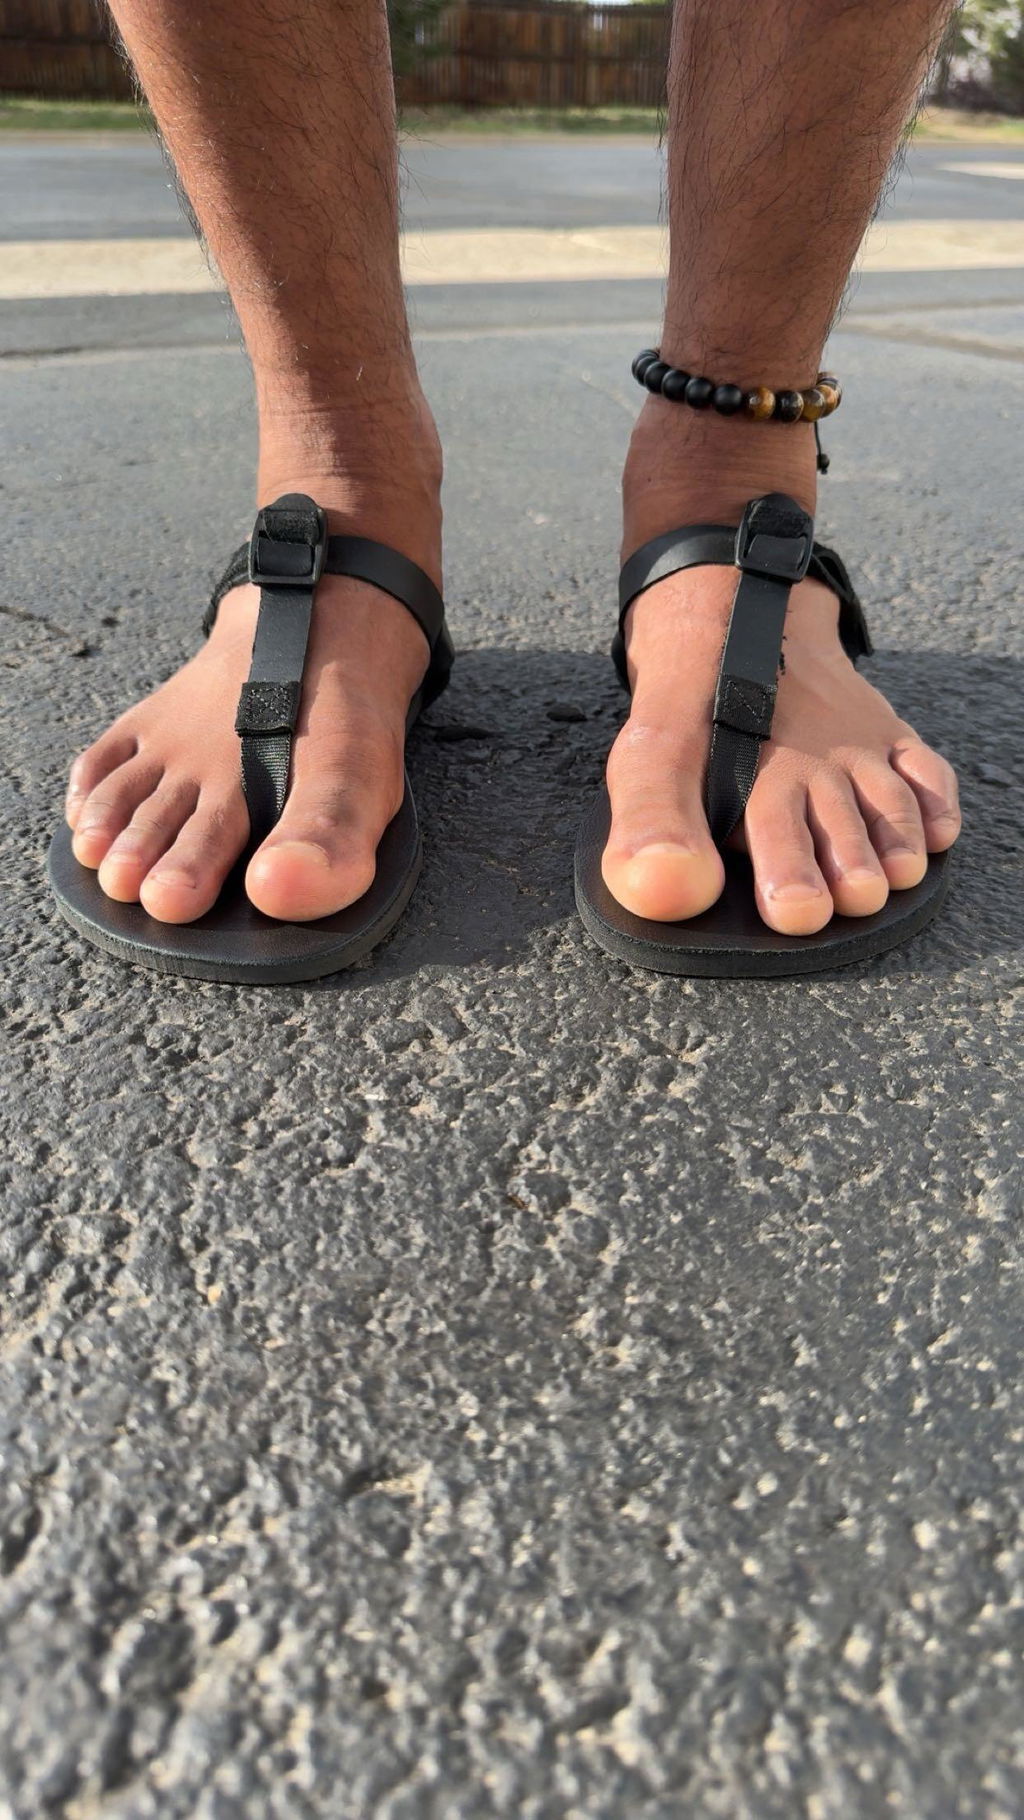
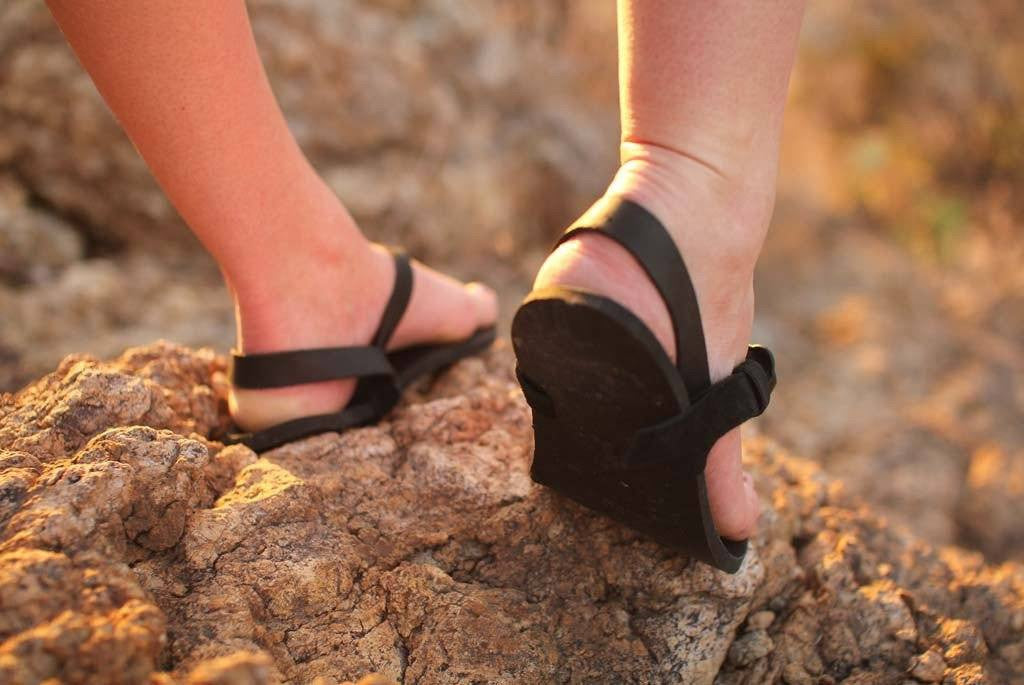
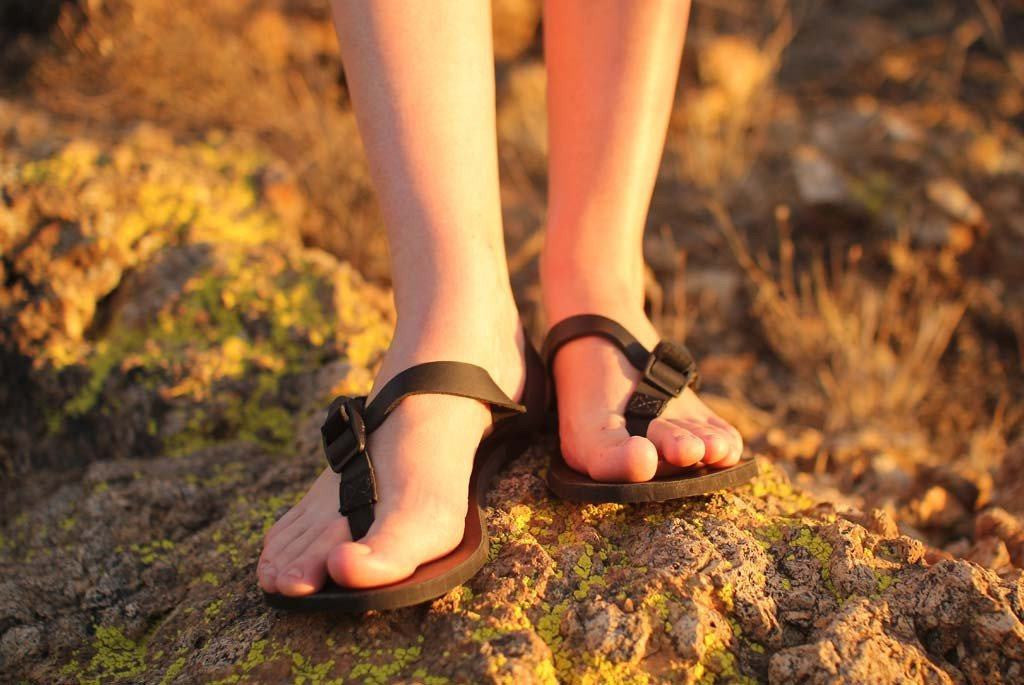
These sandals are shipped unlaced to achieve a custom fit for your feet. For more information on how to lace the sandals please click HERE