Classics Lacing Guide
Lacing Video
Step-by-Step Lacing Instructions
Let’s take a look at how to lace Classics models with this lacing guide. To make it easy to follow along, we’re showing it in a lot of detail. There’s step-by-step photos below as well as the video.
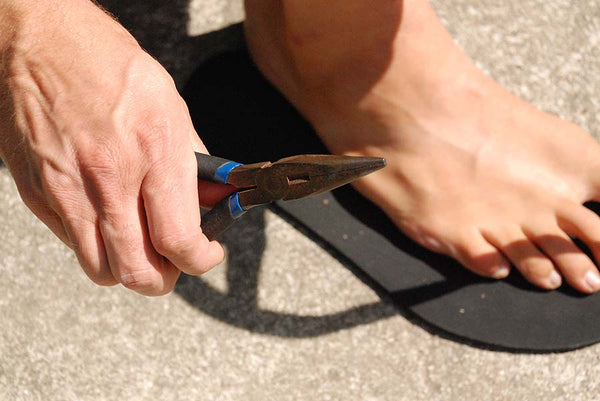
You can do this by hand, but it's even easier with the following tools handy:
- needle-nose pliers
- sharp scissors
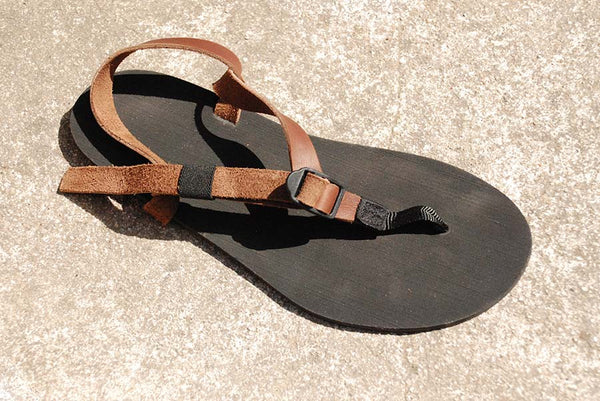
Here’s where we want to get:
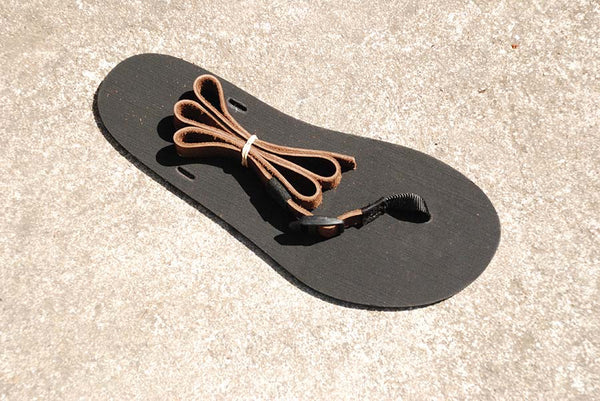
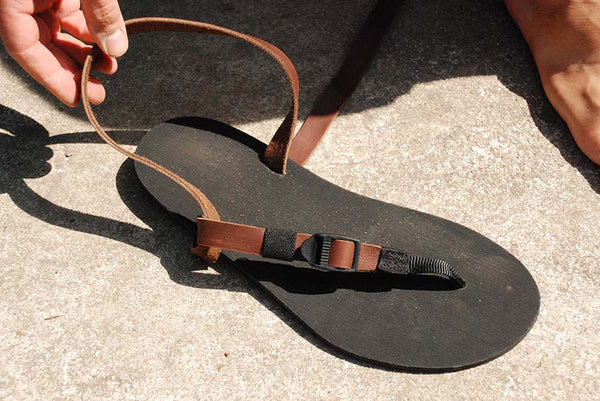
When your sandals first arrive, they should come like this (with your chosen footbed, of course):
You’ll notice a lot of extra leather strap. This is so that you can cut the laces to fit at the end.
If you have them, get your needle-nose pliers now. If you don’t, you can use your fingers but it’s a bit harder.
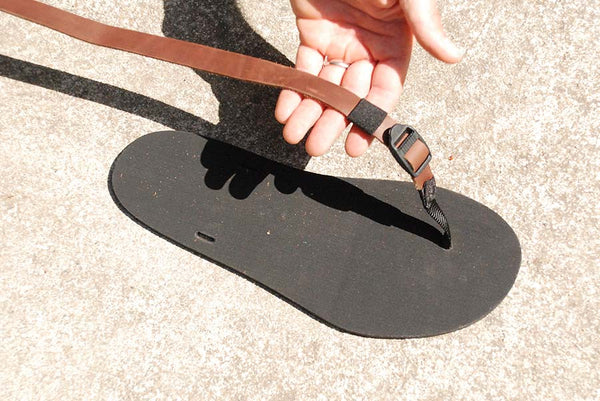
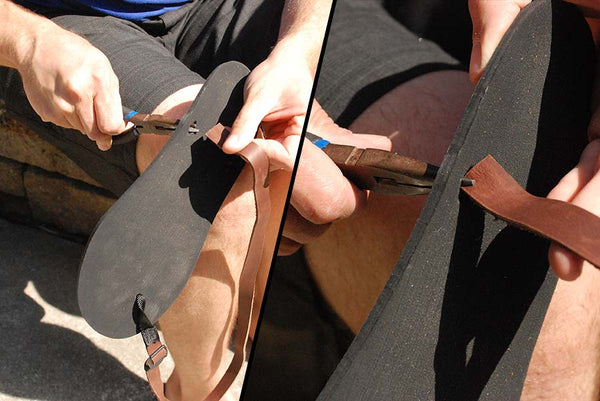
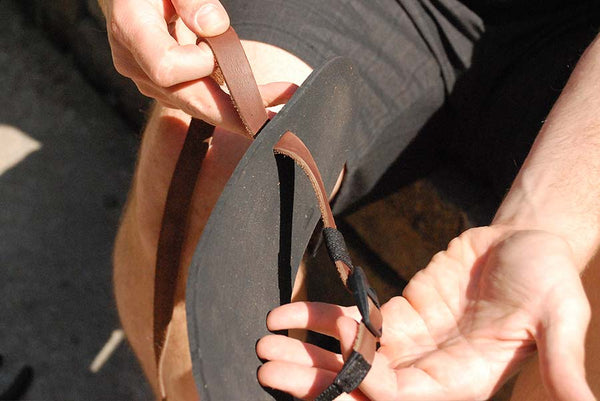
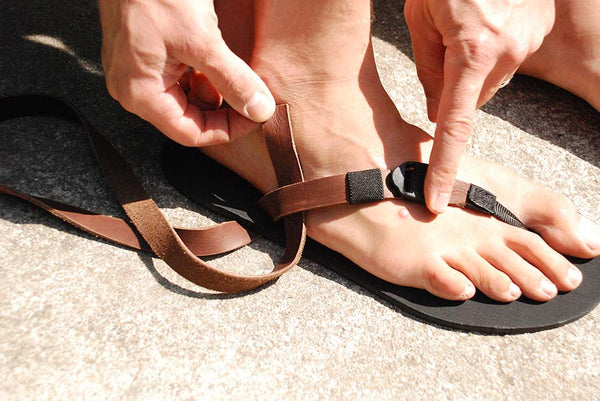
Use your fingers or the pliers to pull the leather strap through the outside ankle slot first. The smooth part of the leather faces out, the rough side faces in towards where your foot will be.
Pull the excess strap through the ankle slot, but keep a little slack for your foot.
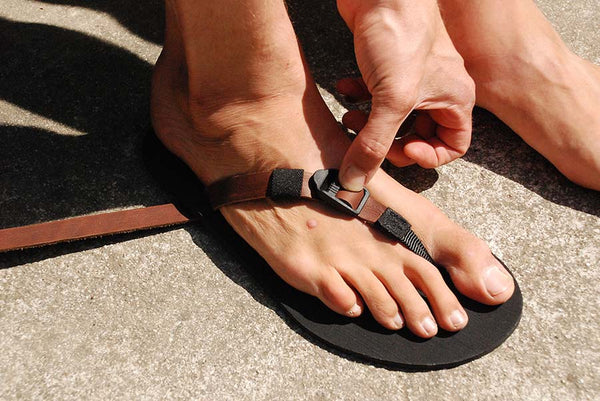
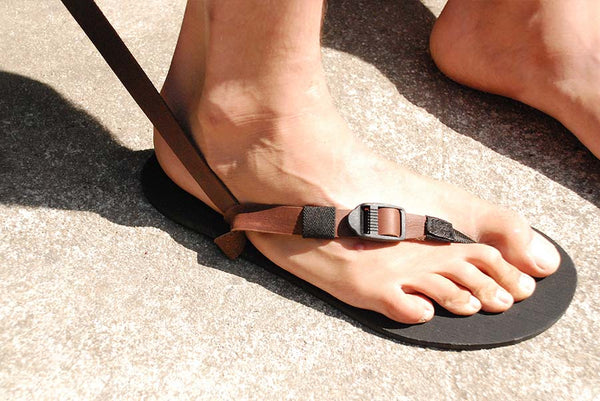
Put your foot on the sandal. Hold the buckle roughly in the middle of your foot, parallel with the bone of your big toe.
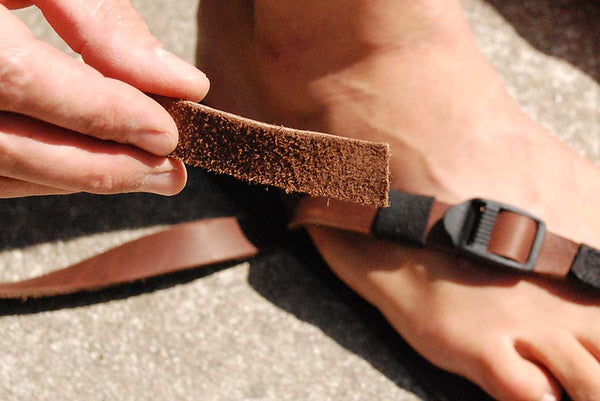
Except for the very last step, keep in mind that the entire time you’re lacing, the rough (suede) side of the leather will be touching your skin. The smooth side of the leather will face away from your skin.
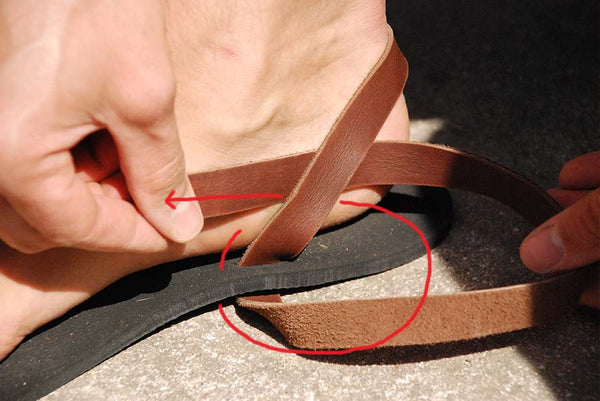
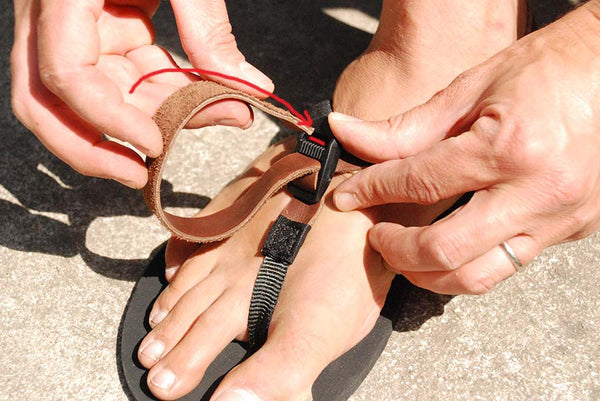
Loop the strap under itself as shown in the image. Remember that the rough (suede) side of the strap should face your skin.
Tighten the strap, but leave a little slack to position the buckle later.
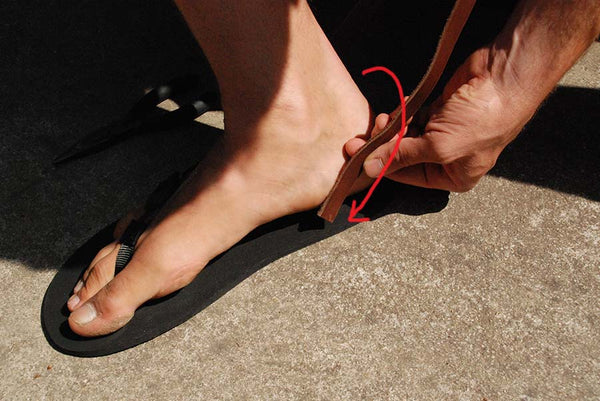
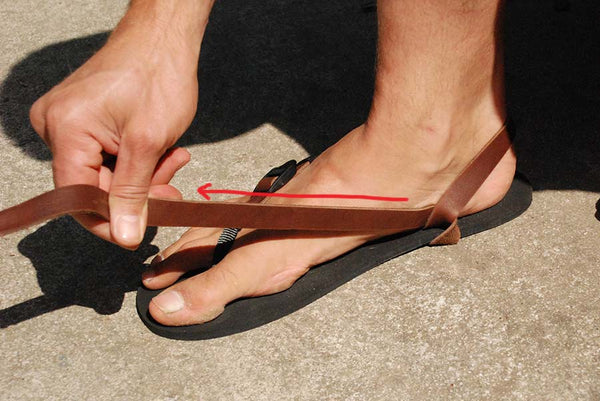
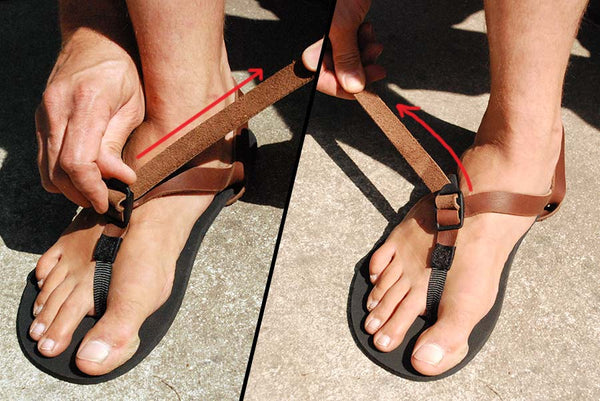
Pull the strap around your heel and towards the inner ankle slot.
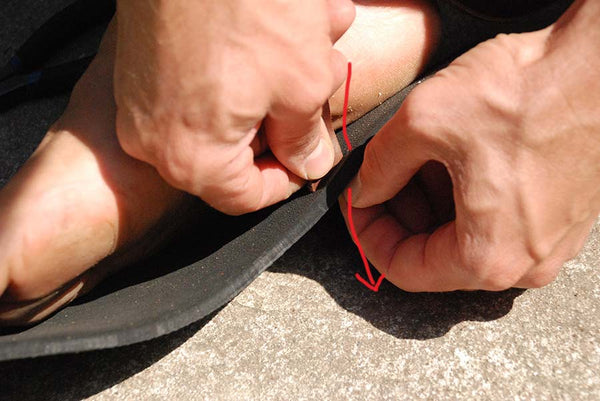
Using your fingers or the pliers, pull the strap through the inner ankle slot. Remember that the rough side of the leather faces towards your skin.
This is how the sandal should look after you’ve gotten this far. Great job! Just a little more to go.
Loop the strap under itself again, this time on the inner ankle. The rough side of the leather should be against your skin.
Tighten the loop.
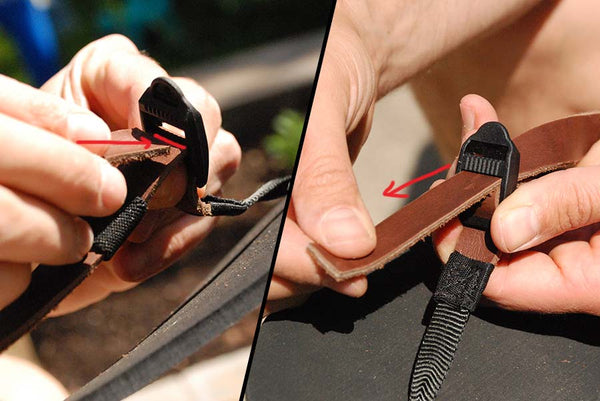
Now it’s time to lace the buckle! The buckle has 3 slots – top, middle, and bottom. The slot you’re aiming for is the middle slot of the buckle, where the leather strap has already run through. So, you’ll have 2 layers of leather lace in the middle buckle slot. Shown below from front and back sides of the buckle.
Pull the lace through the buckle. To make this easier, you can twist the buckle first to be inline with the strap on the outer side, and then twist it to be inline with the strap on the inner side, pull each time. The strap should be snug but comfy, final adjustment comes at the end.
Ok! This is the ONLY step where the rough side of the leather strap does NOT face your skin, it will face up. Loop the end of the strap around and run it through the top slot of the buckle as in the image.
Tighten the strap for a comfy fit. As before, it’s helpful to twist the buckle to line it up with the inner and outer straps when tightening.
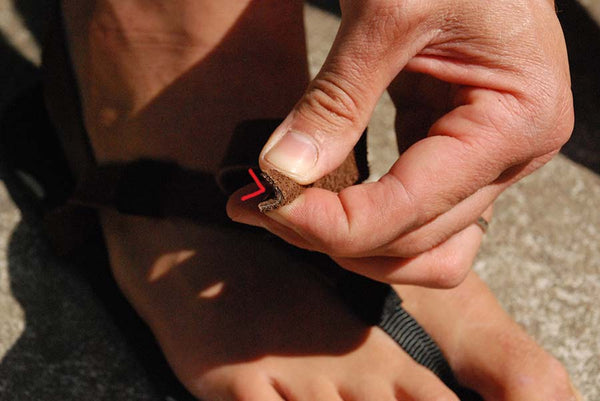
The Lace Keeper keeps your excess strap from flapping about. To make it easier to insert the strap in the Keeper, try making this “Taco” shape at the end of the lace.
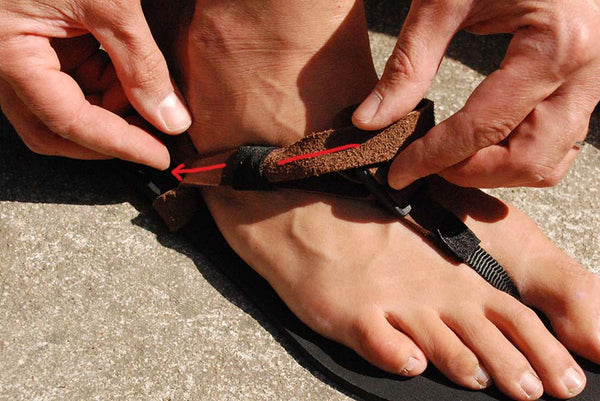
With your fingers (or the pliers), pull the lace through the Lace Keeper.
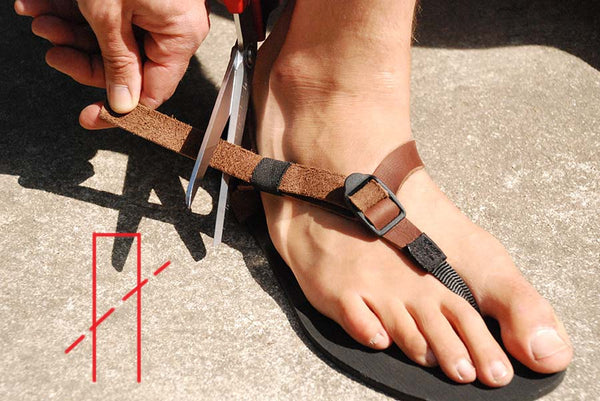
Get that pair of scissors out. Trim the leather lace to your fit. We recommend leaving a bit extra the first time in case you need to make an adjustment. We also like to make a angled cut, as drawn in the image below.
Finished! You did it! Happy Trails!

