


Elite Warriors (6mm)
-
Free standard shipping in the USA
Shamma Production Period: 5 business days for most sandals (10 business days for Ibex and Pacific Avenue sandals)
Proudly made in the USA with high quality domestic and imported materials
Pair Weight (size 9):
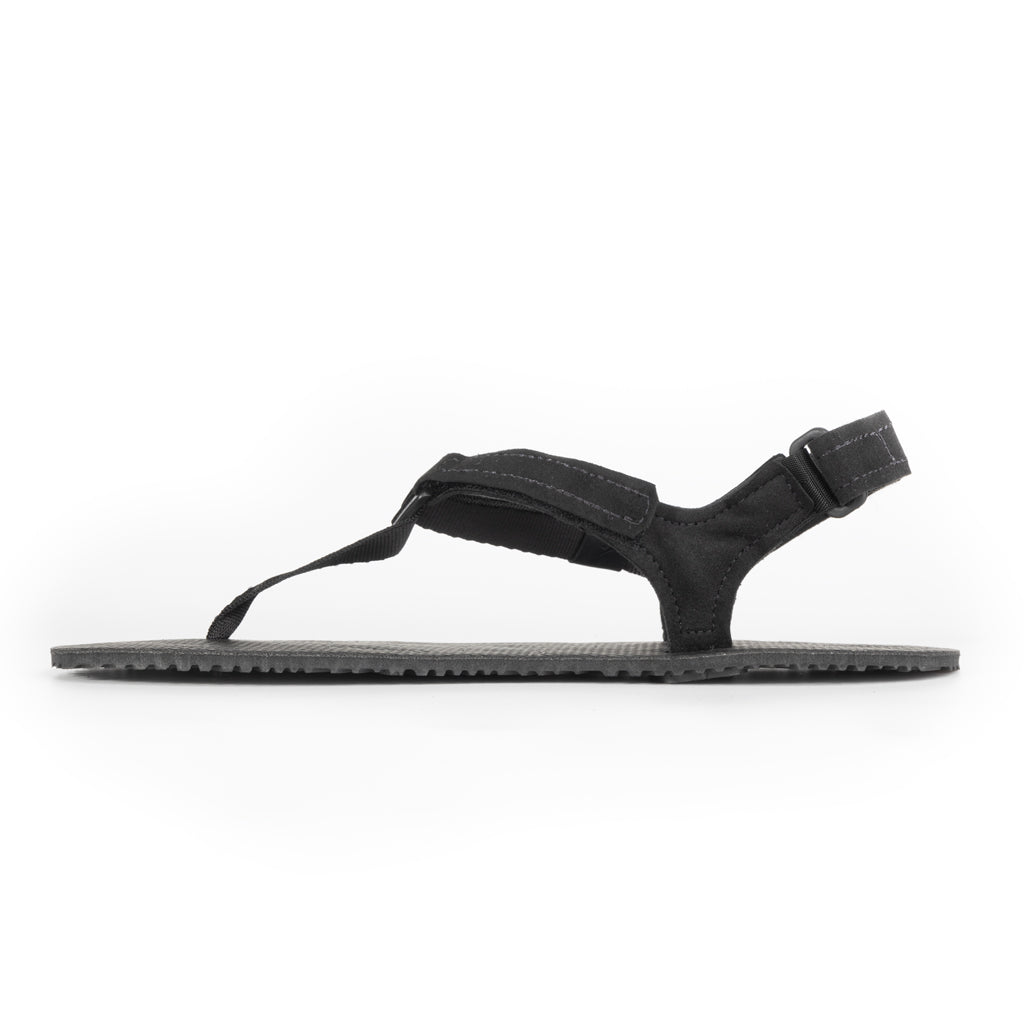
Thickness: 6 mm


*Please note that the ultrathin Warrior sole requires a break in period for the posts to be properly set. The posts will soften and become more comfortable after several wears*
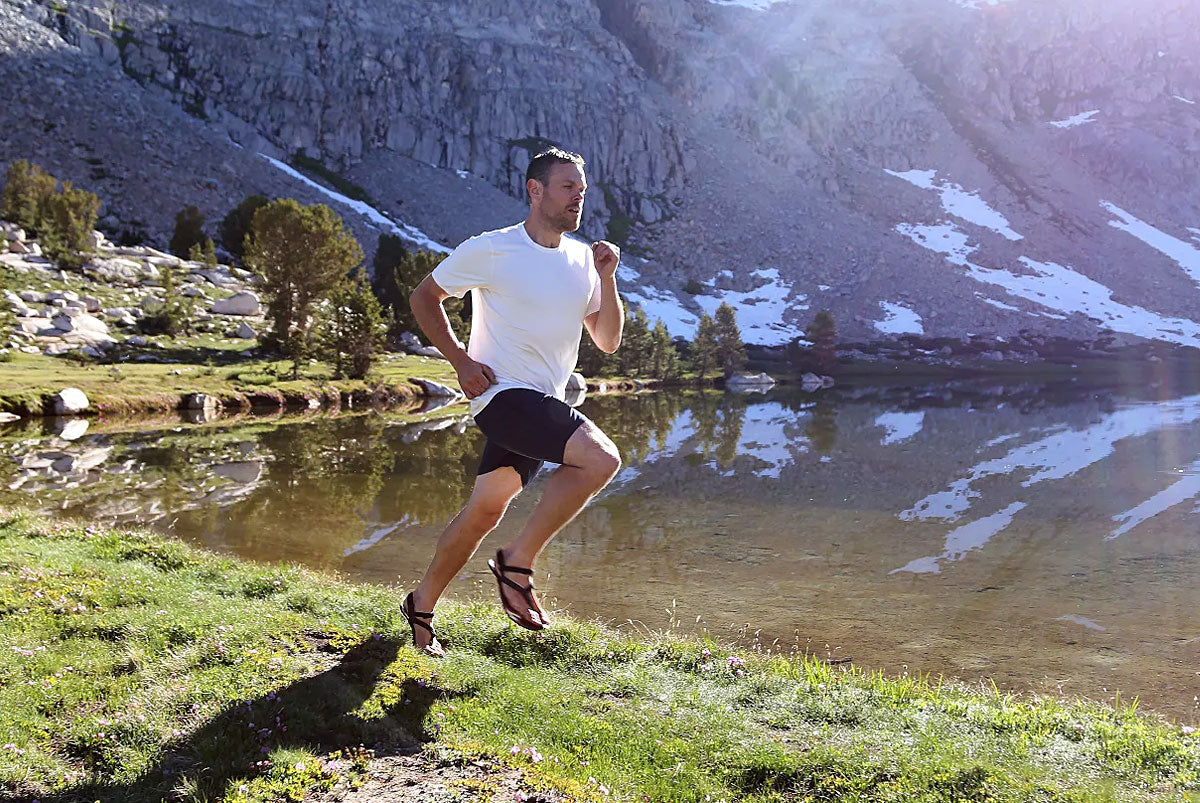
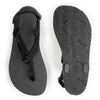
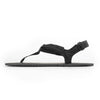
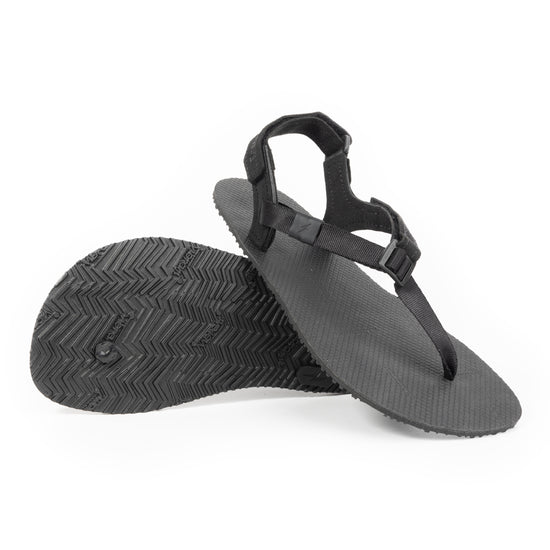
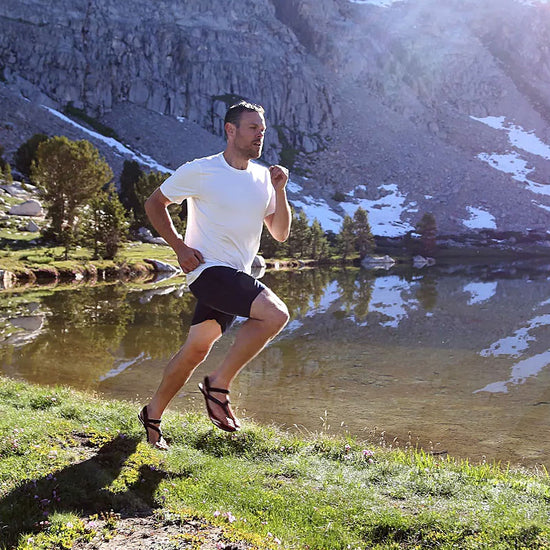
Warriors
Our best-selling sandals, the Elite Warriors are the standard bearer for minimalist design and performance. Combining zero-drop and a wide toe box into an ultralight platform, the Elite Warriors are a popular choice for running and high-intensity activities. These ultrathin and flexible sandals mold perfectly to your feet to get you as close to barefoot as possible. Get ready to burn up the trail!
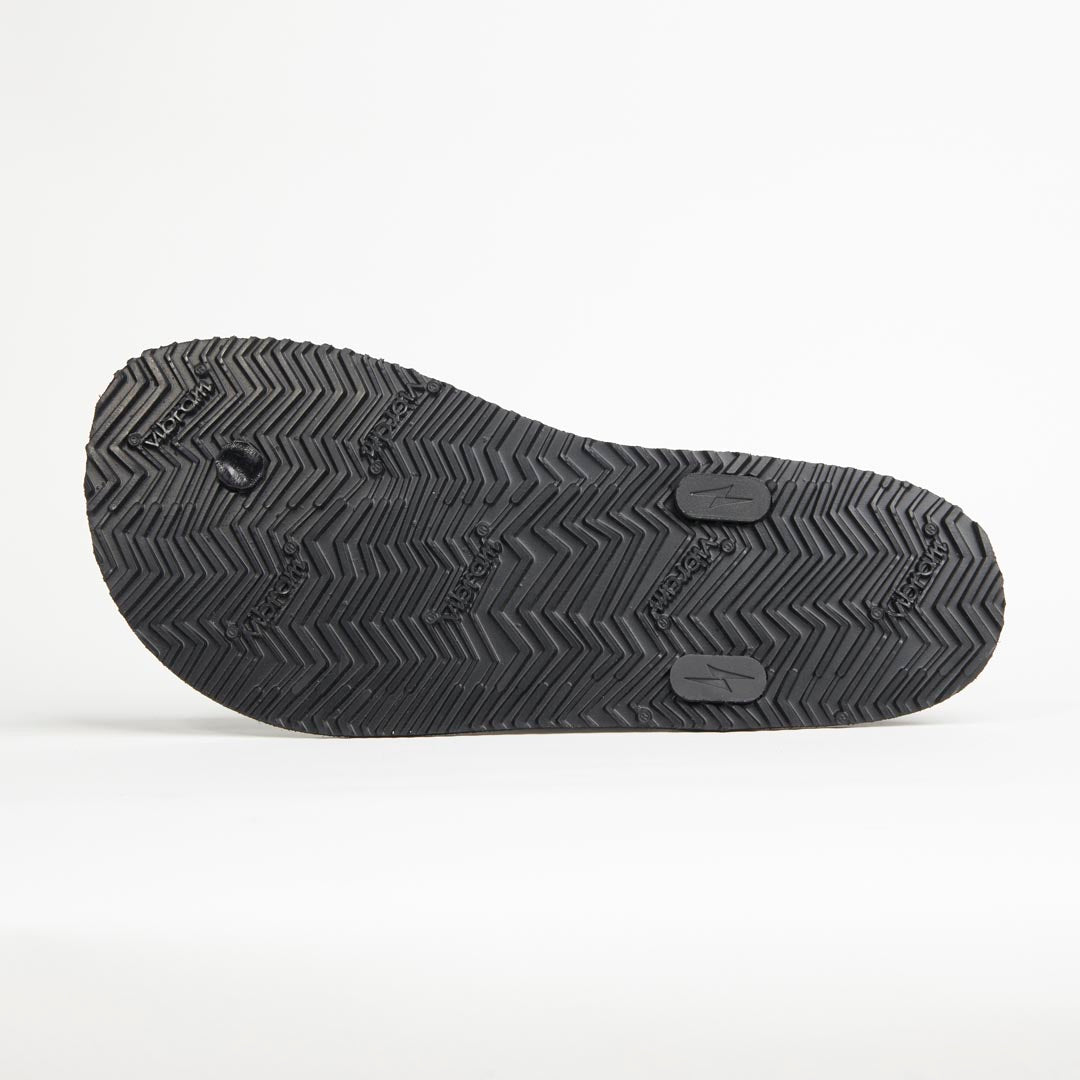
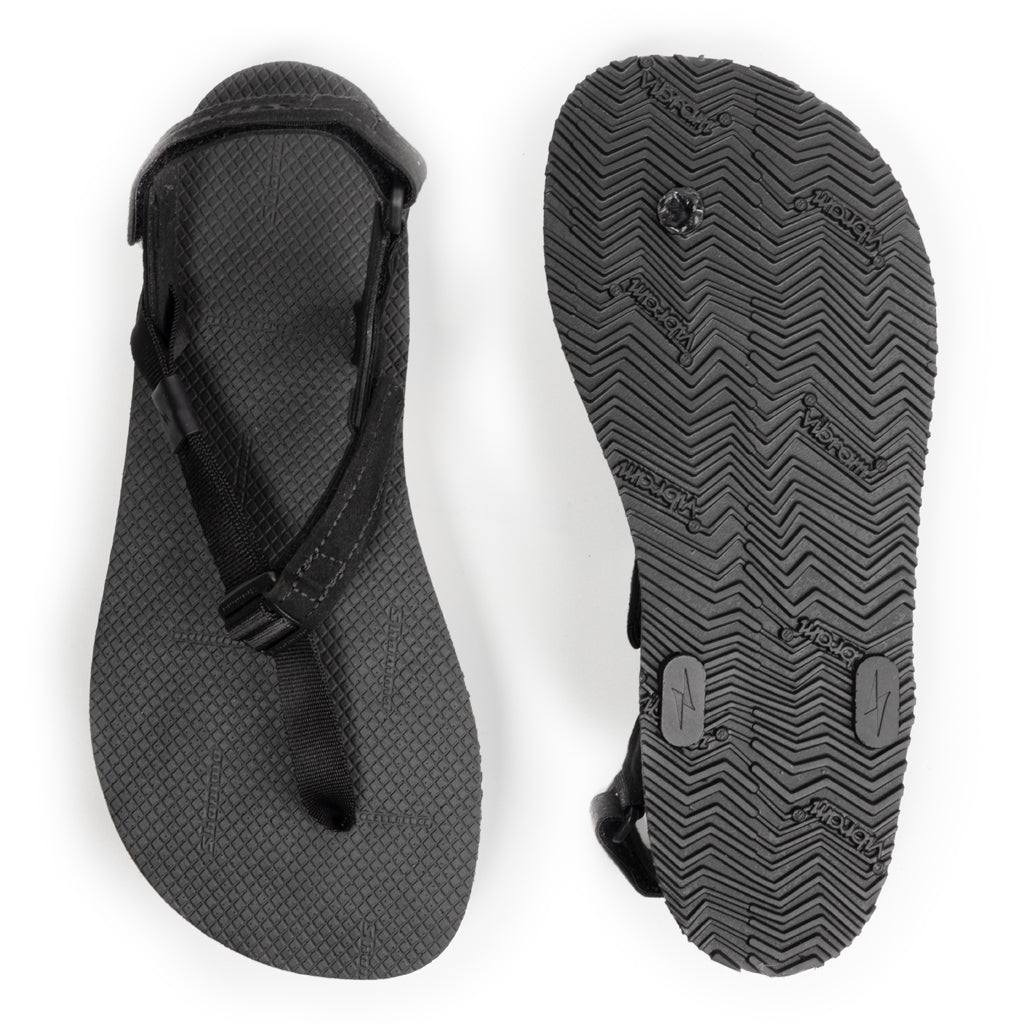
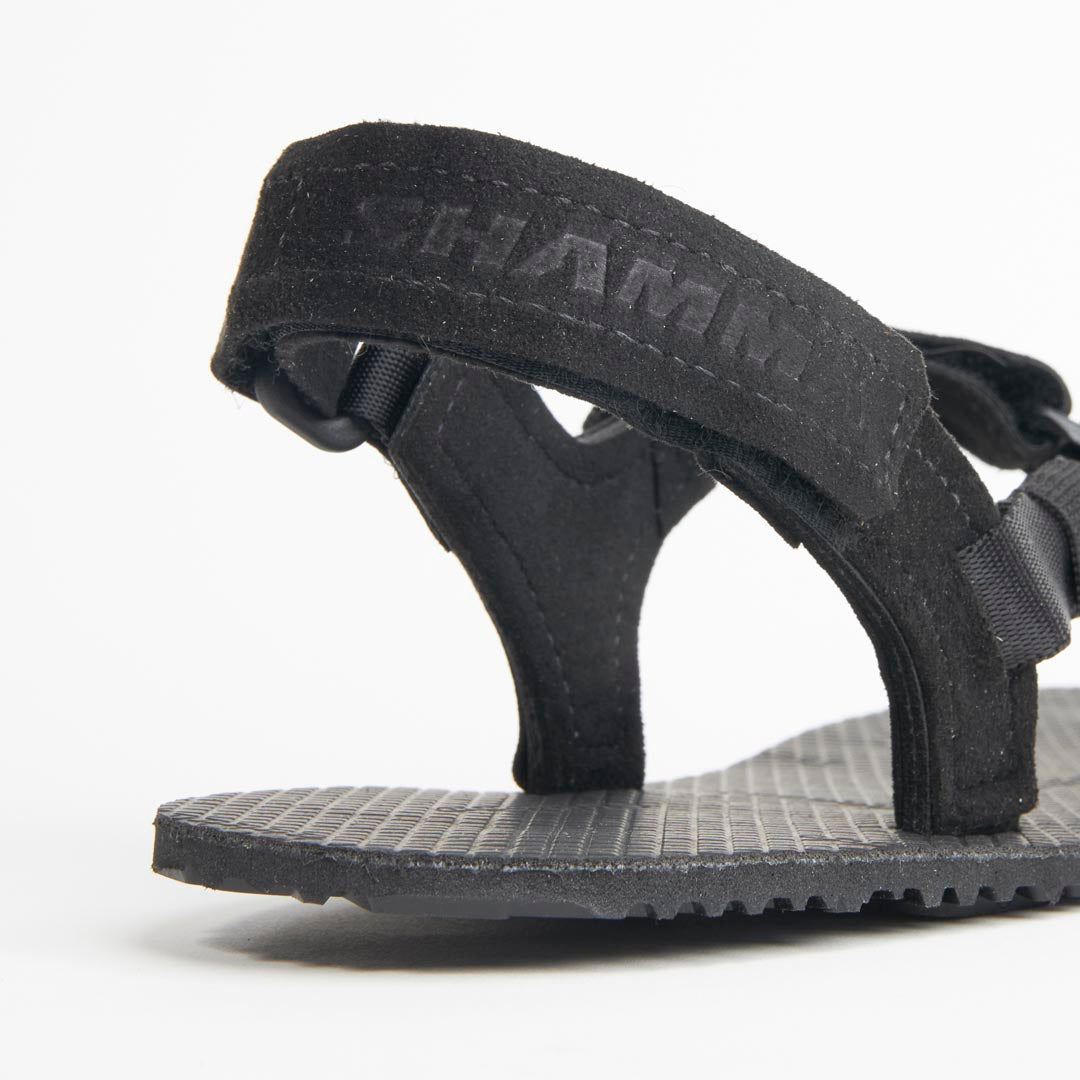
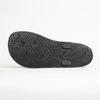
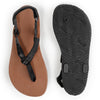
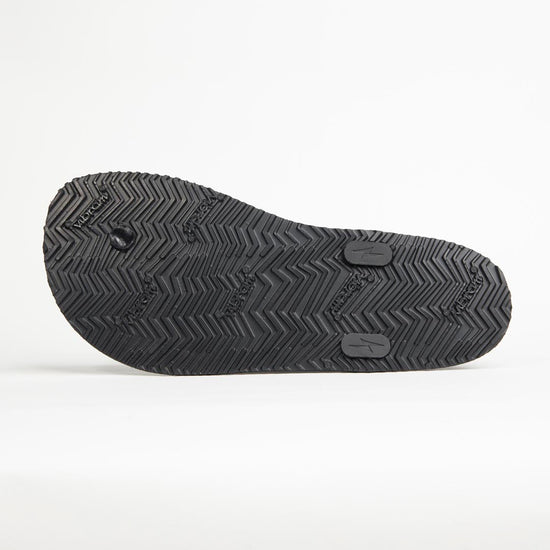
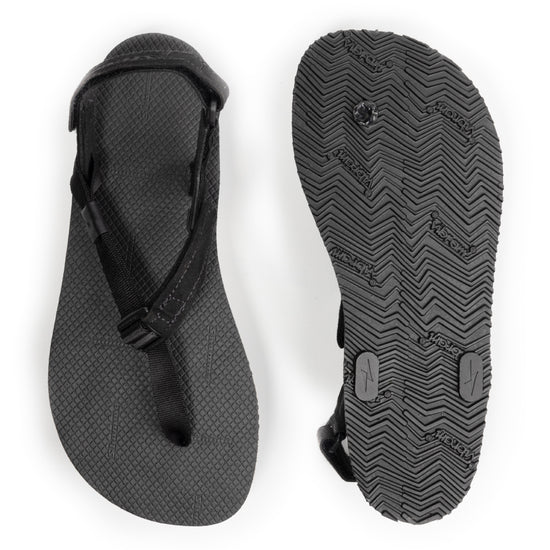
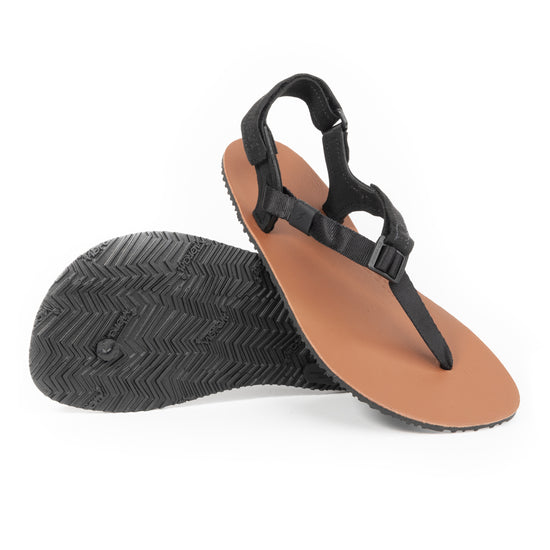
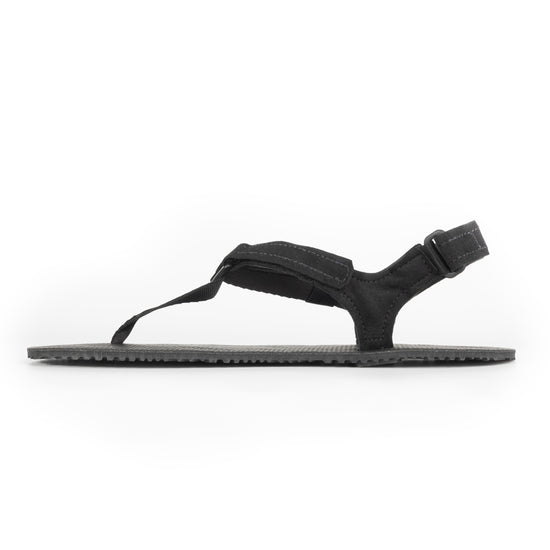
Sole
Warriors use a 5mm Vibram® Newflex sole coupled with your choice of our UltraGrip or Tobacco Brown Goatskin Leather footbed for a 6mm total stack height. Vibram® Newflex is a blend of rubber and EVA that forms a durable soling material with an aggressive tread for superior traction on the trail. The tread accounts for approximately 2.5 millimeters of the sole thickness making it very flexible. The aggressive tread allows for excellent traction and enjoyment of the sandals at any speed. Pair with the UltraGrip footbed for use in the harshest elements, or select the Goatskin Leather for more comfort in drier conditions.
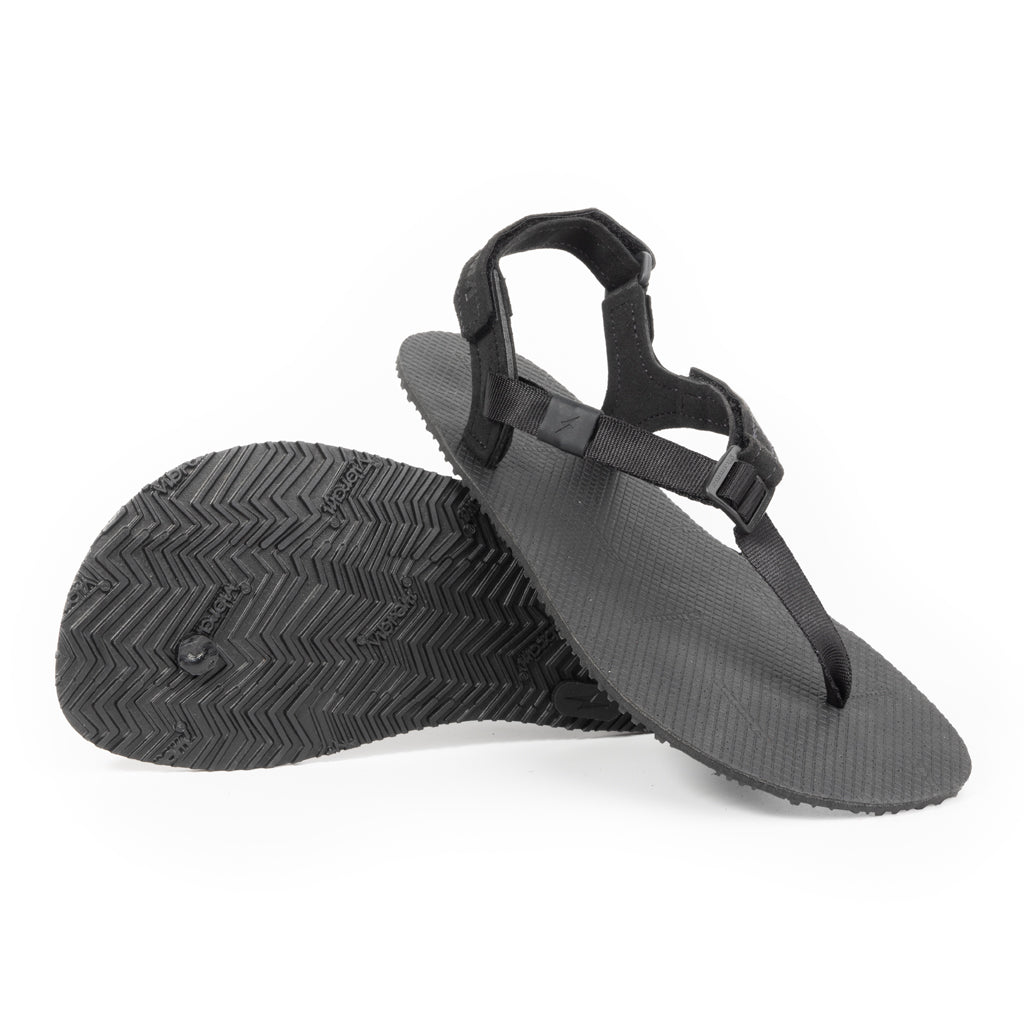
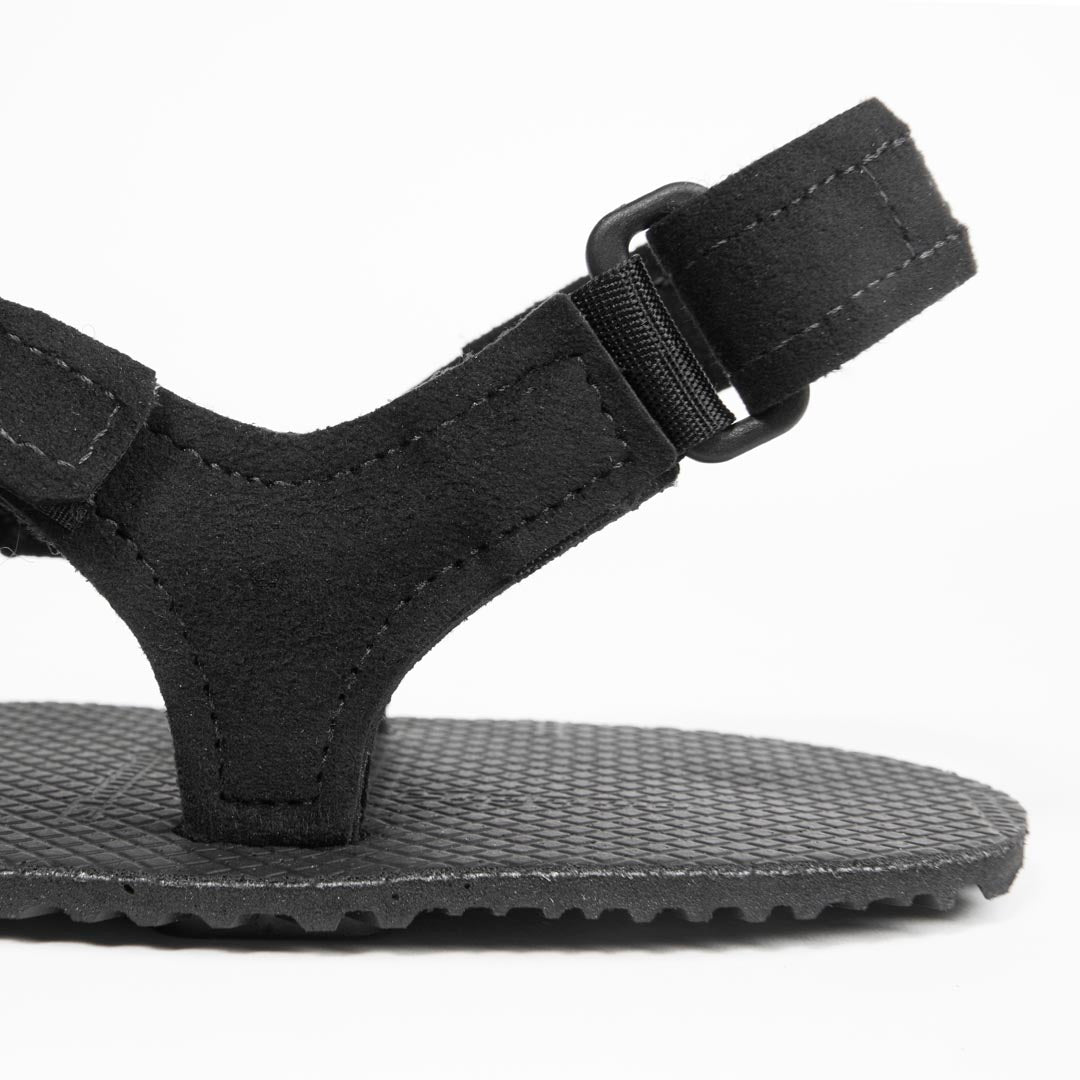
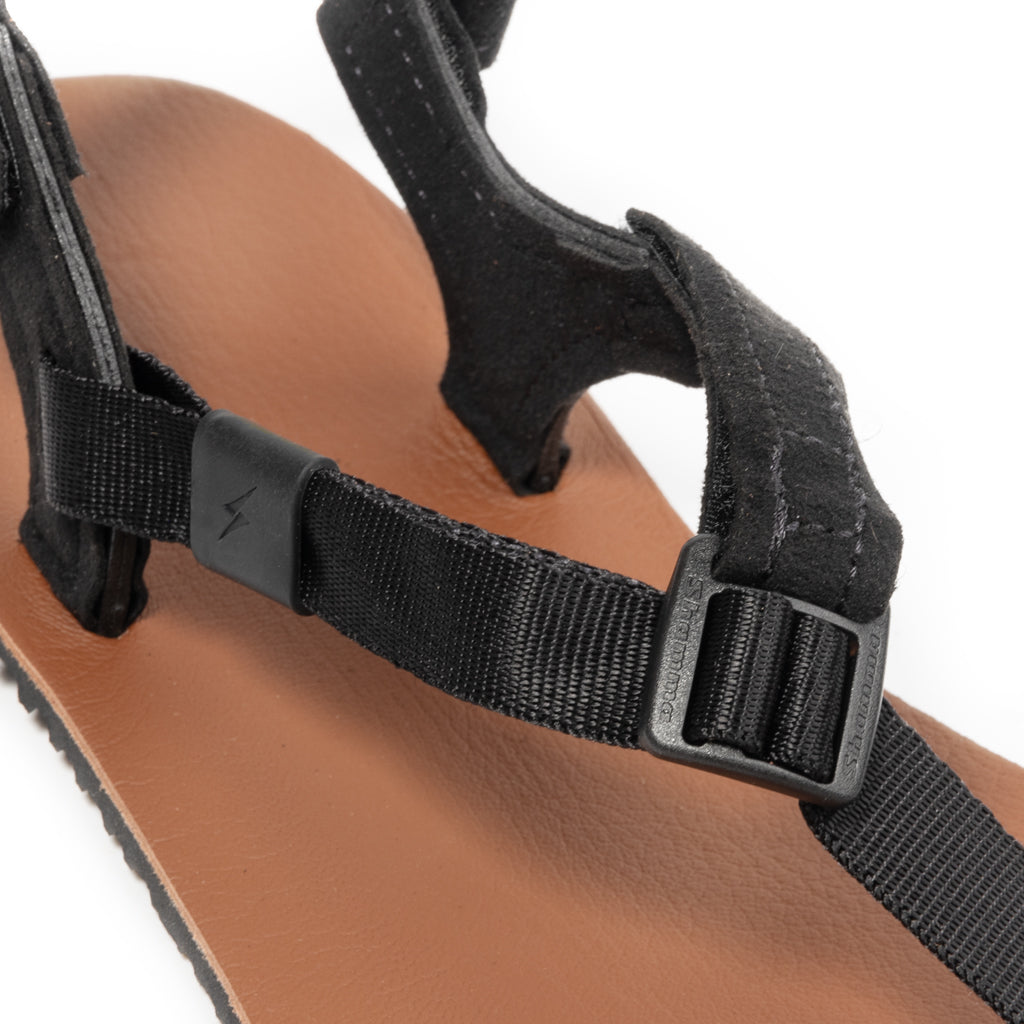
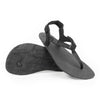
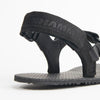
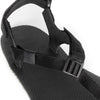
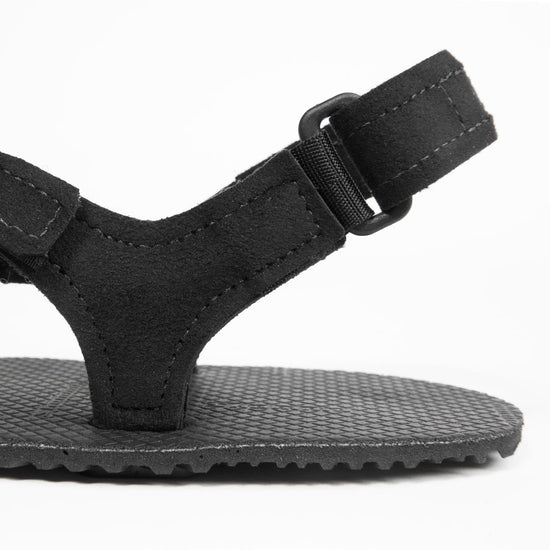
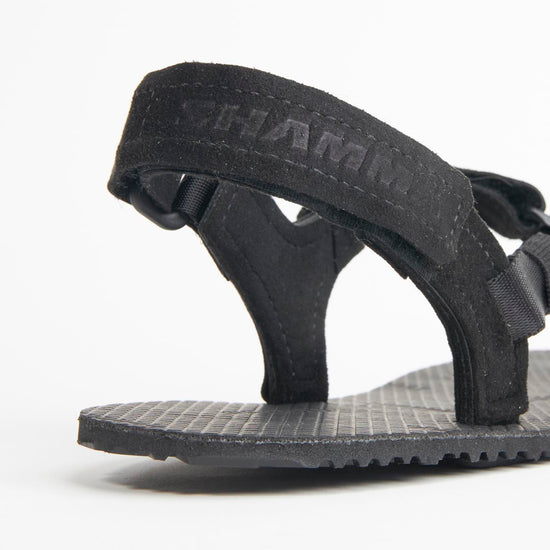
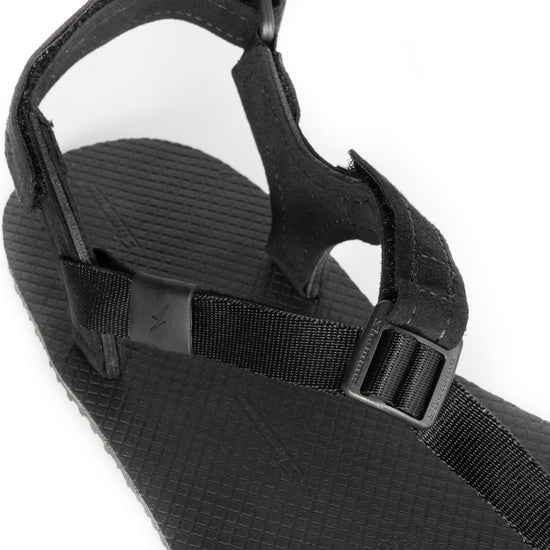
Elite Lacing System
The Elite Lacing System is the product of 10 years of relentless testing and development. This lacing system is designed with control, comfort, and performance in mind. Three independent adjustment zones - the heel strap, insole strap, and toe straps - give you total control over how the straps are adjusted to your feet. Velcro® fasteners make adjustment easy and secure. The Shamma Elite Buckle gives you the ability to fine tune your toe strap, where adjustment matters most. Our innovative and flexible heel posts keep the straps in an optimal position so you can focus on the road ahead. The Elite Lacing uses Toray® UltraSuede to create the highest levels of comfort available. If you want the highest performance laces, you want the Elite Lacing System!
Recraftable
Just because you wore a hole in your sandals, it doesn’t mean you have to throw them away! Our modular approach to sandal-making means that worn out parts can be replaced with a pair of pliers at home. Why throw away what you can repair? Visit our Parts Page to learn more!
Made in the USA!
Proud to be made in the USA and we wouldn’t have it any other way! All of our sandals are made right here in Santa Cruz, CA by our small team, using primarily US sourced materials along with high quality components from Italy, Germany, and other international partners. Follow us on Instagram and YouTube to get a glimpse of how we do it on a regular basis.
