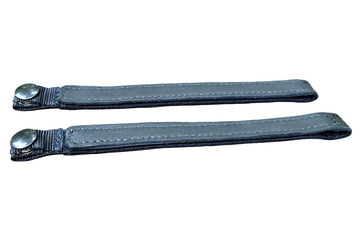
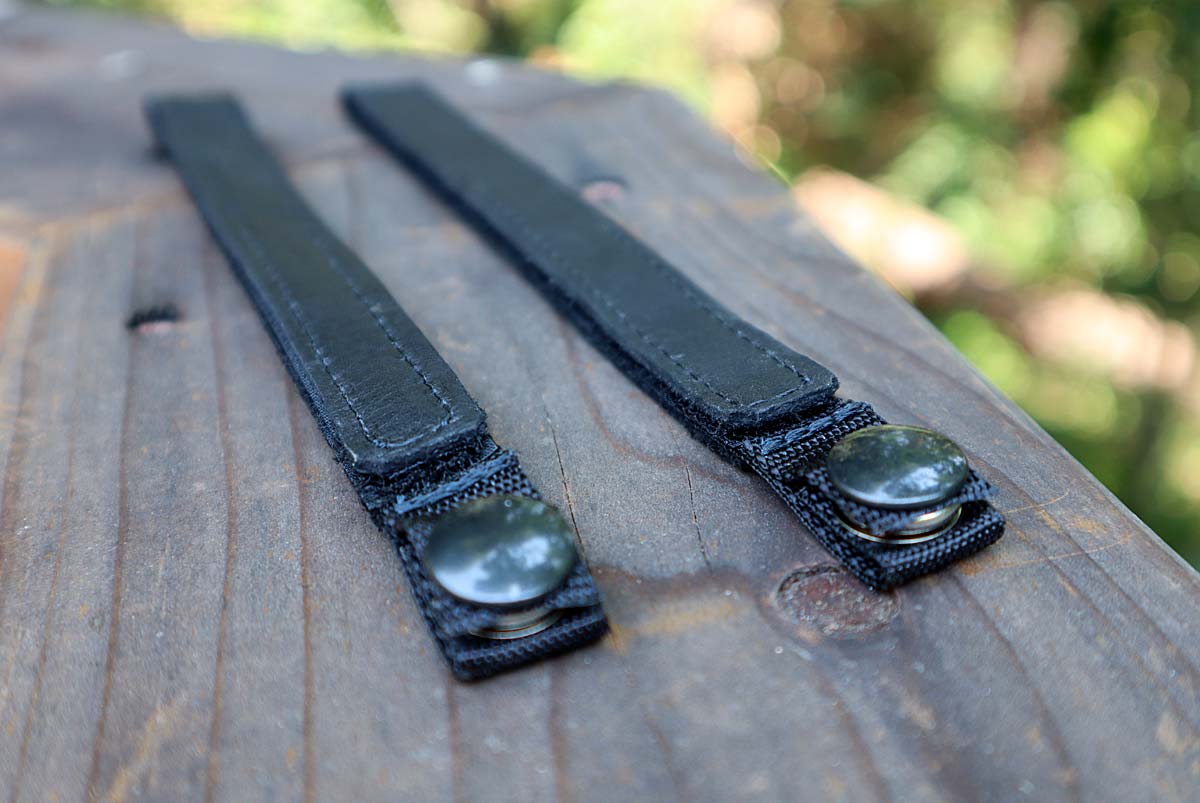
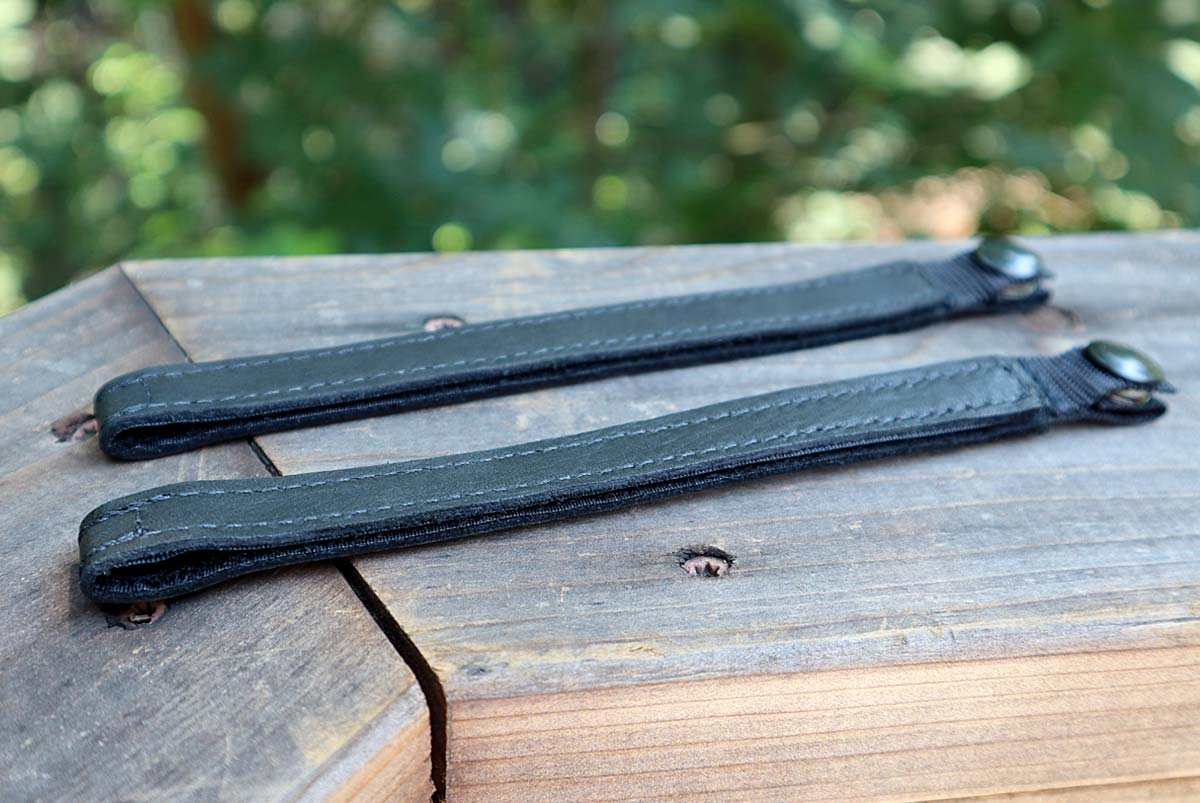
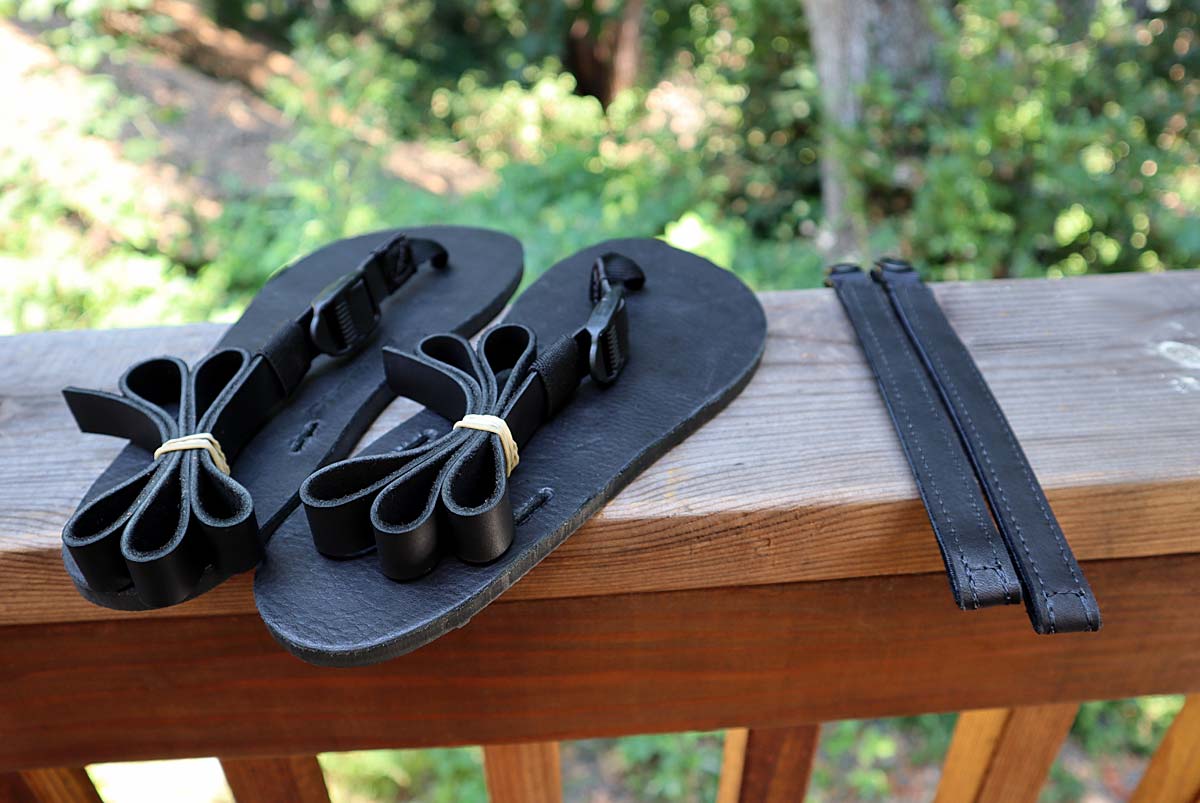
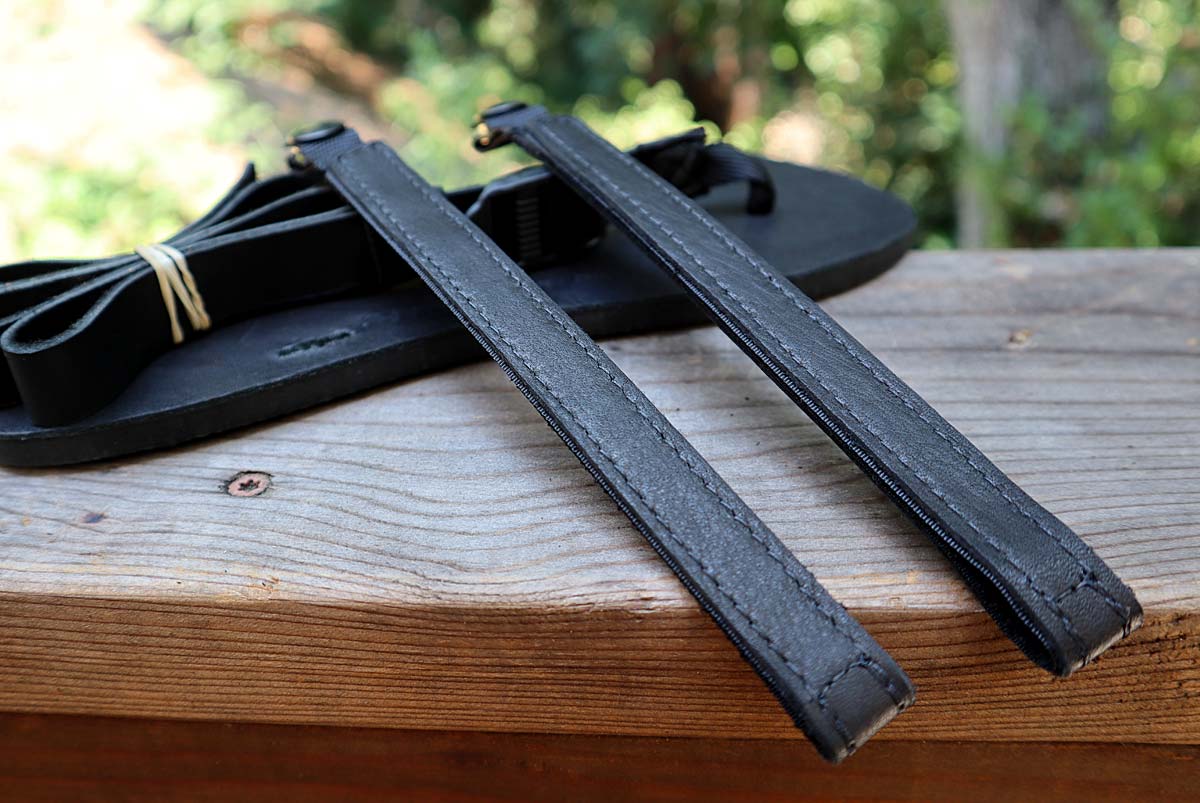
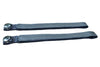
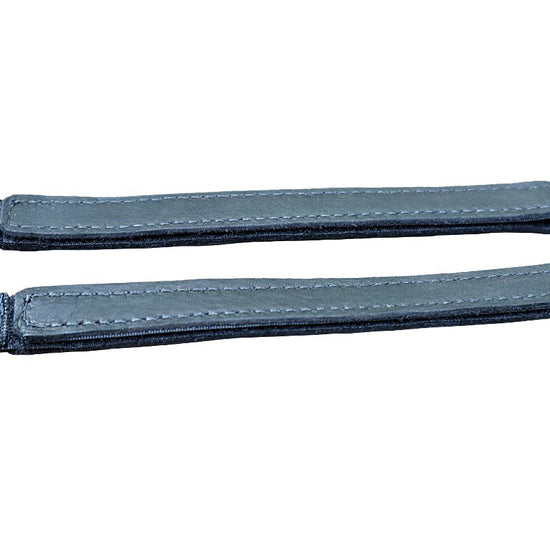
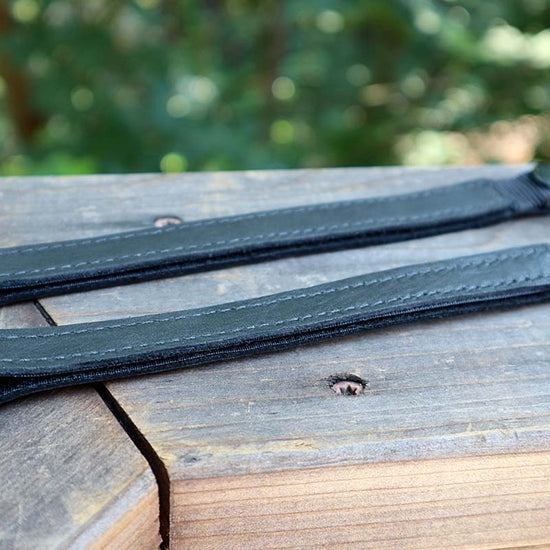
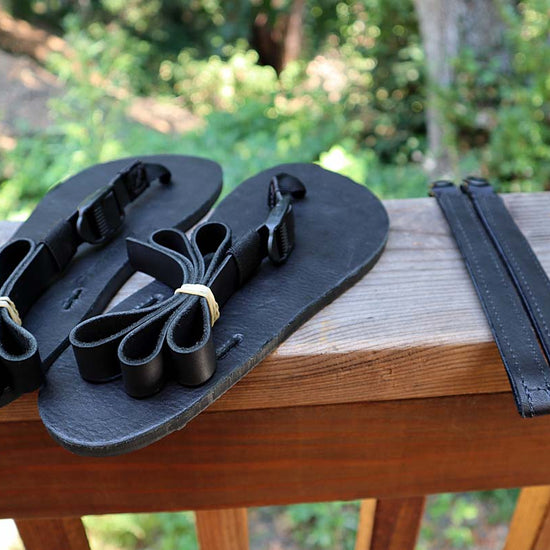
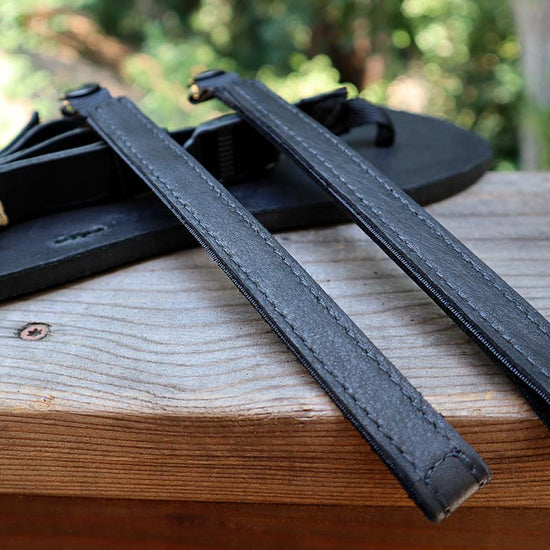
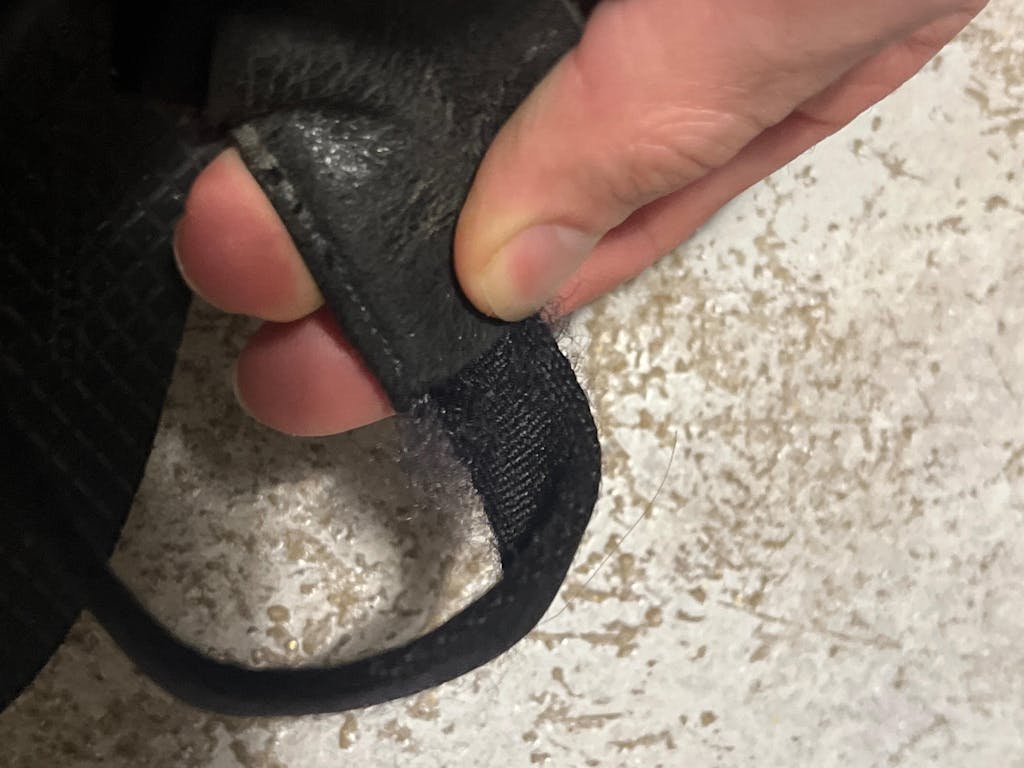
Power Straps add an extra layer of security and support to your sandals. Classic Power Straps are designed specifically for our Classics leather models.
This is the black leather version of our Classic Power Straps. Also available in rich brown leather. Free Shipping with an order of sandals!
These Power Straps are designed for All Blacks, but can also be used for Cruzers.
Customer Reviews
4.2Based on 6 Reviews
5 ★
33%
2
4 ★
50%
3
3 ★
17%
1
2 ★
0%
0
1 ★
0%
0
Customer Photos
Write a ReviewAsk a Question
Reviews
Questions
Thank you for submitting a review!
Your input is very much appreciated. Share it with your friends so they can enjoy it too!
These are the best fitting and most comfortable Sandals ever. The thinnest ones are the best… two issues though- the leather dye comes off on my feet which makes me feel sketched out.
Second is the synthetic black fabric of the sandal makes my feet itch right where it touches my skin. I wish they had a 100% natural material, and selected leathers that have no dyes. Would be cool to have grounding thread but can’t have it all!
My feet are secure in the Cruzers. They significantly reduced the shifting of my smaller right foot in the sandal. I don't like that the velcro catches on the webbing and abrades it. Overall, I couldn't wear the sandals without the power straps so I'm glad I bought them.
I got the super blacks and the sandals themselves are amazing. My favourite pair of shoes. It did take a while to get them to fit perfectly but once adjusted they are great. The power straps on the other hand when I ordered the recommended size half the velcro was exposed cheapening the look and putting unnecessary wear and tear on the straps. In addition, as I live in Canada the shipping took a month to arrive and a 27$ fee I was not previously aware of had to be paid after the original shipping fee was paid. I would really appreciate free shipping to Canadian residents and/ or customs fees covered.
I wore my shamma for the first weeks without the power straps to see whether I needed them. I have felt really good in the sandals, but the heel strap on one sandal would always slide down. I just added the power straps, and they make the sandals perfect for me. I love having the added security so that the sandals stay attached to my feet like shoes, but are able to breath and be free. I have been wearing these everyday since I received them. My only gripe with shammas is that sitting cross-legged or sitting in a kneeling position is a bit uncomfortable, because of the bulk on top of the sandal, but I still love these. I am even weight training in them and going for walks. My feet hate being stuck in tennis shoes, and I love the foot-freedom that shammas have given me
The power straps on my new Warriors Maximi make all the difference. My legionary exploits round a 14 mile trail run in Hampshire last weekend really put them to the test - and I wasn’t left wanting. Praeterea et altius!
Shamma Sandals use custom soles that are designed to give you the best possible fit and experience, so please check your measurements with our sandal sizing chart. The templates of the sandals are available for download and printing.
To size yourself, print the template out and place your foot on the template so that the toe hole is between your big toe and first little toe. Make sure that your toes aren’t hanging off the front of the template, and that your ankles line up with the ankle slots on the sides of the sandal. If the ankle slots are under your foot a little bit, that’s ok, the laces come up and around your feet – just make sure that your toes don’t go past the front of the sandal, that your heel doesn’t go past the back of the sandal, and that the toe hole and ankle slots line up with your feet. For the best fit, we recommend choosing a sandal size that gives you between an 1/8" (3.18mm) to a 3/16" (4.76mm) of extra room in front of your toes and behind your heel.
BOOT SIZING CHART
For boot sizing, you can generally go with your standard street shoe size. If you want to double check, use these boot sizing templates below!
NOTE:Make sure your printer doesn’t resize or shrink to fit when printing! Check the measuring line of the template to a physical ruler before sizing! Larger sizes will need to be printedPosteracross2 sheets of paper.
Did you receive your new pair of Shammas, but looking for some extra tips on how to get the perfect lace adjustments? Look no further! Below you can find step-by-step written instructions as well as videos for how to lace your sandals!
Elite Lacing System
(Our Elite Lacing System includes models: Warriors, Warriors LE, Warriors Maximus, Warriors Maximus LE, Chargers, Chargers LE, Mountain Goats, Mountain Goats LE).
1. First, loosen all 3 strap zones until there is excess slack in each section. The straps should be extremely loose in all three zones.
2. Start by centering your foot on the sandal, so that the placement of your foot is in the desired final location (you should have equal room in front of your toes and behind your heel with this placement).
3. Now that your foot is centered on the sandal, adjust the buckle front to back to find a desirable location.
4. Now tighten the insole strap. This will dictate the buckle’s left to right position on your foot. Keep the buckle parallel with the bone behind your big toe. If the buckle is too close to the bone behind your big toe it may be uncomfortable. If this is the case, loosen the insole strap and reposition the buckle farther to the outside of the foot.
5. Now that the buckle is in it’s desired position and the insole strap is tightened, tighten the toe strap until snug and comfortable.
6. Tighten the heel strap to your desired comfort level and enjoy your Shamma Sandals!
Super Lacing System
(Our Super Lacing System includes models: Super Browns, Super Goats).
Models in our Super Collections have 3 adjustment zones for the perfect fit- the toe strap, the insole strap, and the heel strap.
1. First, loosen all 3 strap zones until there is excess slack in each section. The straps should be extremely loose in all three zones.
2. Start by centering your foot on the sandal, so that the placement of your foot is in the desired final location (you should have equal room in front of your toes and behind your heel with this placement).
3. Now that your foot is centered on the sandal, adjust the buckle front to back to find a desirable location.
4. Now tighten the insole strap. This will dictate the buckle’s left to right position on your foot. Keep the buckle parallel with the bone behind your big toe. If the buckle is too close to the bone behind your big toe it may be uncomfortable. If this is the case, loosen the insole strap and reposition the buckle farther to the outside of the foot.
5. Now that the buckle is in it’s desired position and the insole strap is tightened, pull any extra slack from the toe strap zone through the outside ankle slot towards the heel.
6. Tighten the heel strap to your desired comfort level and enjoy your Shamma Sandals!
Classic Lacing System
(Our Classic Lacing System includes models: All Browns, All Blacks, Old Goats).
(Our Cruzer Lacing System includes the Cruzers and Pacific Blue Cruzers models).
Our Cruzers models have 3 adjustment zones for the perfect fit- the toe strap, the insole strap, and the heel strap.
1 - Adjust to Desired Fit
After centering your foot on the sandal, adjust the outside lacing so that the buckle is in a comfortable position and there is tension (but not too much) between the toe plug and ankle slot.
2. Pull On Power Sleeve
Adjust the Heel Strap by pulling up on the power sleeve, to create some space to tighten the Heel Strap. It should be enough space to grab the slack with two fingers.
3. Pull Slack Through
Pulling from the Heel Strap side, pull the extra slack through the bottom of the sandal until the Power Sleeve is resting in a snug position.
4. Pull On Power Sleeve
Pulling from the Inside Lacing side of the Power Sleeve, pull the extra slack through the Power Sleeve until the strap is flush with the sole of the sandal.
5. Adjust To Desired Fit
First, create slack underneath the buckle by creating some tension on the inside lacing side of the buckle. Adjust the lacing until Comfortable.
6. Pull Slack Through
Take extra slack and feed it back through the buckle, towards the inside lacing of the sandal. Pull slack until the buckle is flush with the foot.
7. Put Extra in Keeper
To keep the extra slack secure, feed the strap through the keeper and pull until comfortable. You are now ready to explore!
If you're having trouble finding the perfect fit after following the sizing or lacing guides, or if you have any questions, please Contact Us, we’re happy to help!