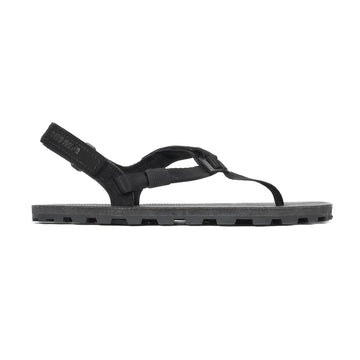


Elite Ibex (13mm)
-
Free standard shipping in the USA
Production Period: 5-8 business days (10 business days for Ibex and Pacific Avenue sandals)
Proudly made in the USA with high quality domestic and imported materials
Pair Weight (size 9):
Thickness: 13mm


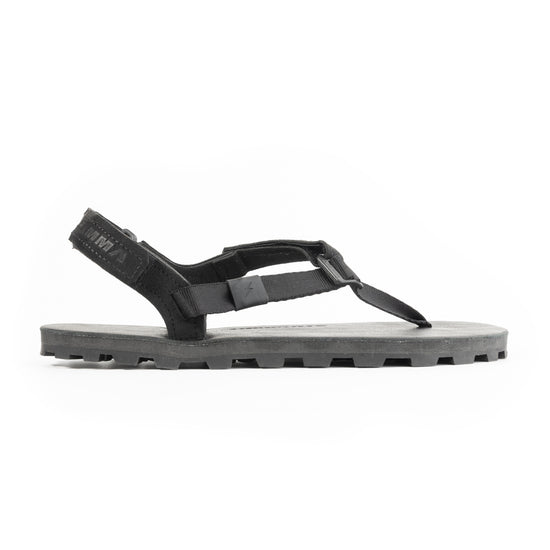


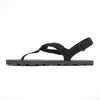
Elite Ibex
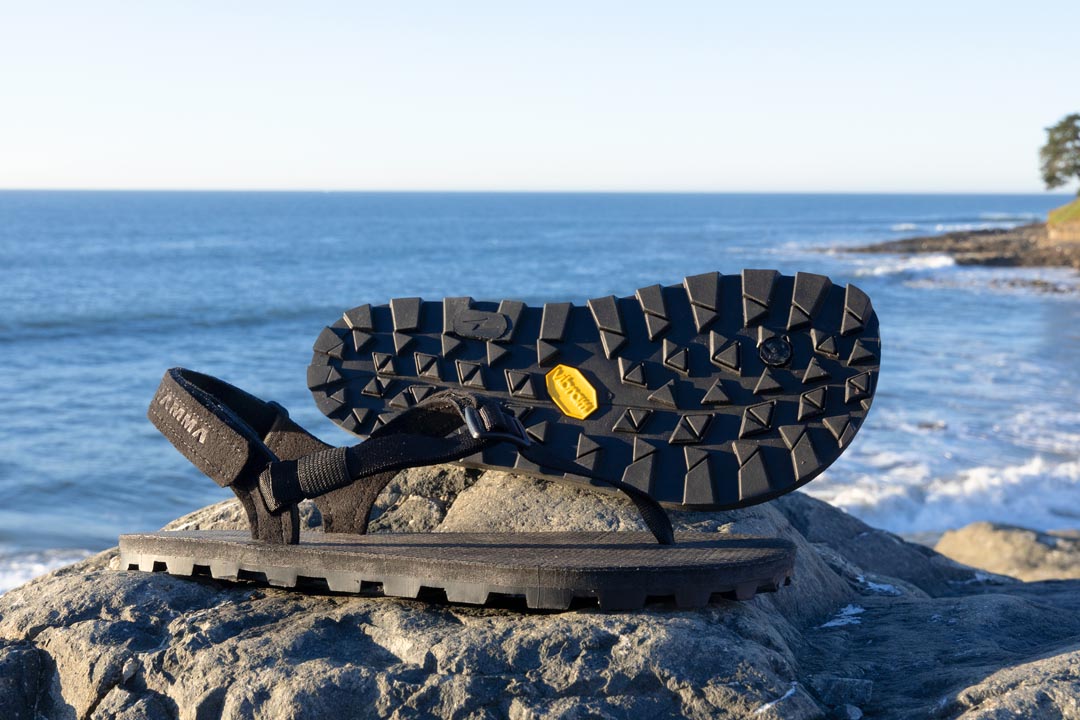
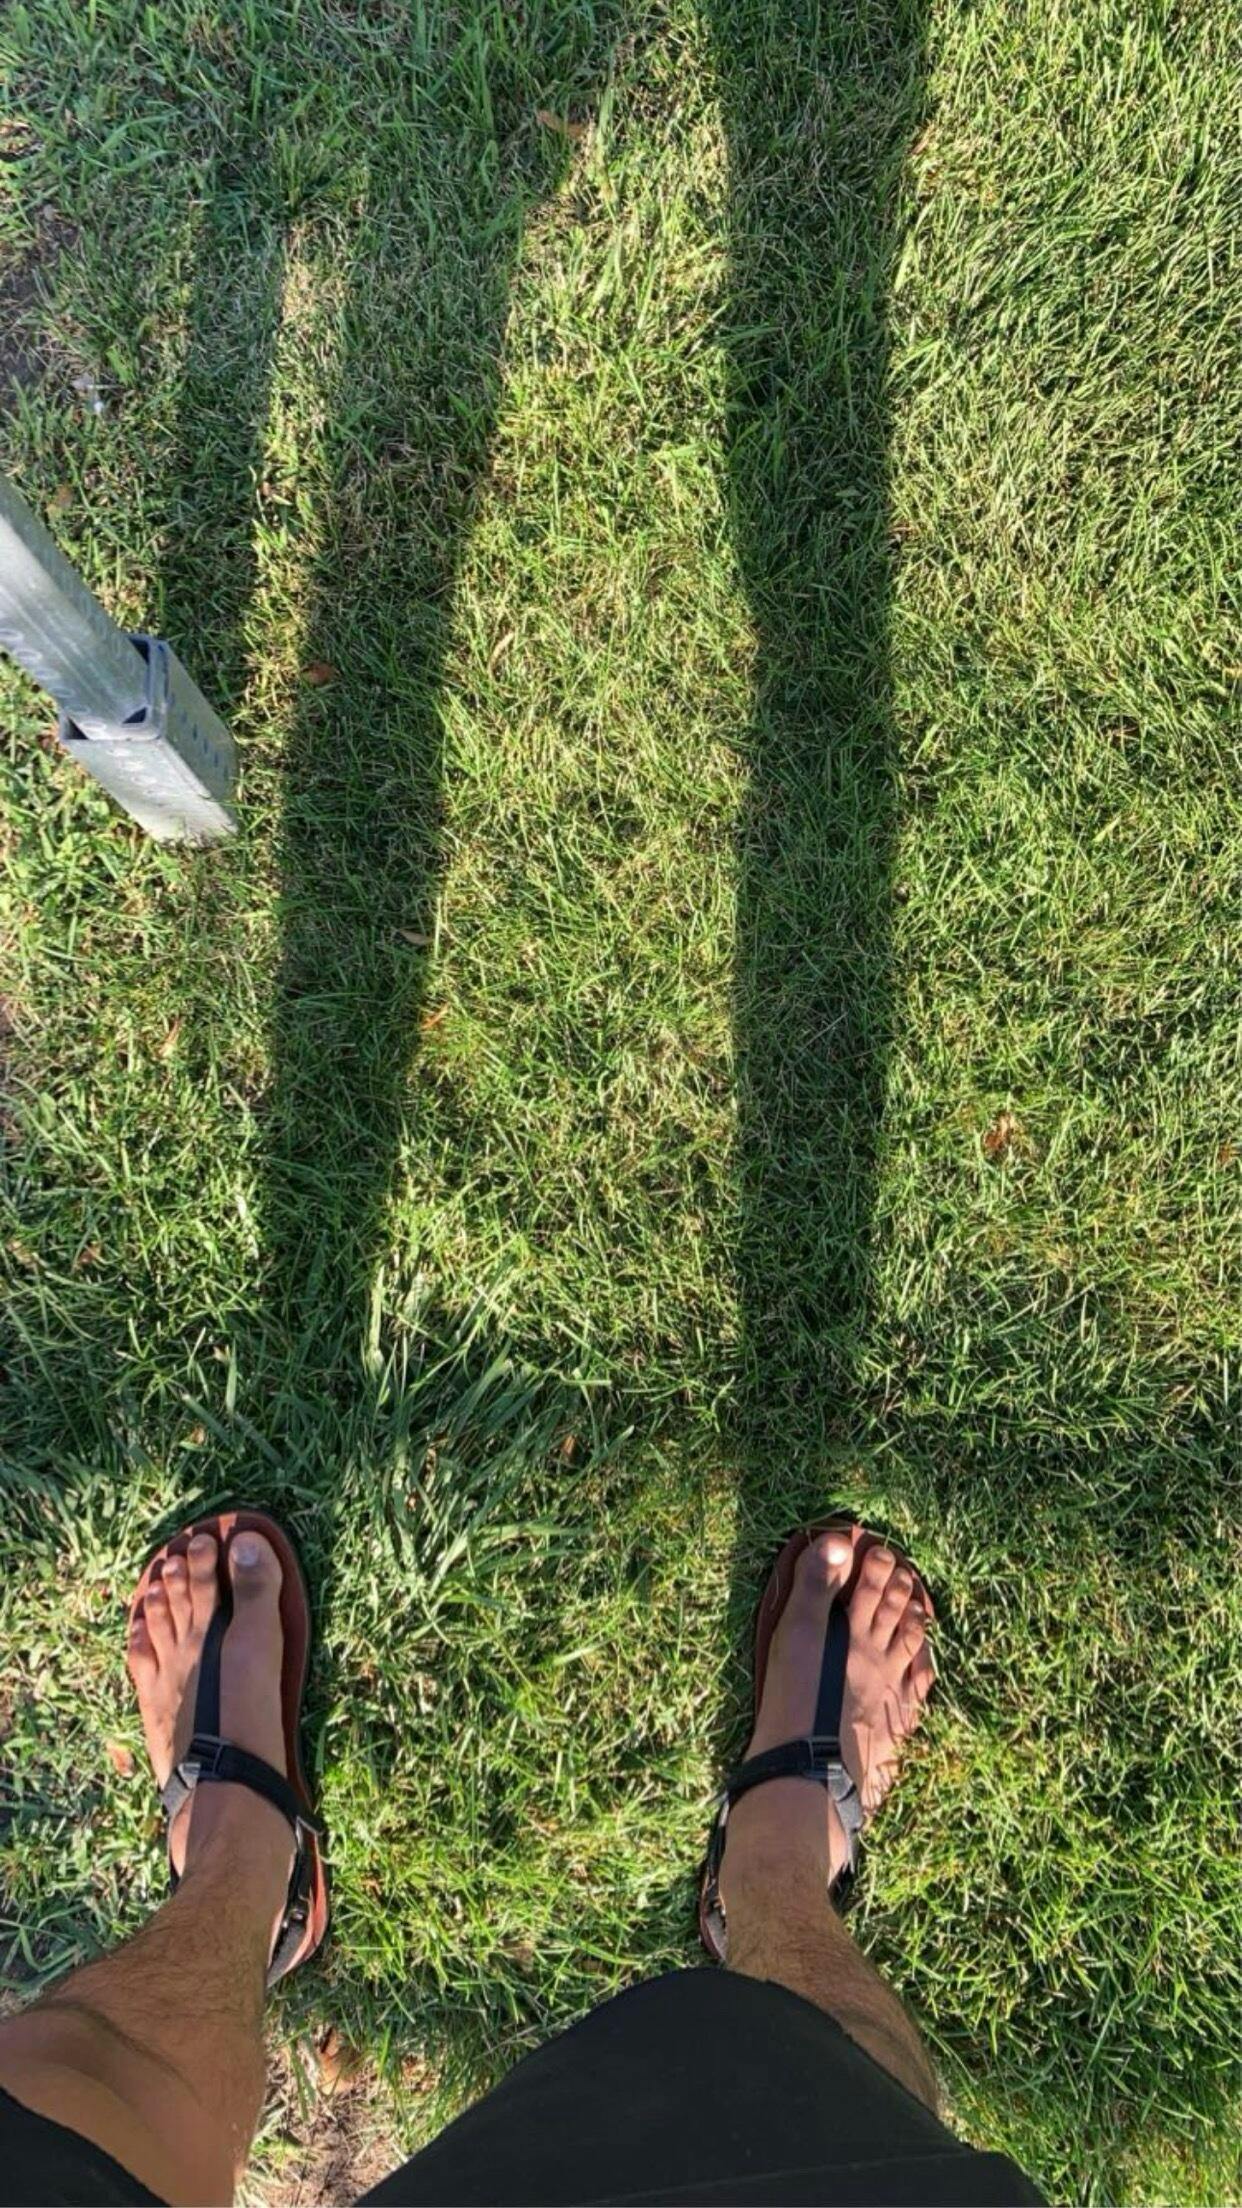
The Elite Ibex are our toughest, most capable hiking sandals. These sandals are all about traction and durability, both a necessity for the toughest trails. If you want to explore the backcountry, scale a mountain peak, or reach that undisturbed fishing hole then the Elite Ibex are your sandals!
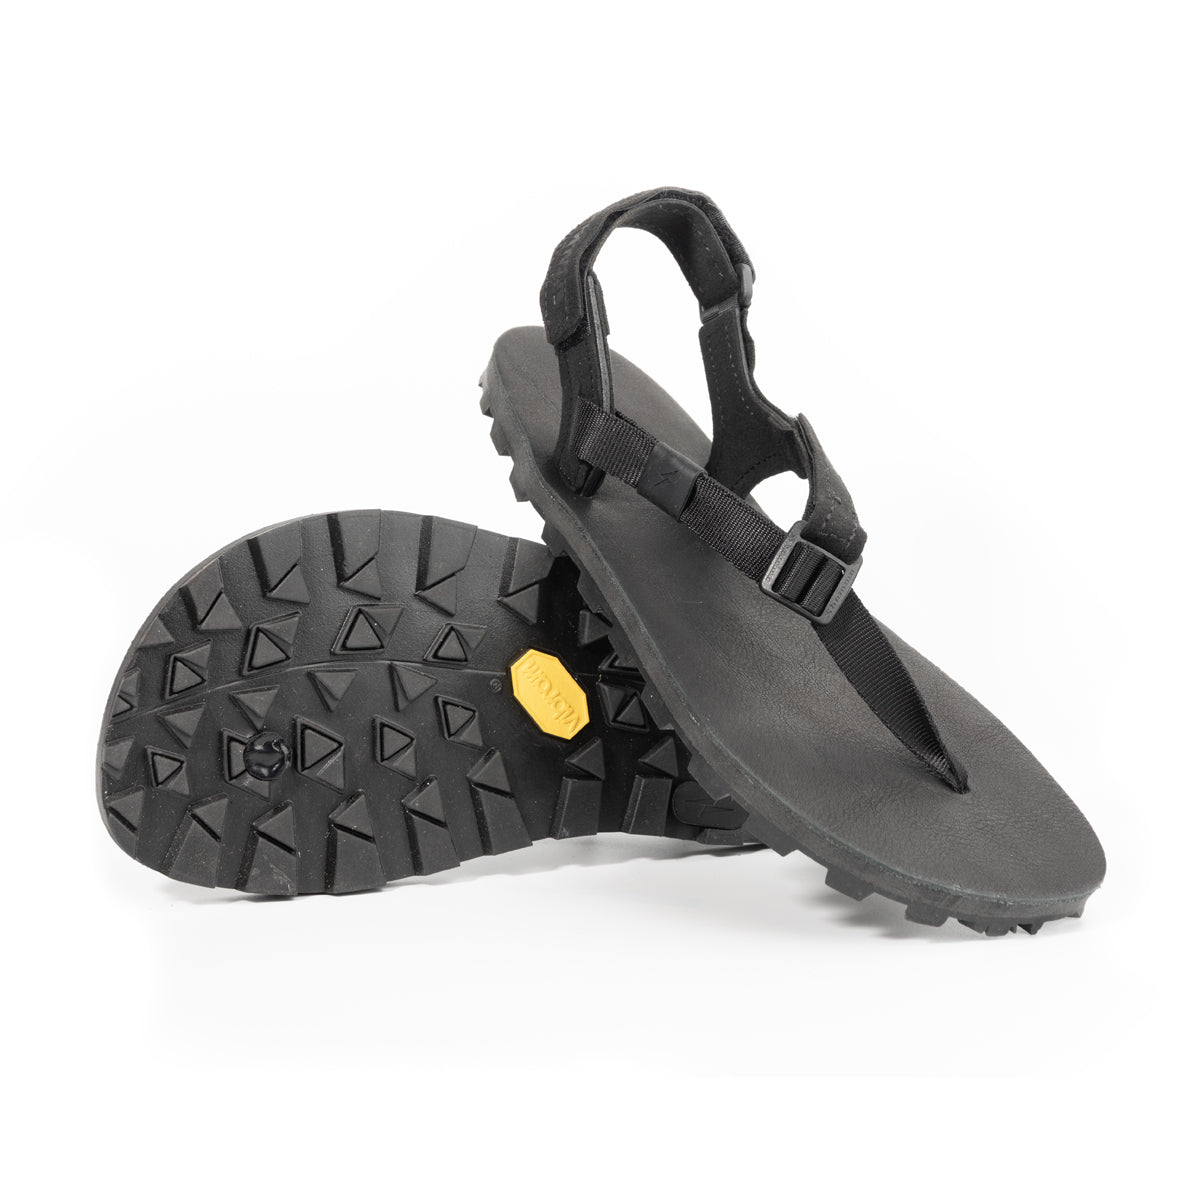
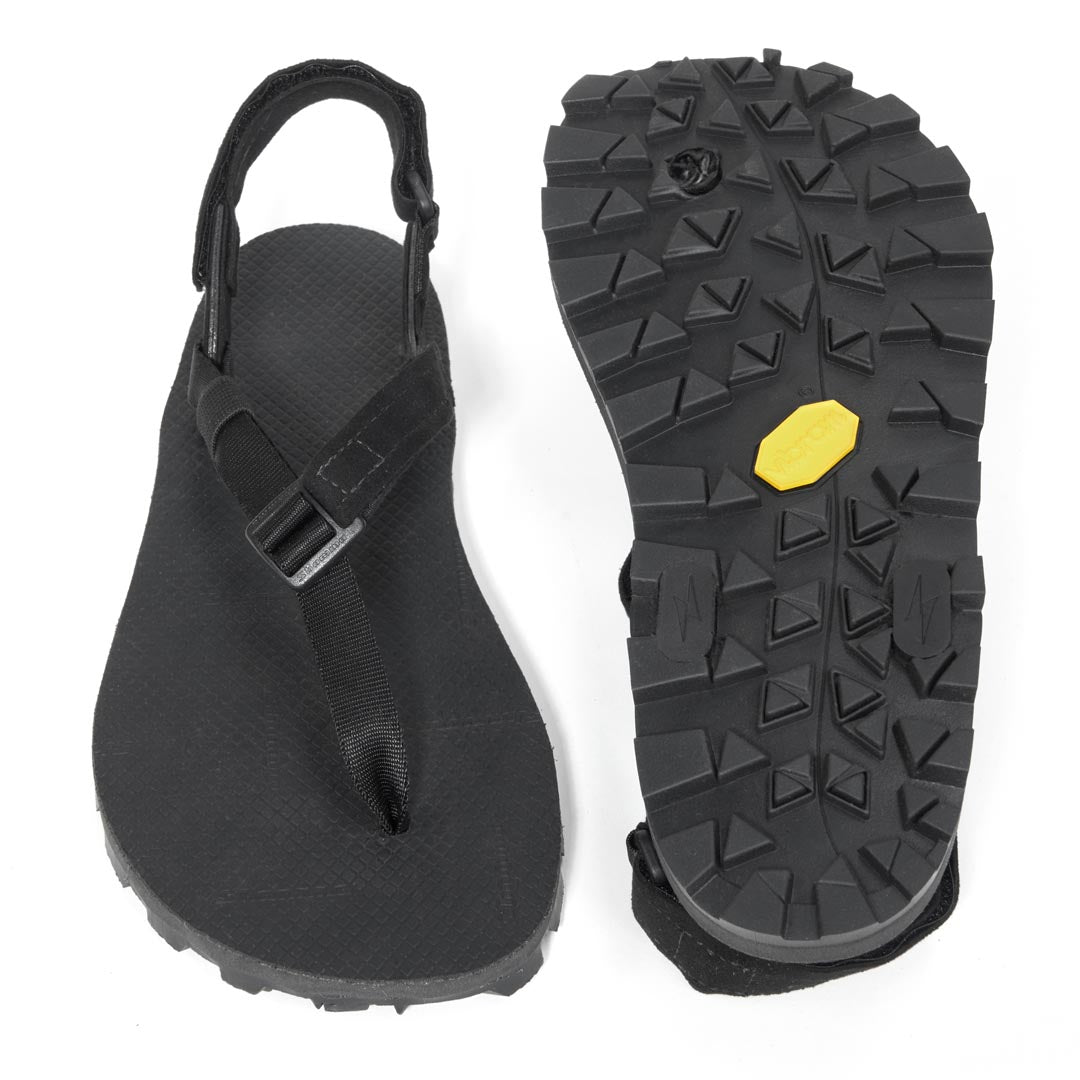
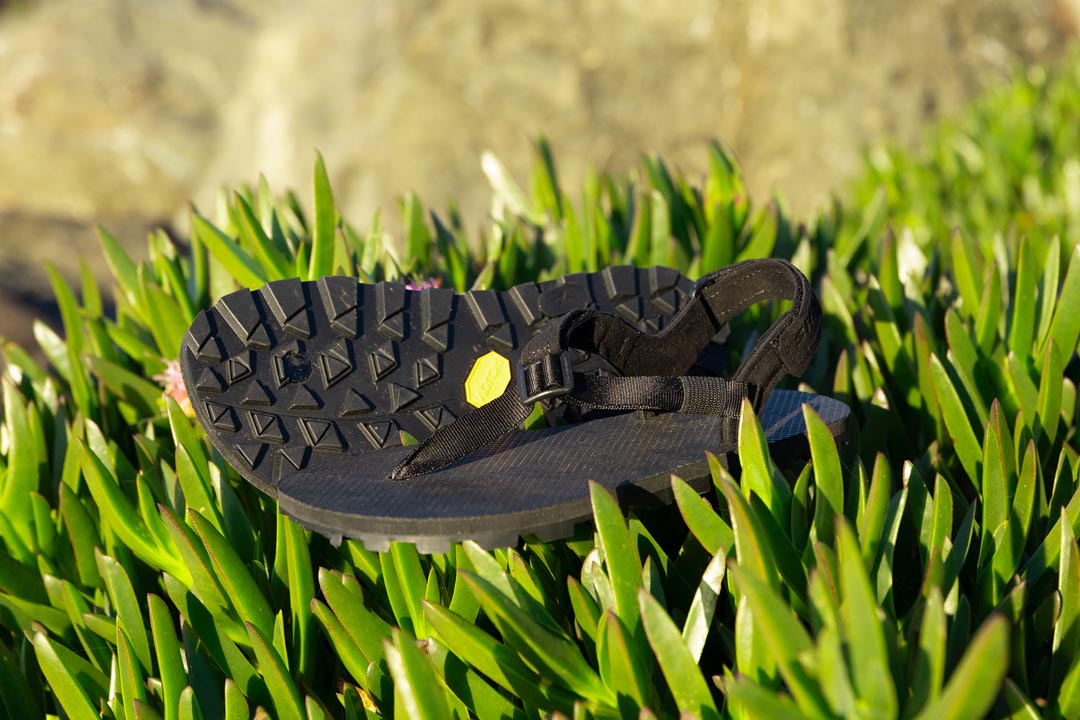
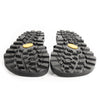
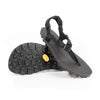
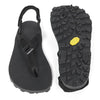
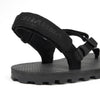
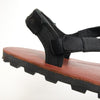
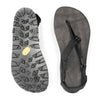
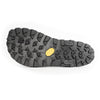
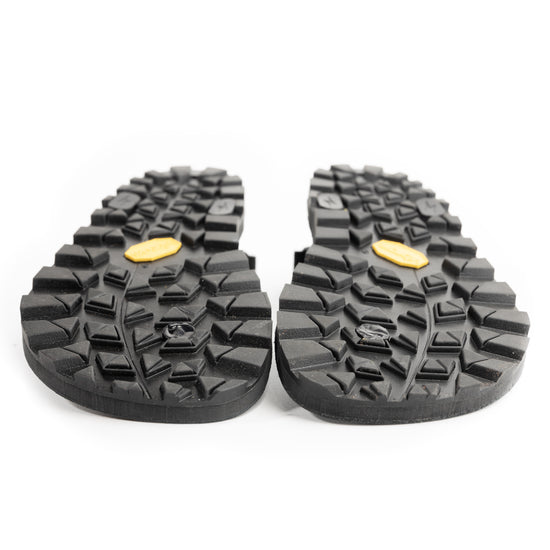
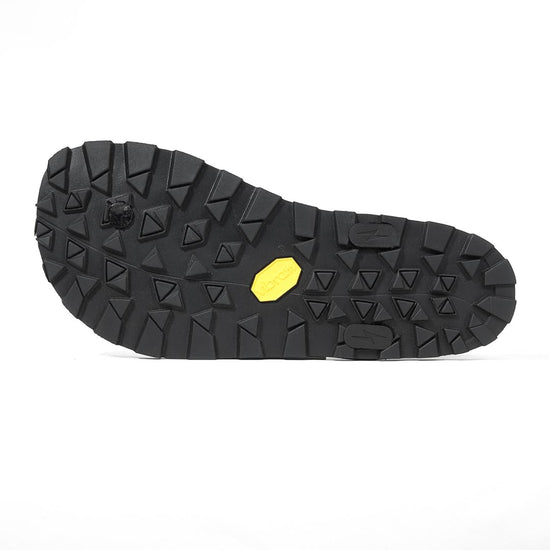
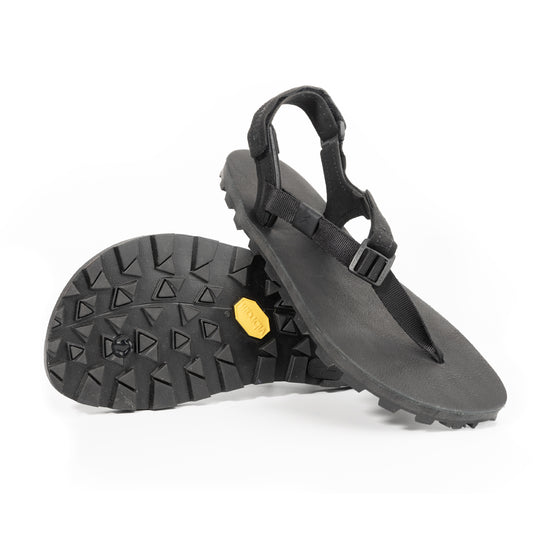
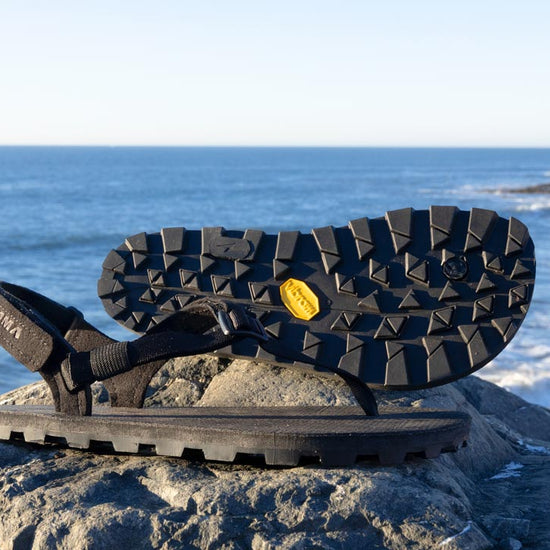
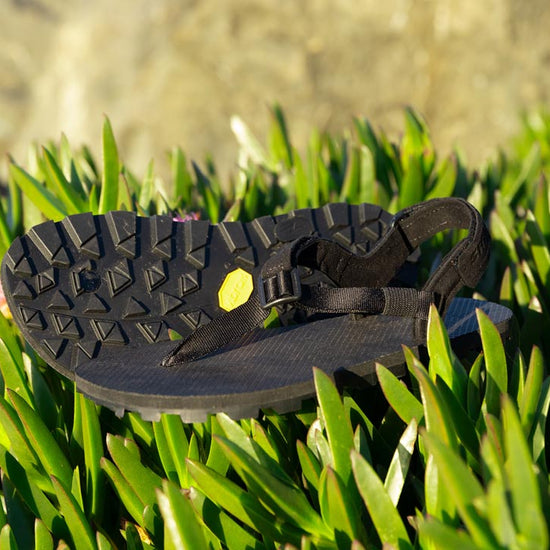
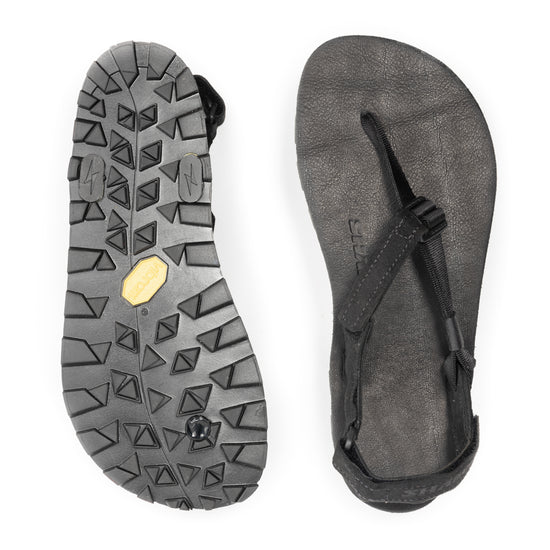
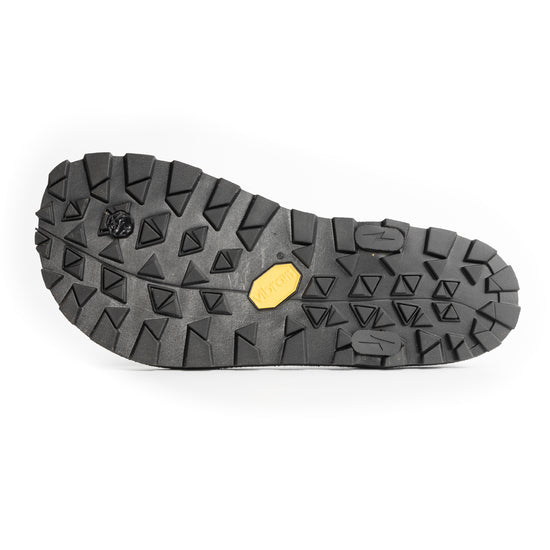
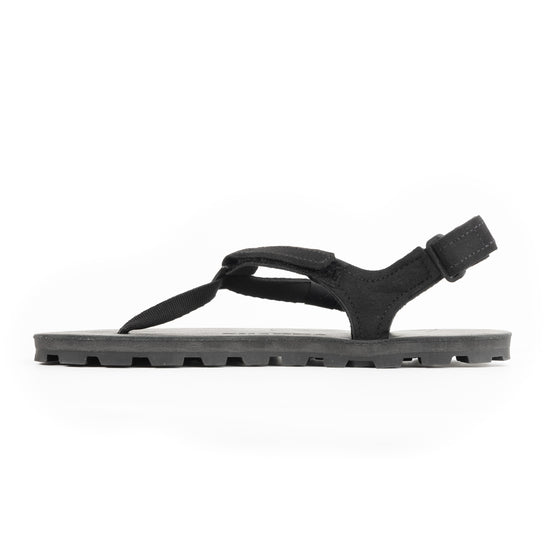
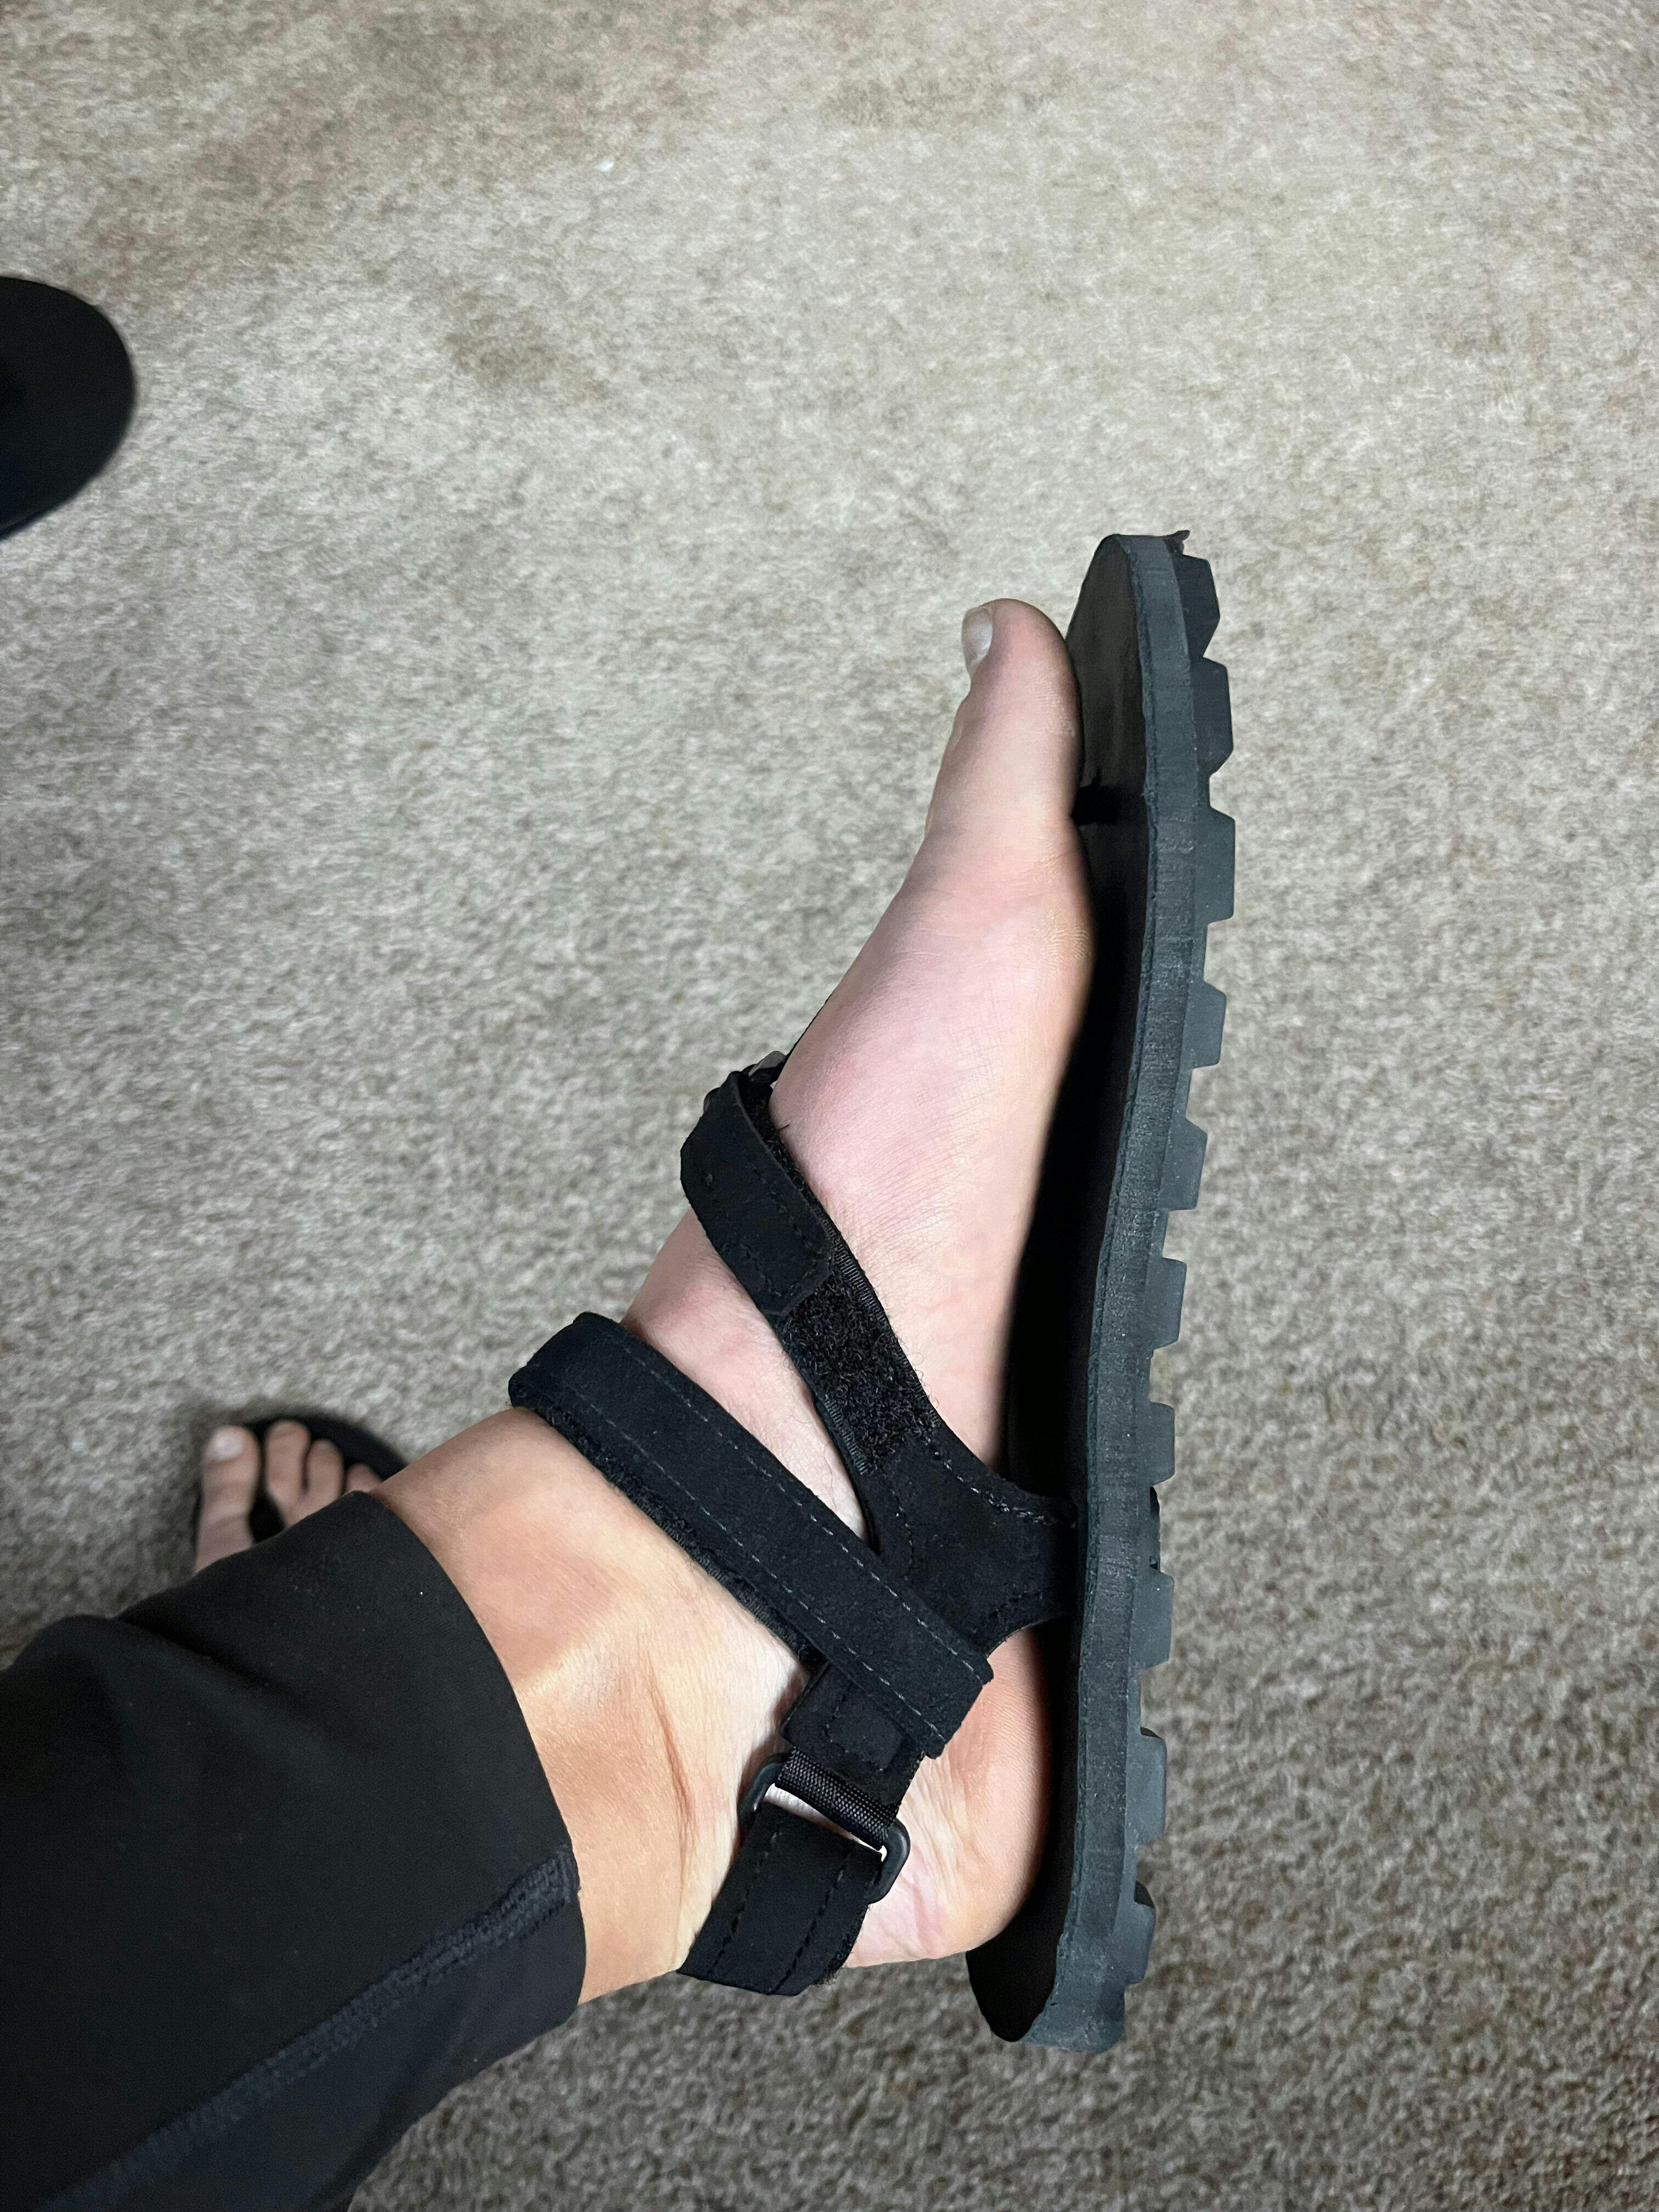
Sole
What makes the Ibex soles so special is the Vibram® Zegama (6mm) Morflex (6mm) composition. Choose between our proprietary UltraGrip or Cognac Aniline Cowhide Leather footbed for a 13mm total stack height. Vibram® Zegama is an individually-molded rubber sole that uses Vibram’s MegaGrip soling compound. Known for its high-durability and good grip in wet conditions, the Vibram® Zegama sole employs an aggressive and open tread pattern. The deep 4mm lugs are perfect for gaining maximum traction on loose dirt, rocks, and mud. We couple the Vibram® Zegama with Vibram® Morflex to give these sandals a firm yet comfortable ride. Though on the thicker side, you will be surprised how flexible the Ibex are, matching the movements of your feet with ease. The Ibex soles have everything you need for adventure!
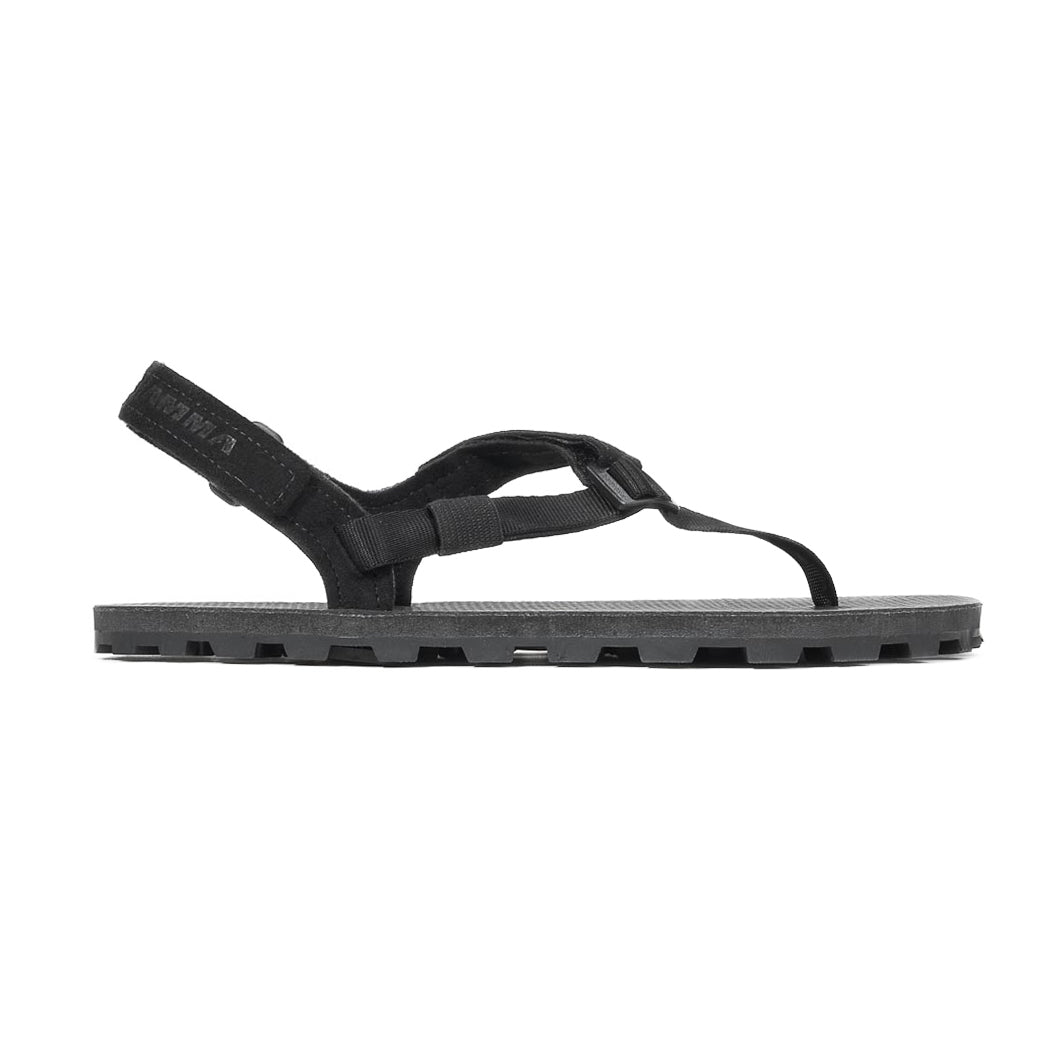
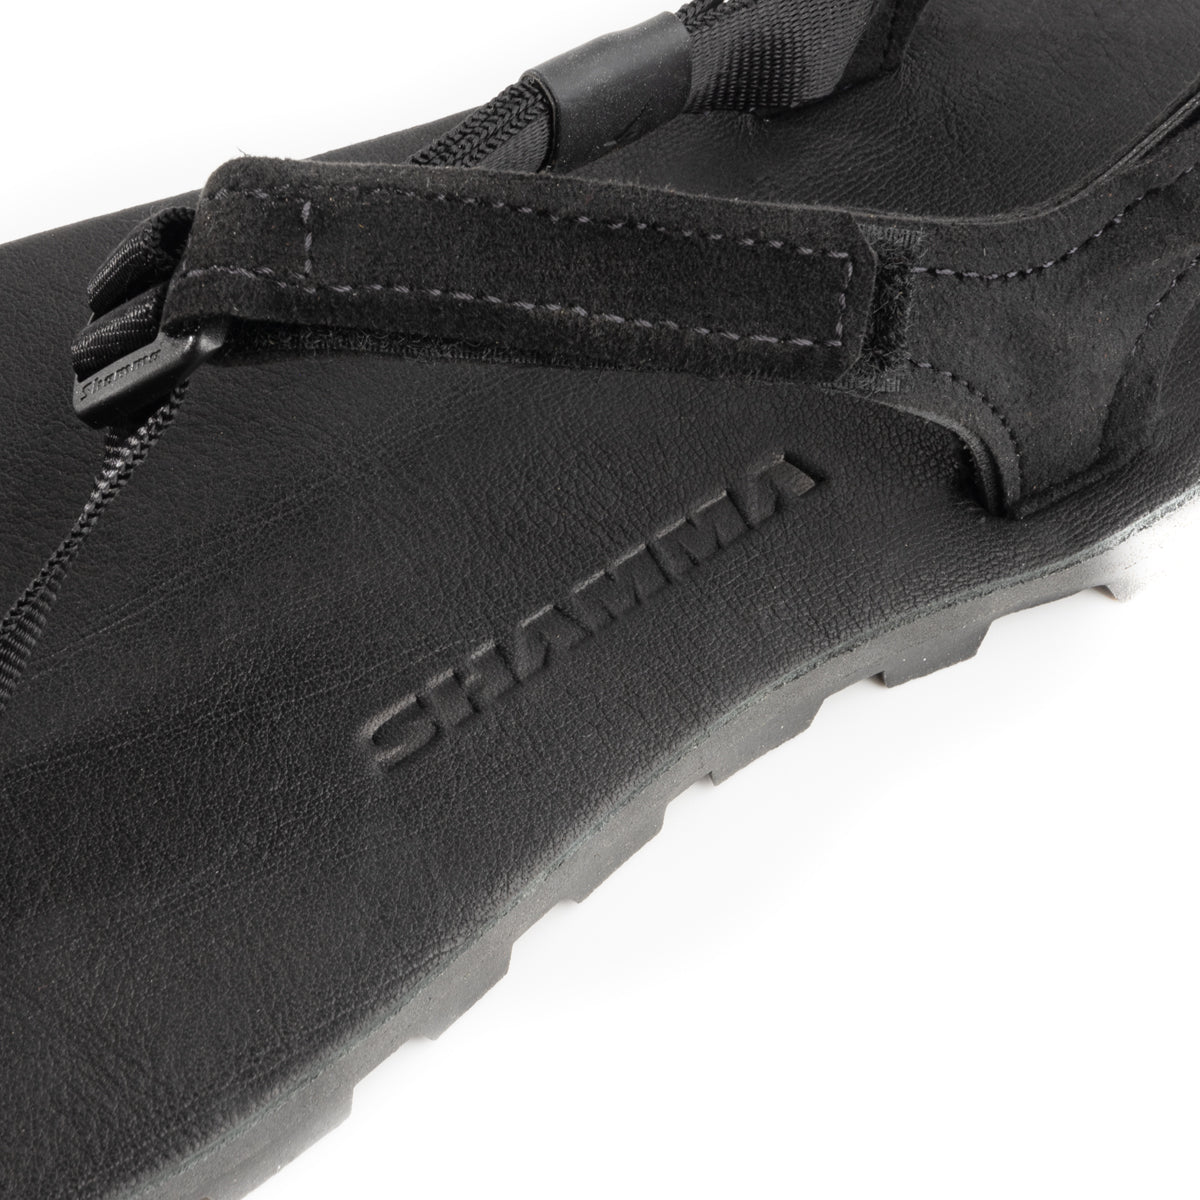
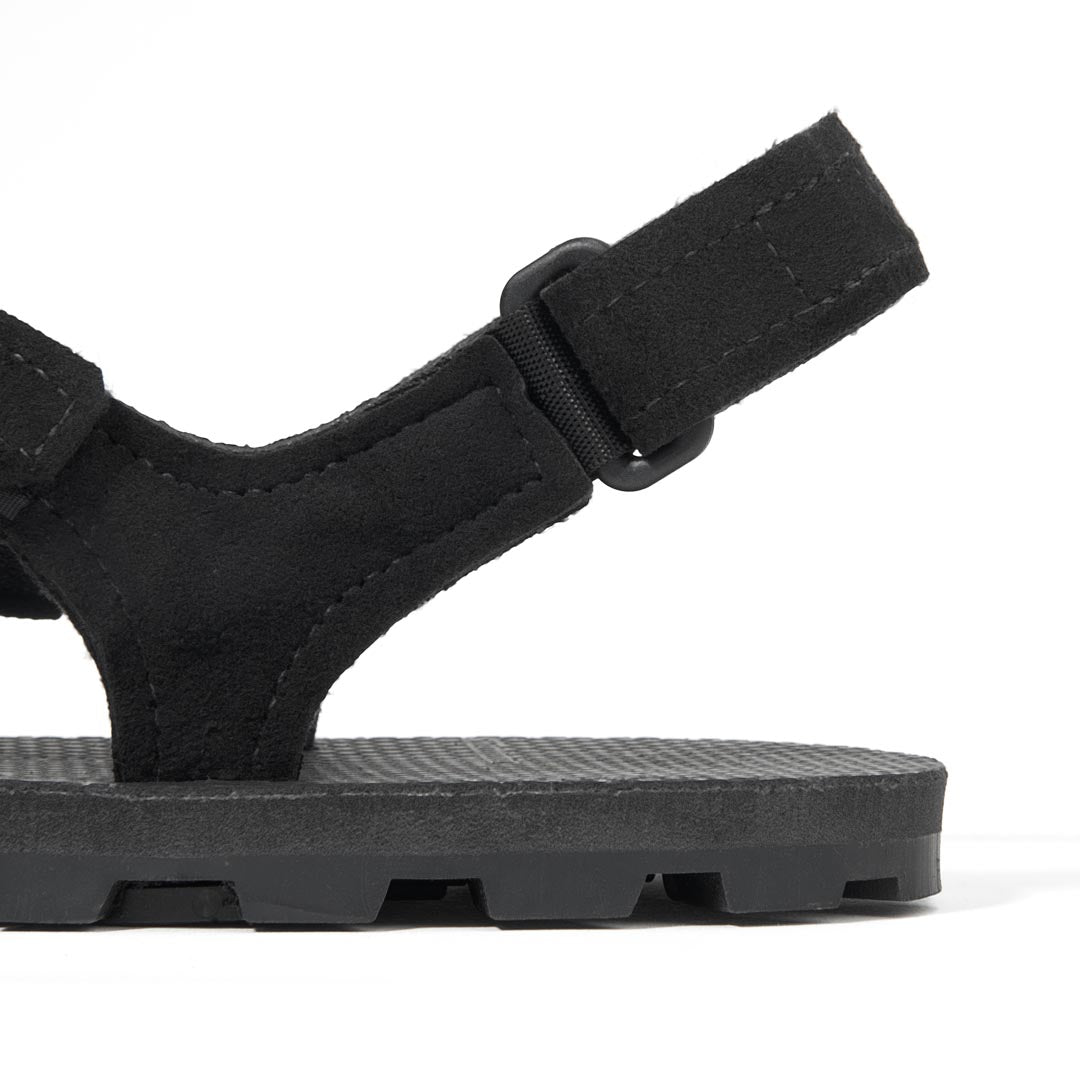
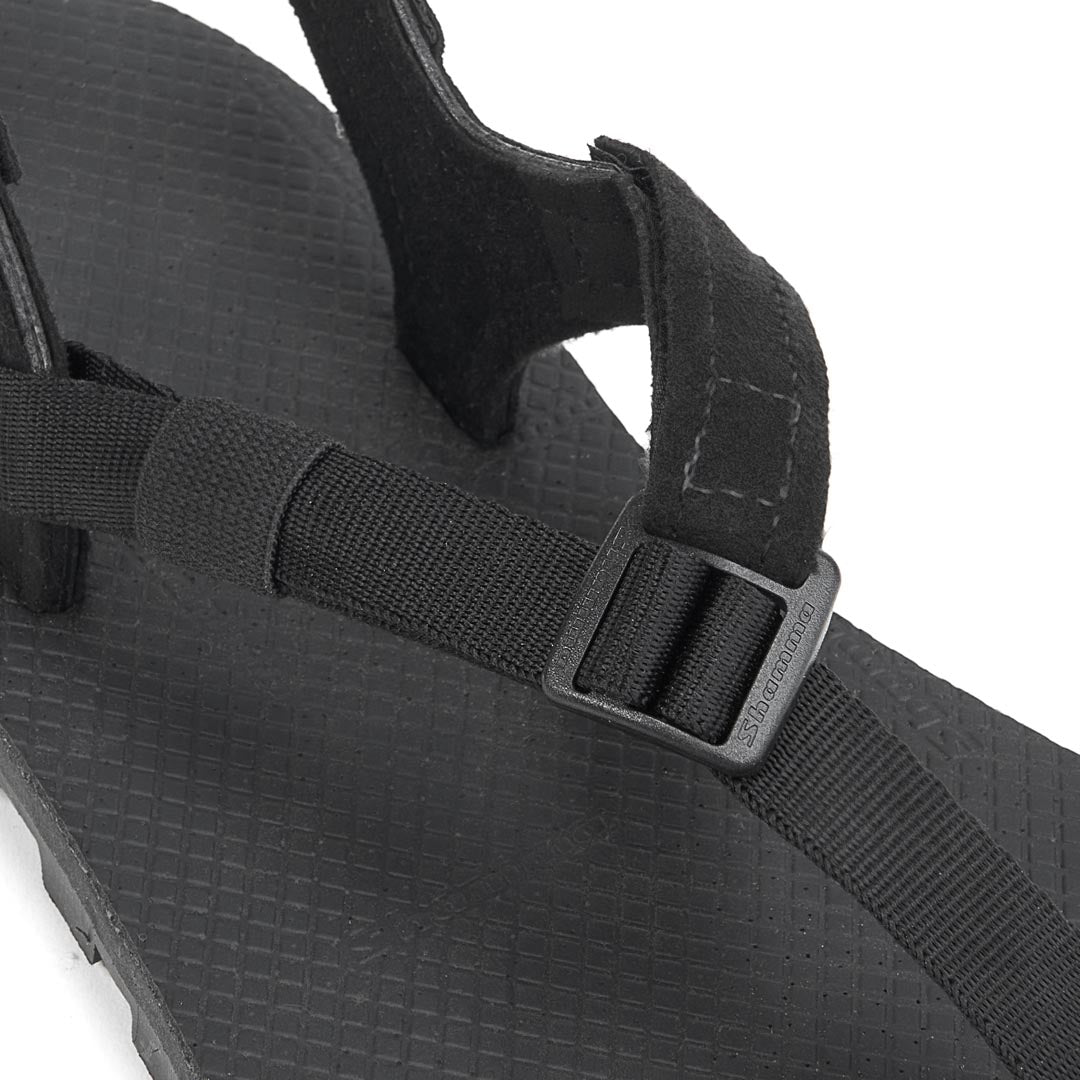
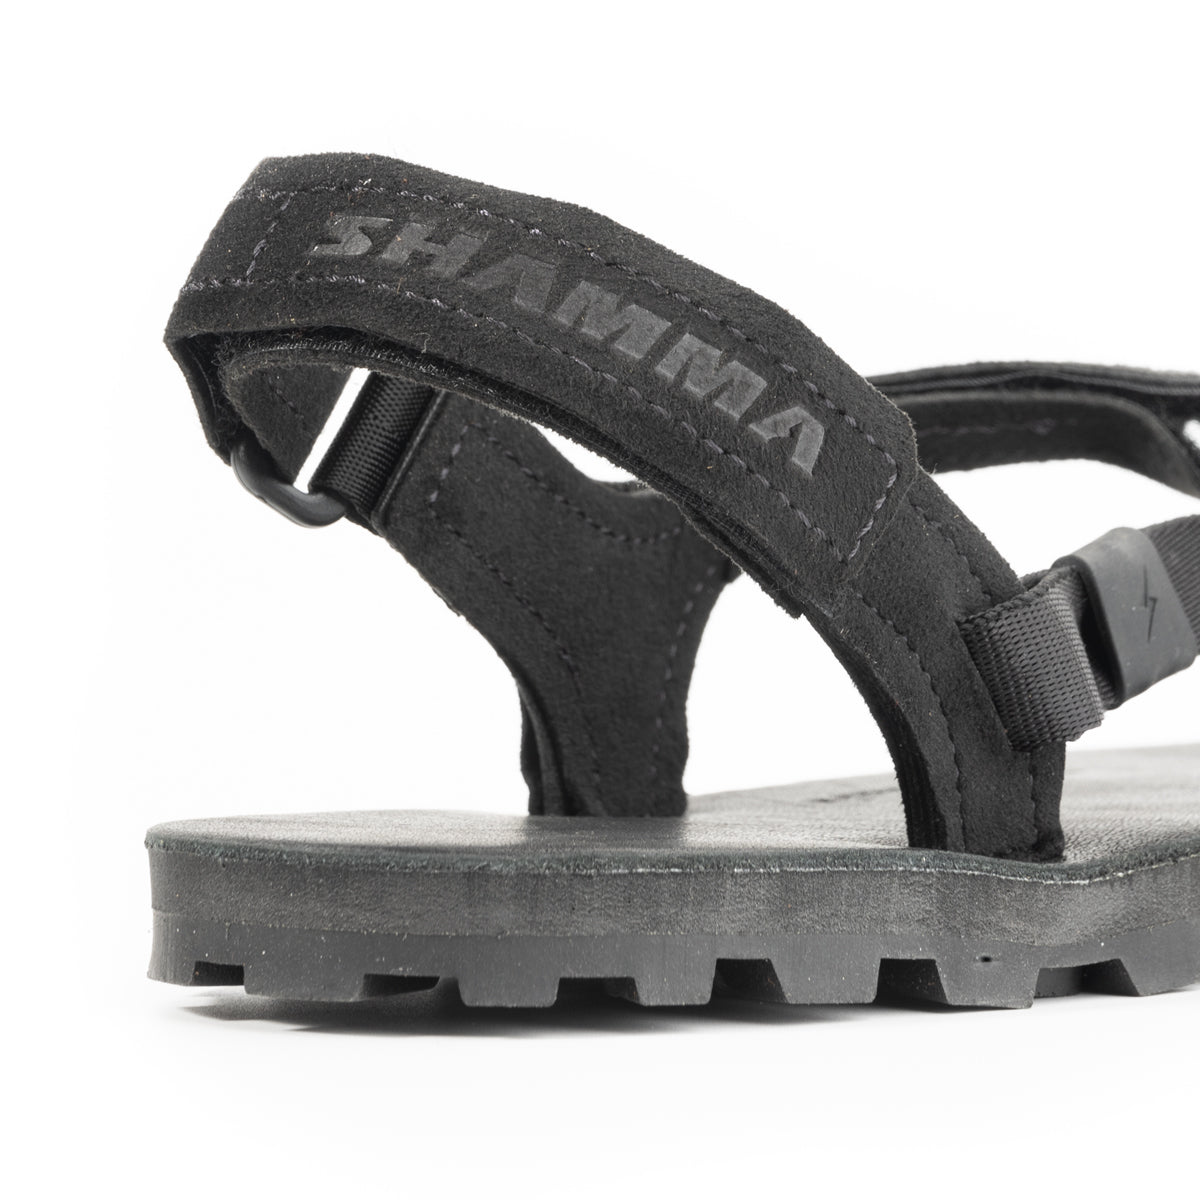
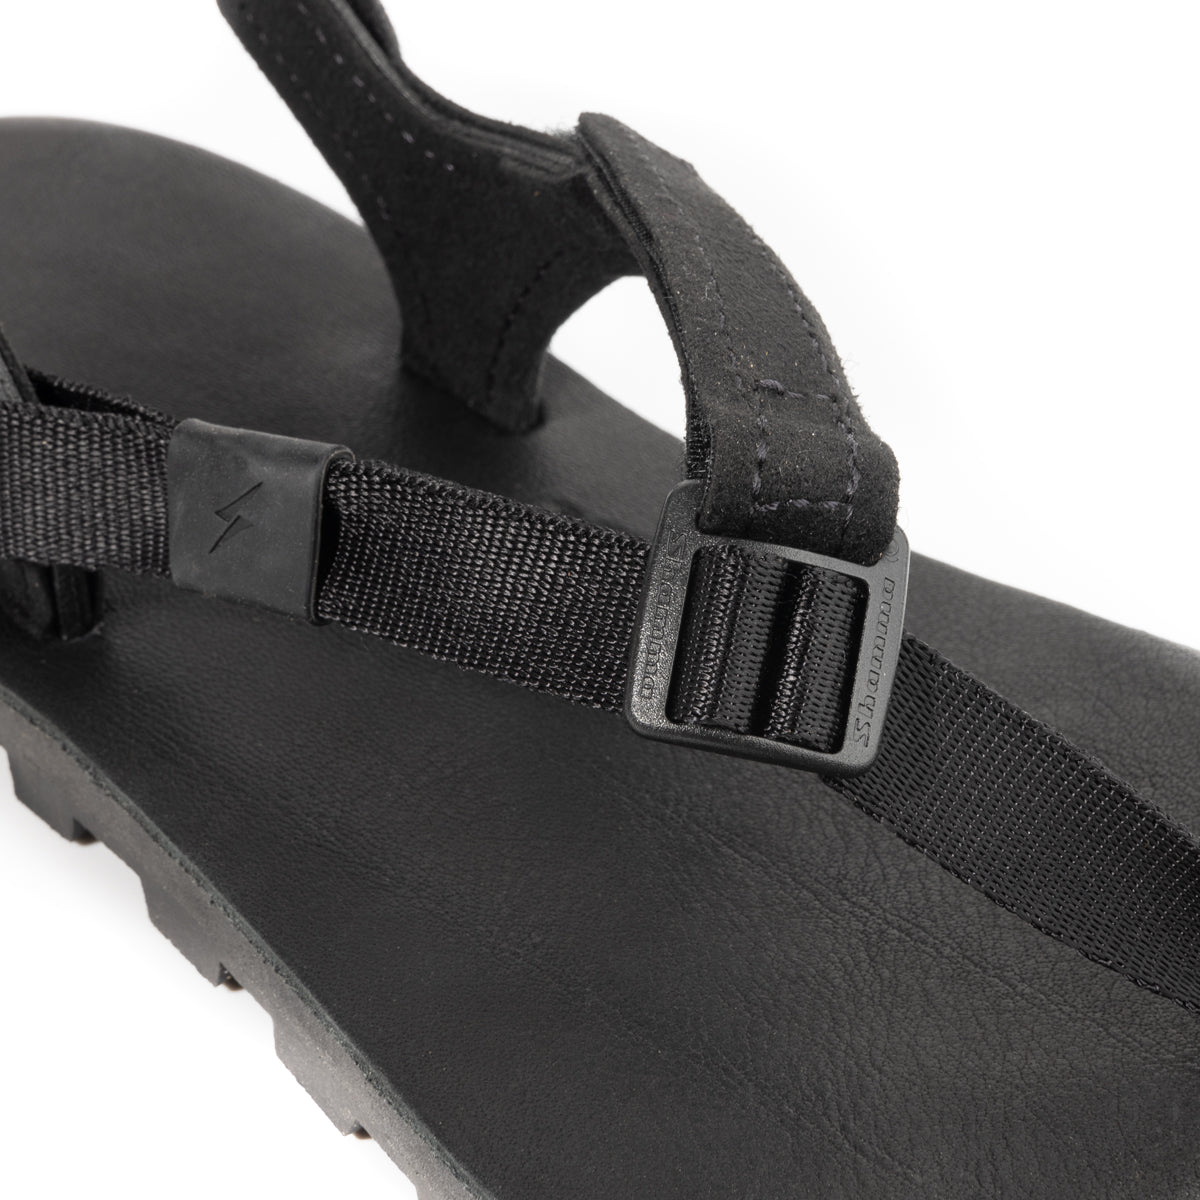
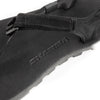
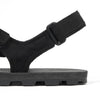
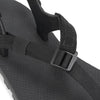
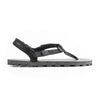
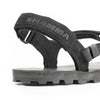
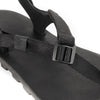
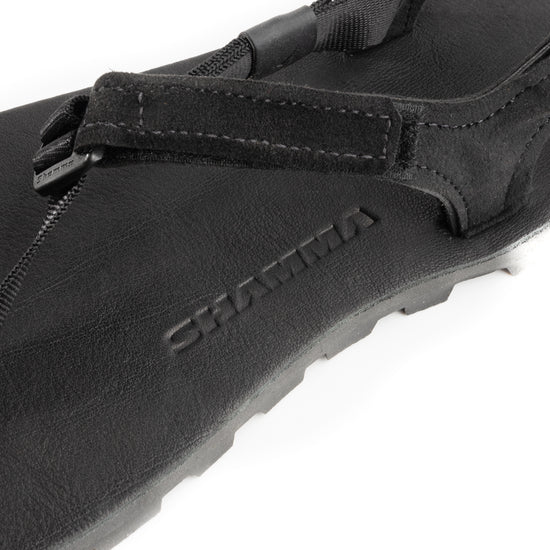
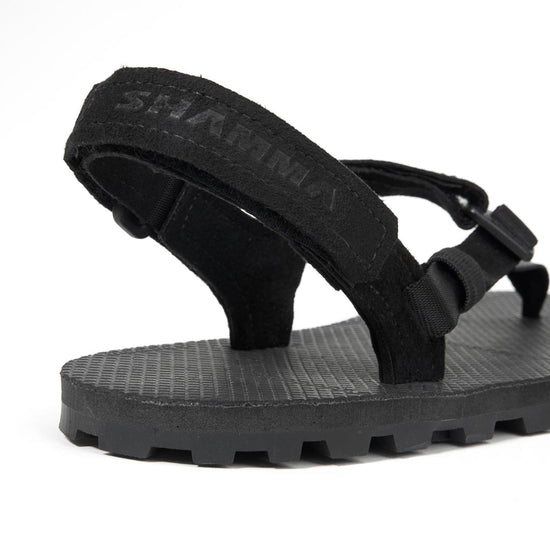
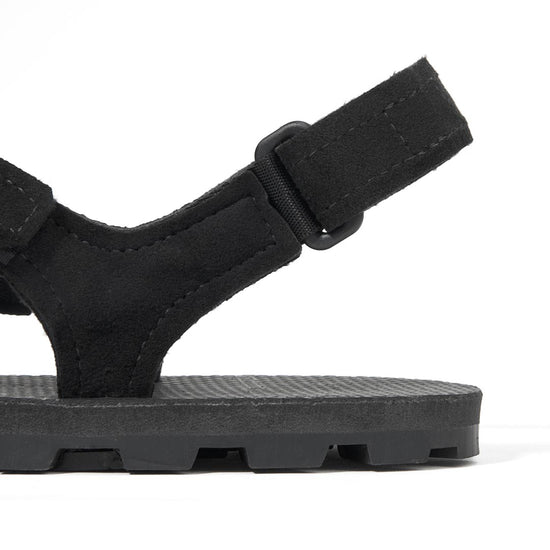
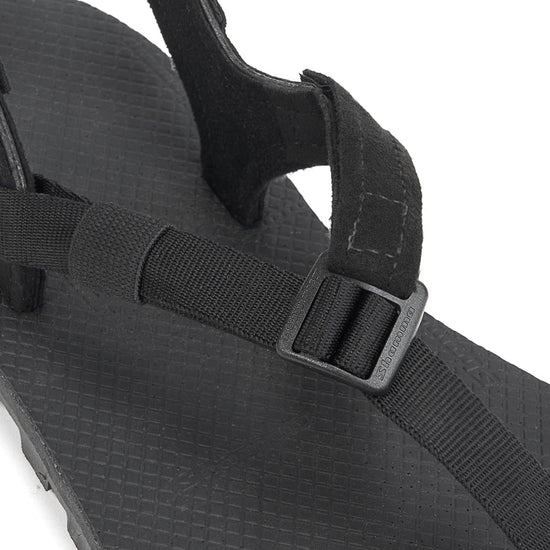
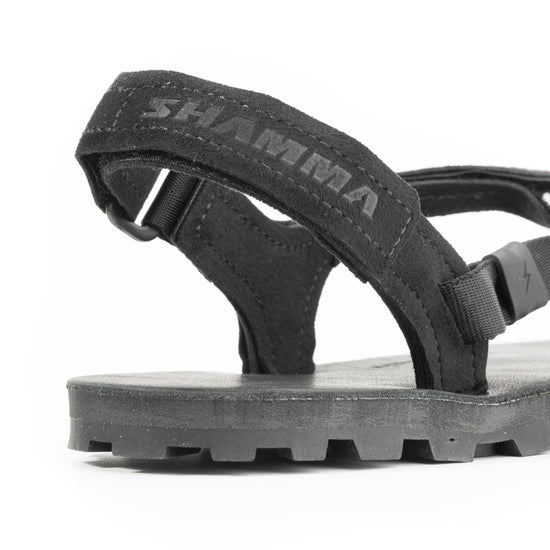
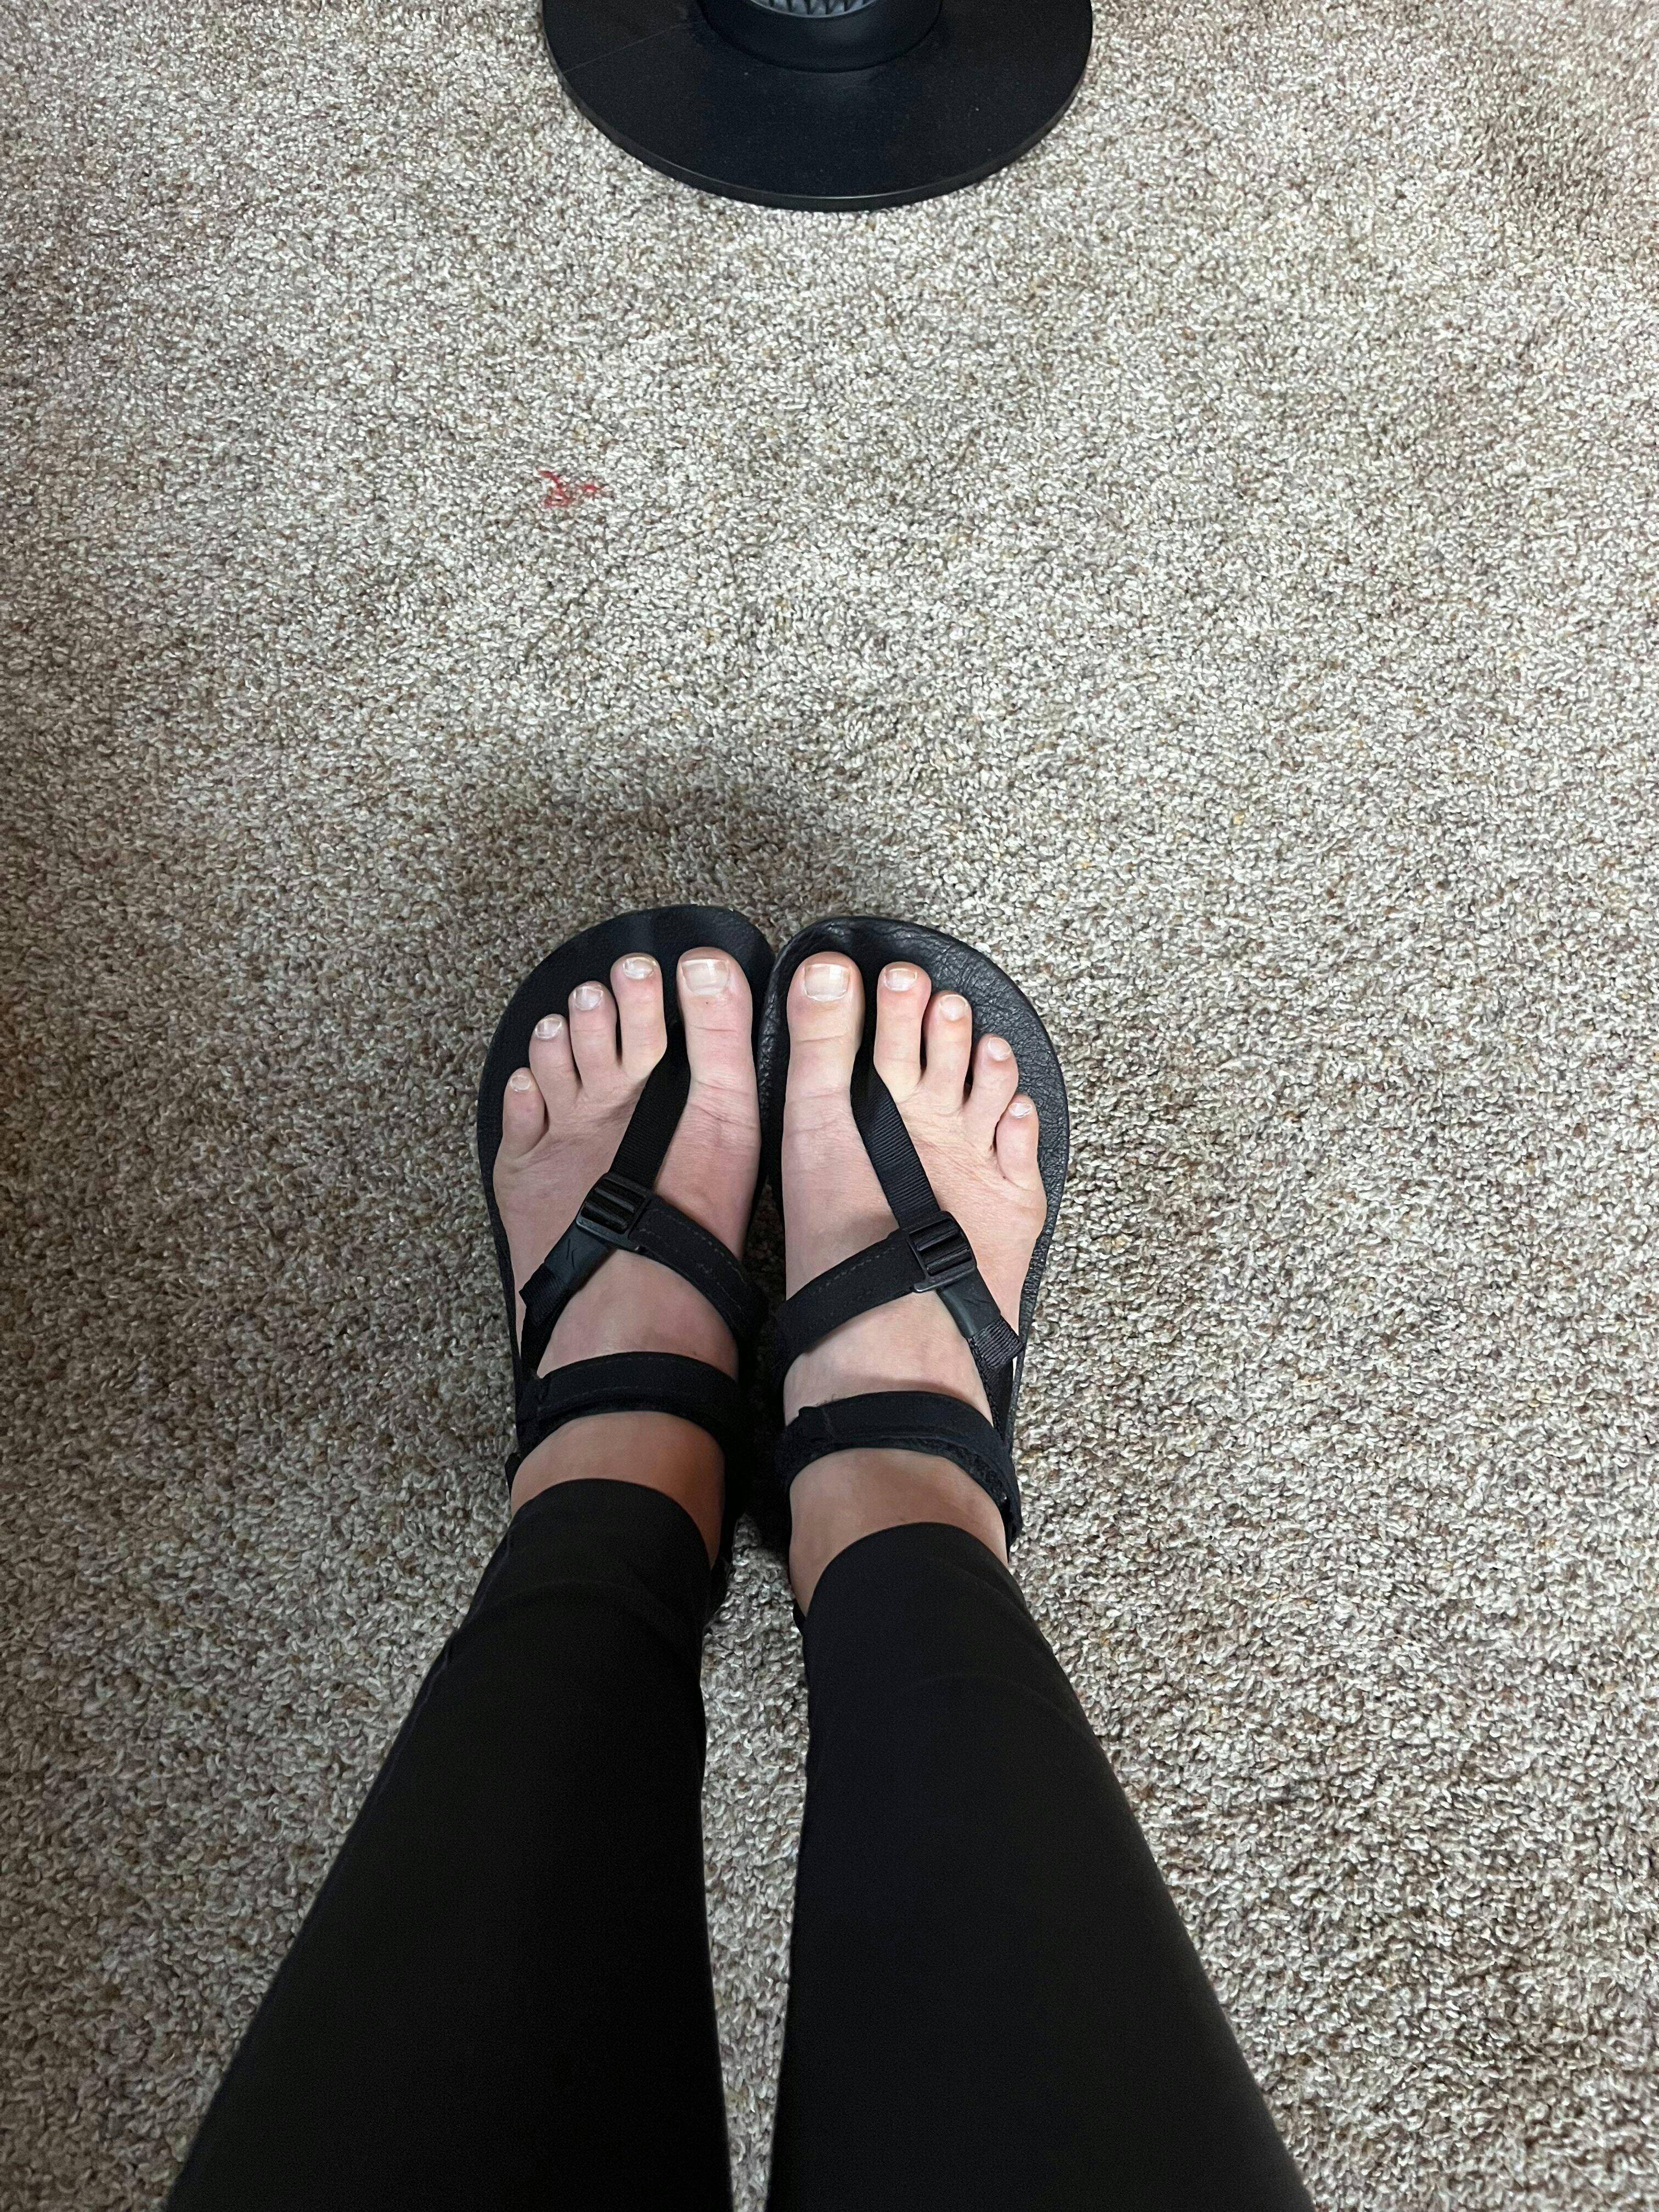
Elite Lacing System
The Elite Lacing System is the product of 10 years of relentless testing and development. This lacing system is designed with control, comfort, and performance in mind. Three independent adjustment zones - the heel strap, insole strap, and toe straps - give you total control over how the straps are adjusted to your feet. Velcro® fasteners make adjustment easy and secure. The Shamma Elite Buckle gives you the ability to fine tune your toe strap, where adjustment matters most. Our innovative and flexible heel posts keep the straps in an optimal position so you can focus on the road ahead. The Elite Lacing uses UltraSuede to create the highest levels of comfort available. If you want the highest performance laces, you want the Elite Lacing System!
Recraftable
Just because you wore a hole in your sandals, it doesn’t mean you have to throw them away! Our modular approach to sandal-making means that worn out parts can be replaced with a pair of pliers at home. Why throw away what you can repair? Visit our Parts Page to learn more!
Made in the USA!
Proud to be made in the USA and we wouldn’t have it any other way! All of our sandals are made right here in Santa Cruz, CA by our small team, using primarily US sourced materials along with high quality components from Italy, Germany, and other international partners. Follow us on Instagram and YouTube to get a glimpse of how we do it on a regular basis.
This is my second pair of Shammas, but my first time buying the Elite IBex. I am super happy with them. I wanted something that could handle hours of both pavement and trail, and I am extremely happy with how they feel. I am also happy that the power straps I bought 4 years ago still work with the new pair I just bought! The quality is amazing, as always, and I trust these will last for years, as did my first pair.
These sandals are perfect for trail running and treacherous traversing, whilst providing a cloud like comfortability.
I wear these on all my summer hikes. My feet feel amazing. Water crossing is no problem. They look as good as the day I received them.
Rebuying every 800-1000 miles. Love these sandals and only replace once I am nearing holes in my soles ! Don’t love breaking in a new shoes coz I love my comfy old but wouldn’t change it up now I found Shamma.
I usually wear M8.5 size shoe for road run and 9 for trail run. I got M7.5 Elite Ibex. It fits quite well and potentially go M7. I run almost solely on sandals now, on road and trail. Even technical trails.
I have at least 5 pairs of running sandals, including Luna. I will go ahead with only Shamma, probably Elite Ibex only. Luna is great too but a bit on the hard / stiff side. Ibex is thicker to my liking. I wear with socks. Will try without to see if it chafes. Fingers crossed😀 Well done, Shamma!