


TrailStar Alphas (12mm)
-
Free standard shipping in the USA
Production Period: 5-8 business days (10 business days for Ibex and Pacific Avenue sandals)
Proudly made in the USA with high quality domestic and imported materials
Pair Weight (size 9):
Thickness: 12mm


TrailStar Laces provide extra length to accommodate all foot sizes. Please trim excess material after sizing the sandals to your feet.
*All TrailStar Sandals are non-returnable/non-exchangeable after laces have been trimmed*
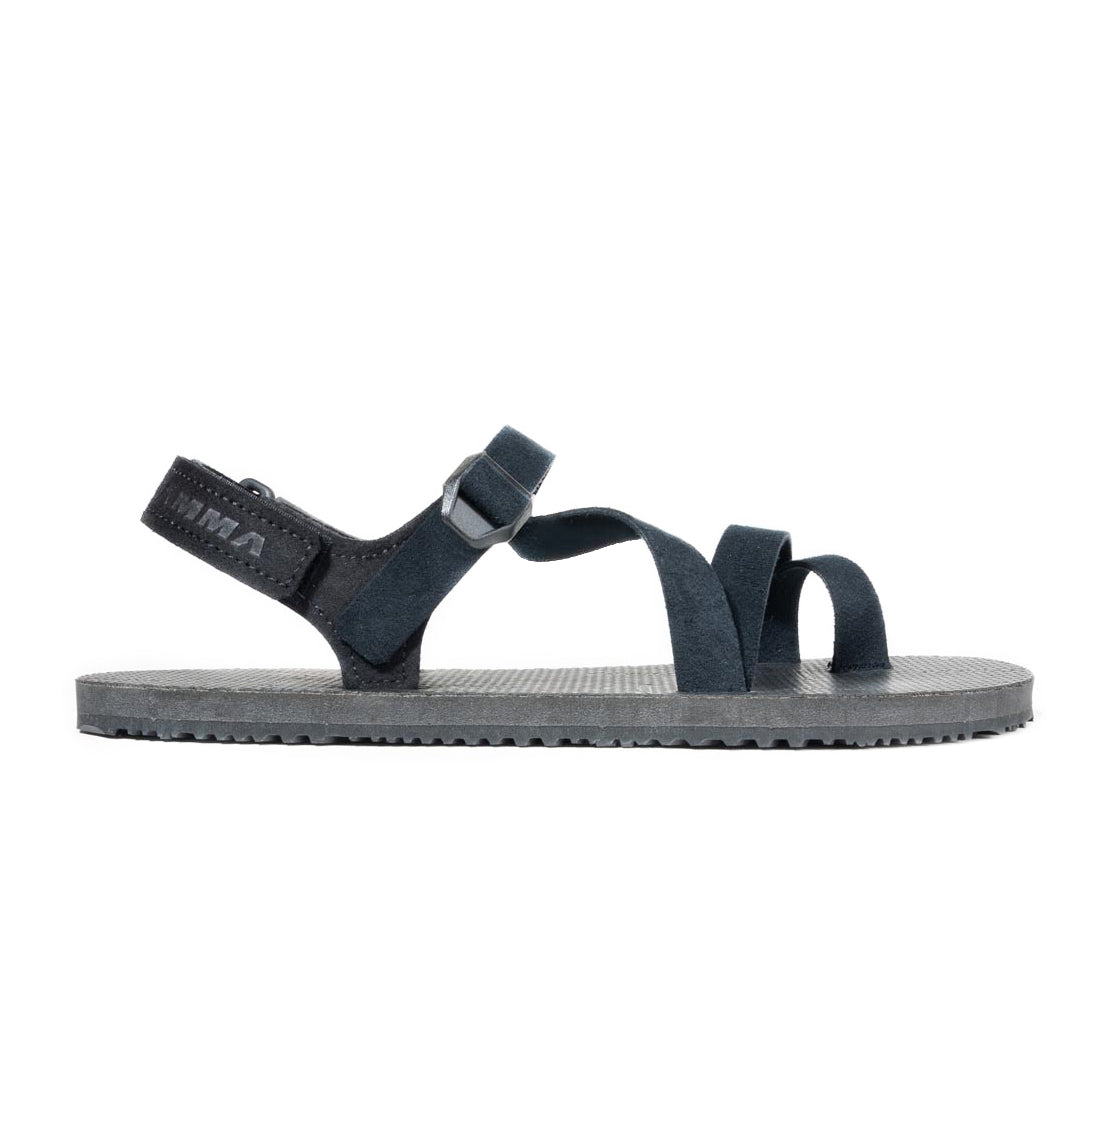
TrailStar Alpha
Take your adventures to the next level with the TrailStar Alphas. As over-the-foot style sandals, the TrailStar Alphas provide a secure fit that give you more control over every step. Weighing up to one pound less than traditional adventure sandals, you can focus completely on the trail instead of your feet. Explore new horizons with the TrailStar Alphas.
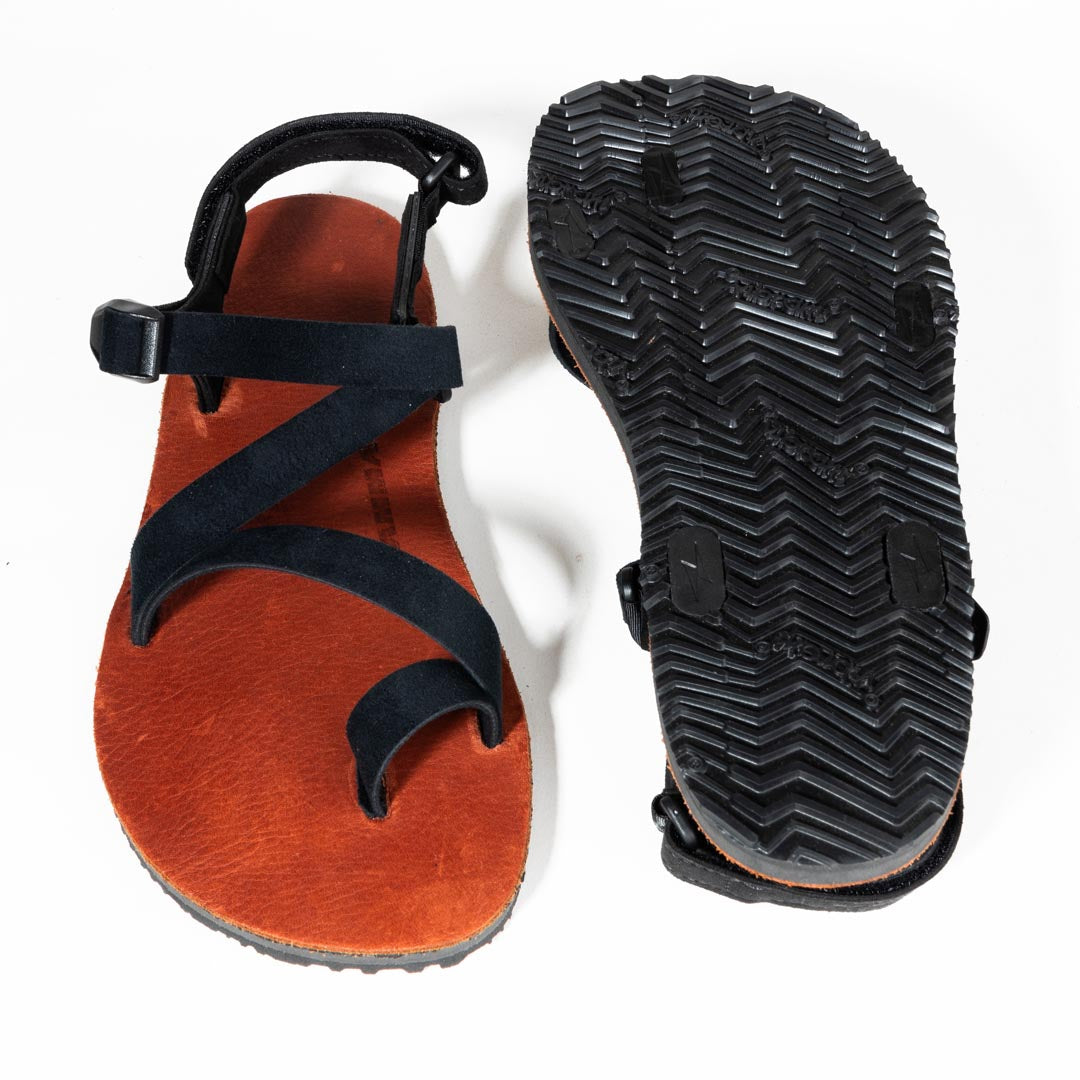
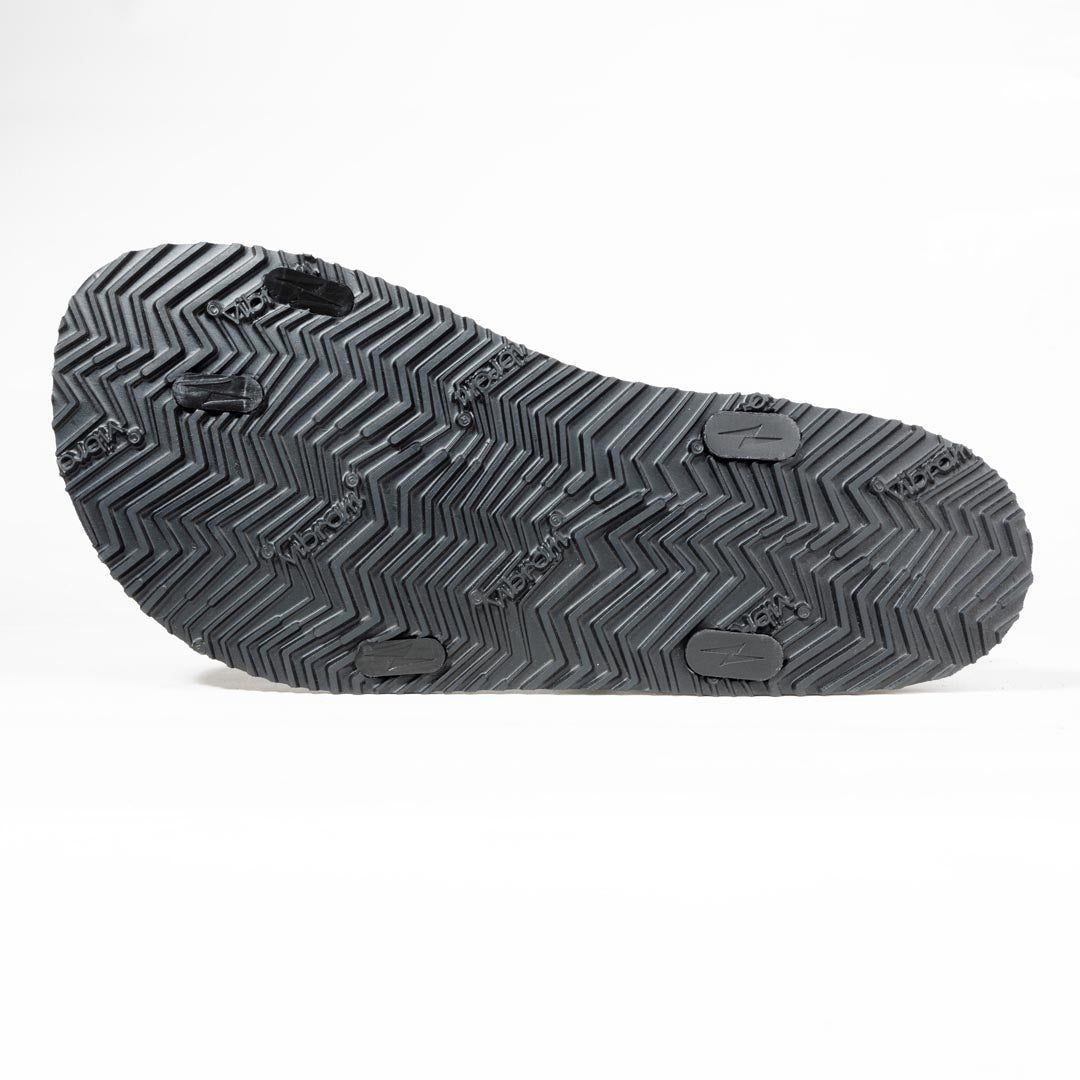
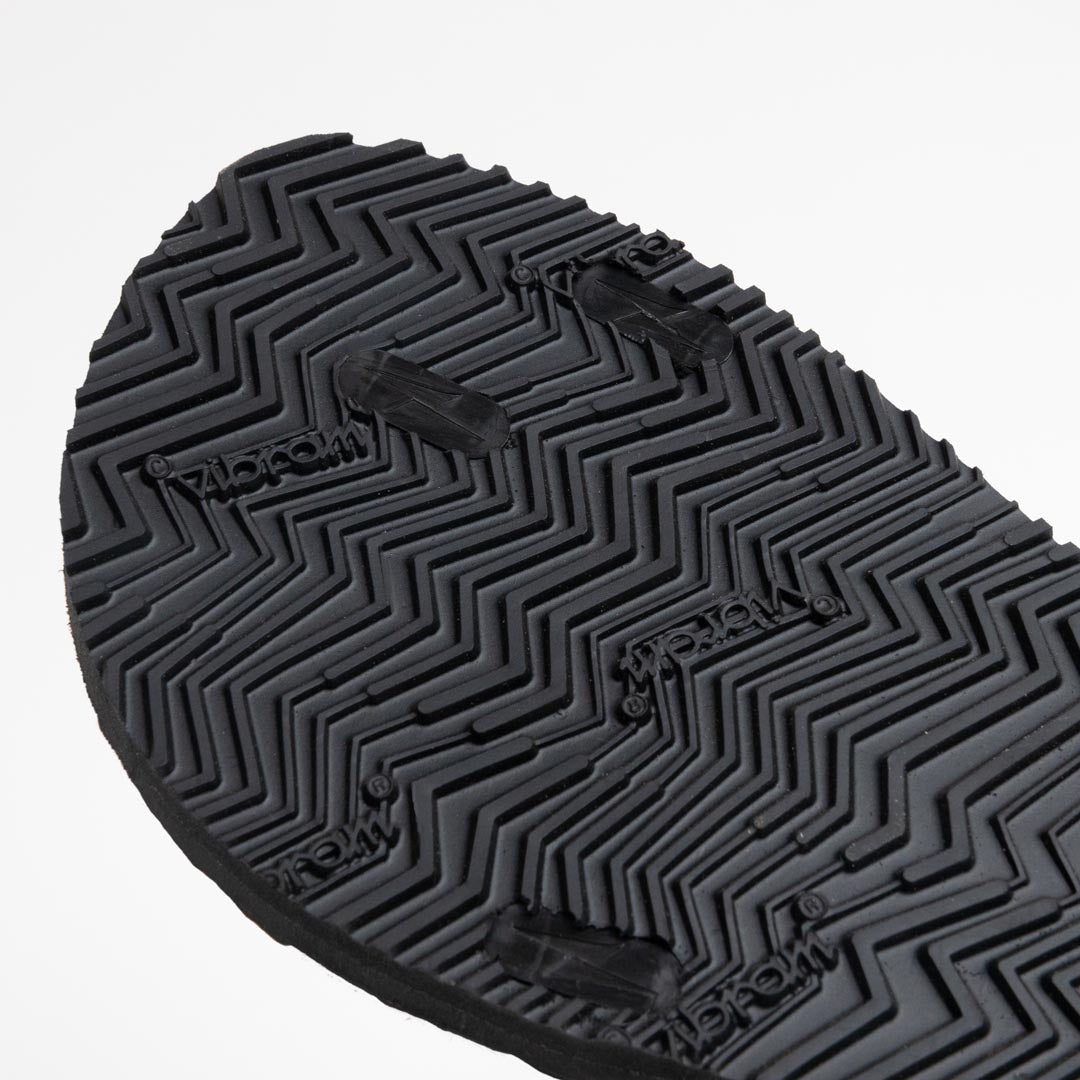
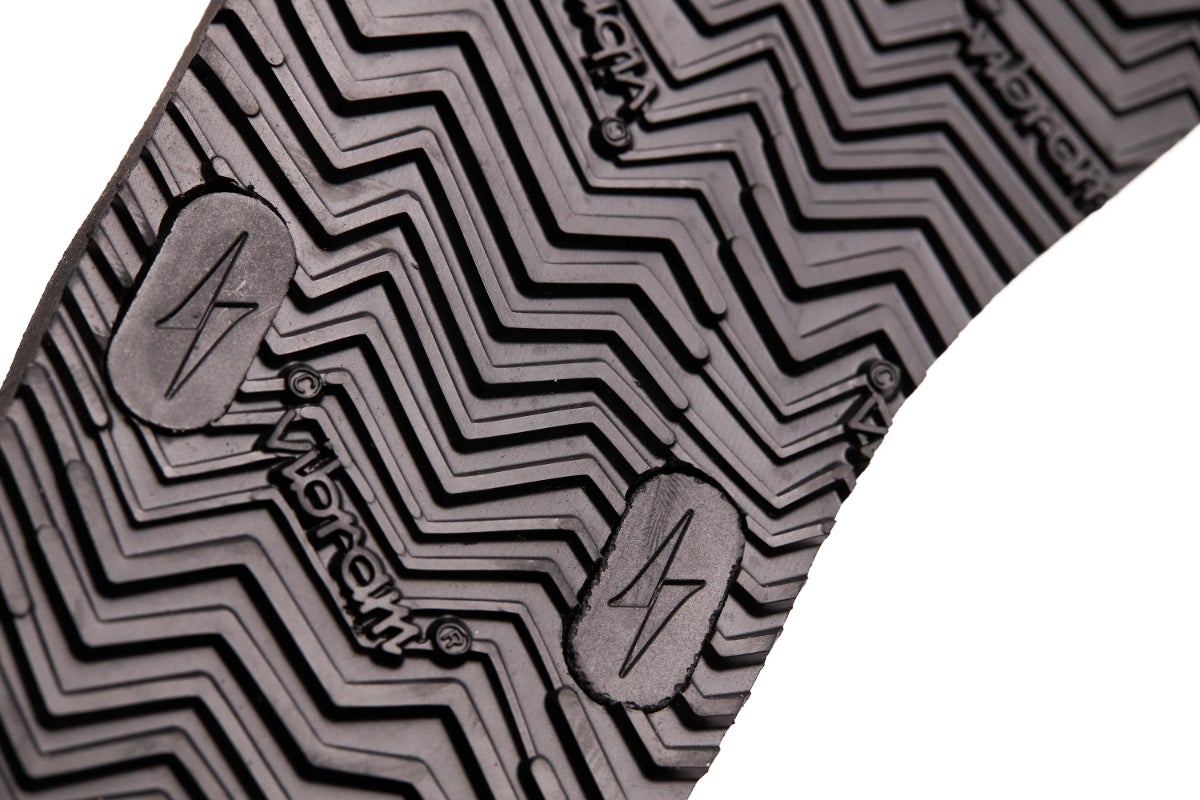
Sole
Alpha soles are composed of 5mm Vibram Newflex and 6mm Vibram® Morflex. This creates a sole that provides excellent protection for your feet while still being light and responsive. The aggressive tread of the Vibram® Newflex makes navigating rough terrain and trails a breeze while the Vibram® Morflex gives you a firm yet cushioned place to rest your feet. Alphas have a 12mm total stack height. Choose the UltraGrip footbed for use in the harshest elements. For more comfort in drier conditions select Cognac Leather.
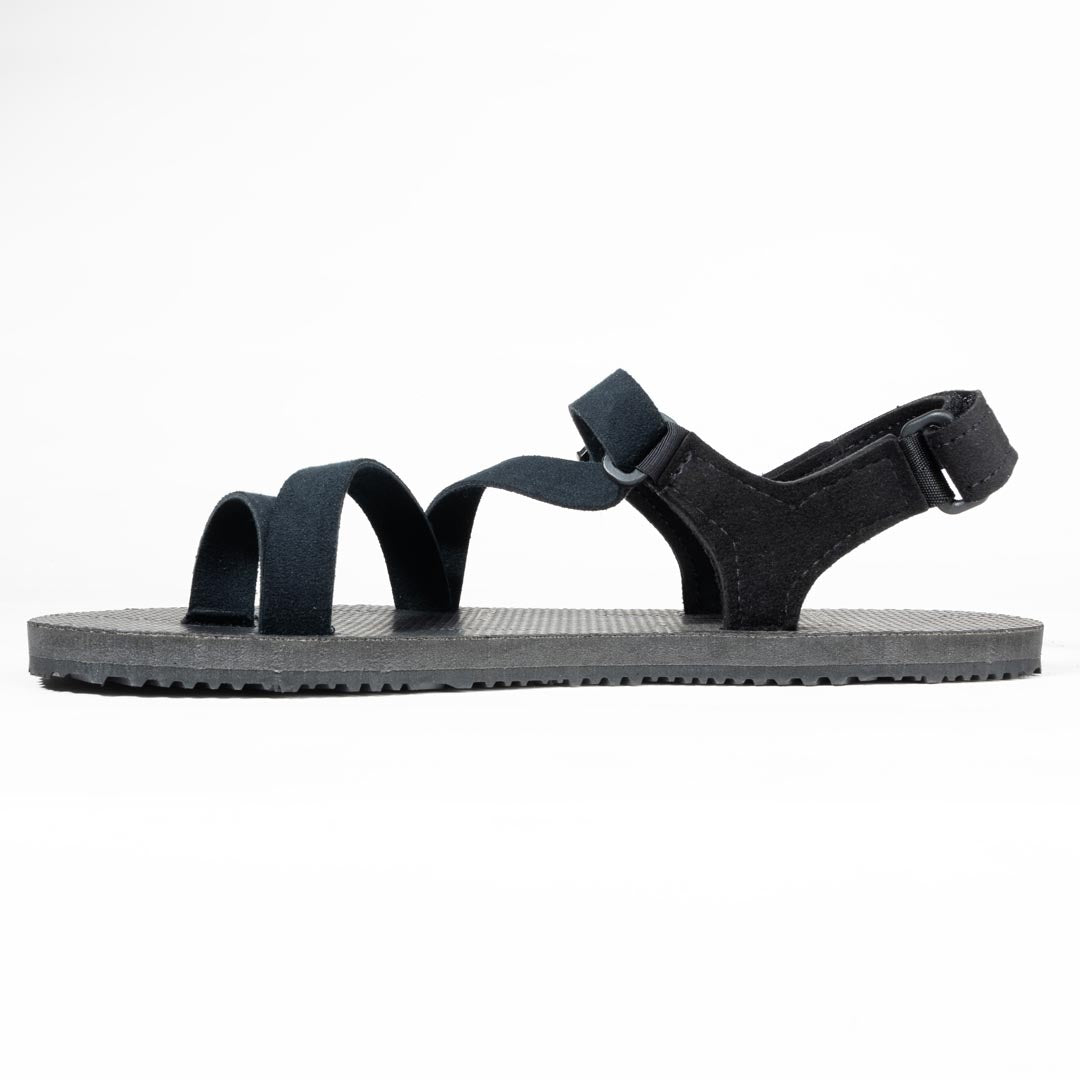
TrailStar Lacing System
Increased security from over-the-foot style lacing is the hallmark of TrailStars. The TrailStar Lacing system features a specially made forefoot strap made from Toray® Ultrasuede and a nylon mesh. The result is an extremely comfortable material with the strength properties of webbing. The forefoot strap is completely adjustable and anchored through the bottom of the sole. Final adjustments are made through a tension lock on the outer heel post. All forefoot straps are cut to fit after adjustment. The heel section of the lacing system employs two heel posts covered in Ultrasuede for comfort. Heel strap adjustments are locked into place using Velcro®. The result is an extremely comfortable and secure lacing system that is ready for adventure!
Recraftable
Just because you wore a hole in your sandals, it doesn’t mean you have to throw them away! Our modular approach to sandal-making means that worn out parts can be replaced with a pair of pliers at home. Why throw away what you can repair? Visit our Parts Page to learn more!
Made in the USA!
Proud to be made in the USA and we wouldn’t have it any other way! All of our sandals are made right here in Santa Cruz, CA by our small team, using primarily US sourced materials along with high quality components from Italy, Germany, and other international partners. Follow us on Instagram and YouTube to get a glimpse of how we do it on a regular basis.
